


benzo
-
Posts
758 -
Joined
-
Last visited
Content Type
Profiles
Forums
Events
Store
Classifieds
Posts posted by benzo
-
-
@russaroll Thanks for that info. Will look into it.
@mrbigtanker I am looking for a spare one or even a locking one if not too much. If you have something definitely interested. Thanks Ray!
-
 1
1
-
-
On 7/6/2023 at 8:35 AM, banzai510(hainz) said:
I just installedsome SSR Mesh on my 510 w 510 struts. the wheel hit the strut. I called Icehouse on here and he told me to order 510 rear (Doorman brand)studs ad put them in the fron hub. I had a extra set of hubs and had a machined billet 5/16 spacer and fits perfect with lots of threads.
I used a vise and a fat socket to push the studs out. installed new studs fine and fell the slines line up Wack with hammer to its set then I revered it using the Socket to push them back in.
Just me here I think I would have like to see more threads going thru that wheel NUT.
I think zcardepot has machined 1/4 spacers look under 280zx
280zx like closer to 0 offset as the hubs are 3/4 closer in the fender
@banzai510(hainz) sweet you got the wheels on. I hear you on seeing more threads go through the wheel nut but it has a lot of thread on it. If I do go with a longer stud then for sure will have way more than enough of threading. There's A Dorman number shared with me 610-320 and the stud is almost 2" long and supposedly has the same knurl as the oem ones. If I swap out I'll go with these.
-
@KELMO Not the best pic but here goes. I also did a YouTube Vid/IG Vid. Should be able to find it on YT under Benzosf or longrodlseries but pretty much details what my post was about.


-
1
-
 1
1
-
-
Bought these Watanabe wheels for cheap but the offset was a bit too positive and was close to hitting the coil over perch. Looking at the specs of my SSR wheel ( 14x6.5 +7 offset) and the Watanbe's at 14 x 6.5 +14.5mm offset I needed to use a spacer. Bought two sets of spacers ( 8mm and 5 mm) as they were cheap and trying the 5mm first as that will make the wheel a +9.5mm offset ( Watanabe does make this offset and believe this is the wheel to use on a 510 with stock fenders). Since I am using 280ZX hubs the stock studs were a bit too short so I either had to use longer studs or use extended shank lug nuts. I chose the lug nuts as I didn't want to pull the hubs and install studs but in order to use the extended shank nuts I needed to drill out the lug holes to fit them. I used a Uni Bit which was perfect to drill it for square fitment but it did create a step so used a bit for porting heads and that cleaned it up really well and the nuts fit in clean. Seems i have enough clearance for the coil over perches but if needed I can use the 8mm spacers which would make the wheel offset to +6.5mm which is close to my SSR wheels which I know clears. Right now the nuts do thread in a 1/2" which is supposedly enough for secure mounting. What I like about this method is the shank does make the wheel sit square or hub centric and also that it is an angled seat it is a nice square seat. Just have to do a slow test drive in the neighborhood and check for clearance but pretty confident it will work out.


-
4
-
-
@datzenmike That's what I am waiting to see.
-
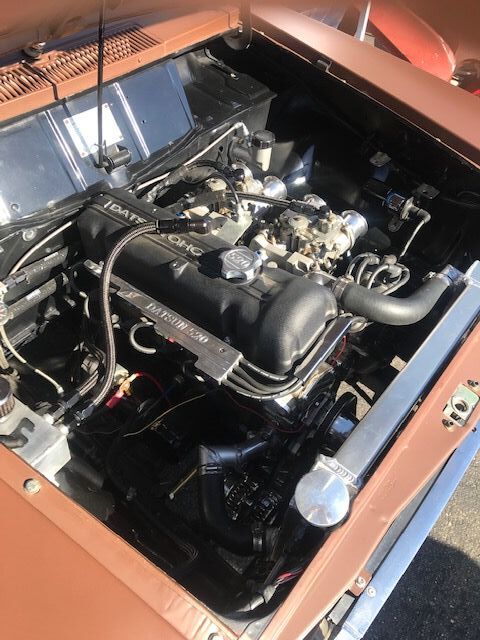
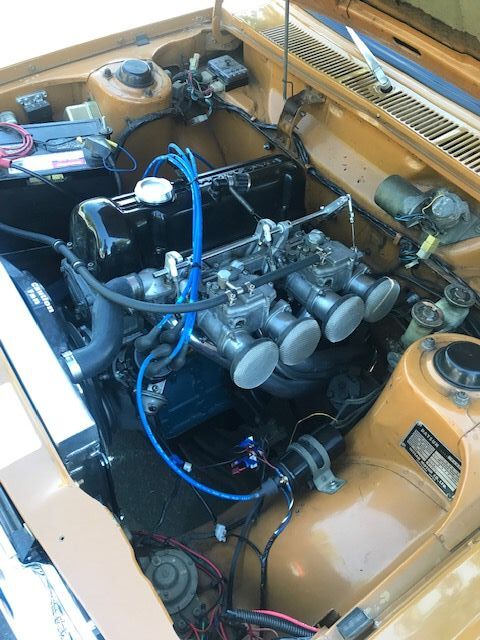
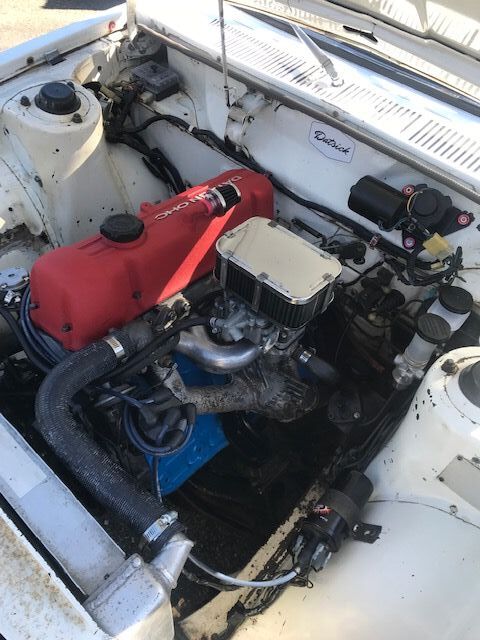
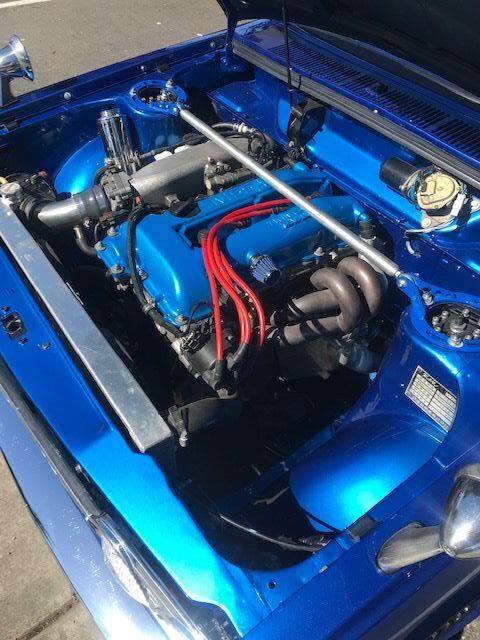
Had an issue about a week ago but seems I got it corrected. I was low on gas and was waiting at a light to U turn to head to the gas station. The wagon started to stumble hard and I got out of line and pulled over and the wagon died out and wouldn't start. I was stupid for not keeping my gas can as I was only a 1/4 mile away so called roadside service ( Hagerty) and in a little over an hour they came and put 3 gallons in. Car started but ran like shit. I filled up more gas but was still running rough. Got it to mellow out in the lot and managed to get it home taking street routes. I had a vacuum leak in the past and was able to tighten the intake manifold nuts but think this time the leak was so bad it made it act the way it did. I am running a Rebello motor with Mikuni intake and Carbs It was just the front carb with the issue. I pulled it and noticed there was no gasket and they used RTV and the RTV for cylinder #2 worn away and also one missing bolt/stud on the head which would add to the cause of the leak. During this time I also checked ignition,distributor shaft for play and spark plugs and fuel pressure and all those items checked out. Lucky O'Reilly's auto parts had the FelPro gasket kit, High temp header coating paint and exhaust manifold stud kit. ( also can use a dorman part, or nissan if you can get it or even Honda exhaust manifold studs and nuts they all use 8mm x1.25 thread pitch ) Took this time mask off the engine bay and cleaned the header and painted it. The paint seems to work good and looks a lot better. Cleaned off the intake and head surface with carb cleaner, put two of the studs on the head and cut the intake gasket to line up and installed. I used Honda exhaust manifold nuts as the ones in the dorman kit are 13mm but all my other nuts are 12mm so wanted to keep it consistent. Also used the Nissan thick flange washer to put equal pressure on the intake manifold and header. Got the car running but was still having a miss but no more vacuum leak. Consulted with Dave Rebello and he and I agreed the carbs need syncing and also clean the pilot jets as we came to the conclusion as the situation happend so sudden I may have sucked up some debris from the tank and it got past the filter and into the carb. He said do this and if it doesn't work call me and he can maybe look at the engine for me.
Put new plugs and cleaned out the jets with carb cleaner and compressed air and started the engine and it was running really bad and high idle. Was getting worried but stayed calm and got my sync meter and screwdriver and started to sync the carbs. Was super stoked as I could totally hear and feel the differrence. The carbs prior were 5 kg/h for cylinder 1&2 carb and 9kg/h for cylinder 3&4 carb. I was able to get them all at 5 kg/h and idle at just around 1000 rpm. I left it alone as it was running pretty good and no more stumble/miss. Also noticed the exhaust note was smoother and not running as rich as I used to get black soot coming out the tail pipe. Went for a drive and it was super noticeable. Lots smoother and may have gained back or gained some hp and torque as getting on the on ramp I was able to pull hard and get up to 90mph fast! Brought the car back and tried to fine tune a bit more and idle and response is a bit better. Going to swap fuel filter to a new one and pump in some more 91 octane as I think the person who brought me gas gave me lower octane fuel. Feeling stoked and that I was able to sort this out and get to know the engine better and the carbs/tuning process. Here are some pics for any of you to reference. Sorry couldn't load vids of the engine running.
-Fel Pro intake/exhaust manifold Gasket kit was MS22693-1 $14.49
-Dorman Stud kit #03412 $39.54. Can get individual ones for around 4-5 dollars each
-High temp header paint $14.99


-
1
-
-
On 5/25/2023 at 8:37 PM, SupDoc said:
Great show, as always. I was there..
.

Benzo forgot this one, too. Not mine...

@SupDoc Yeah it was a good turnout! Wish I couldv'e stayed longer and bring my car out to participate
-
1
-
-
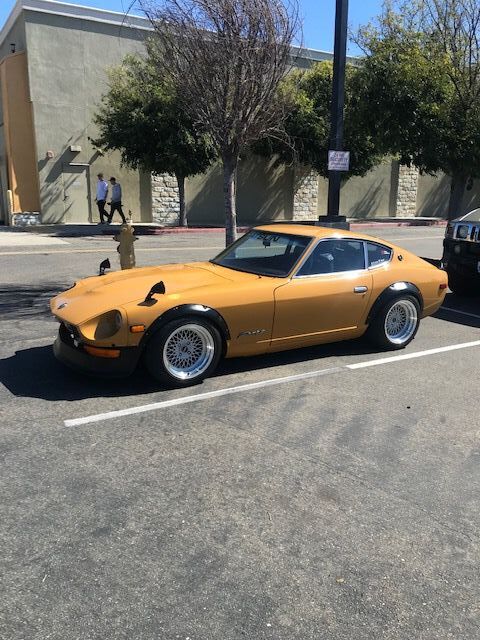
On 5/25/2023 at 8:17 AM, iceman510 said:
Any more photos of the red 510 to the right of the Corolla? Interested in the wheel and tire fitment with the flares.
Thanks for the great photos.
@iceman510 Sorry I didn't take anymore of it or get info. Thanks for the response.
-
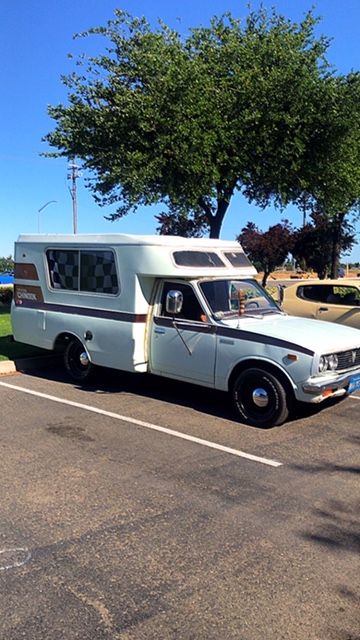
On 5/25/2023 at 8:07 AM, six2ohyea said:
You forgot this one

@six2ohyea Don't remember seeing this one as maybe I left already. I went early and had to get back home. Thanks for adding this one.
-
On 5/25/2023 at 7:34 AM, KELMO said:
Thanks for sharing.
Benzo should now be known as the pic master.
@KELMO Haha have camera will take pics. Want to document these times. Good TImes!
-
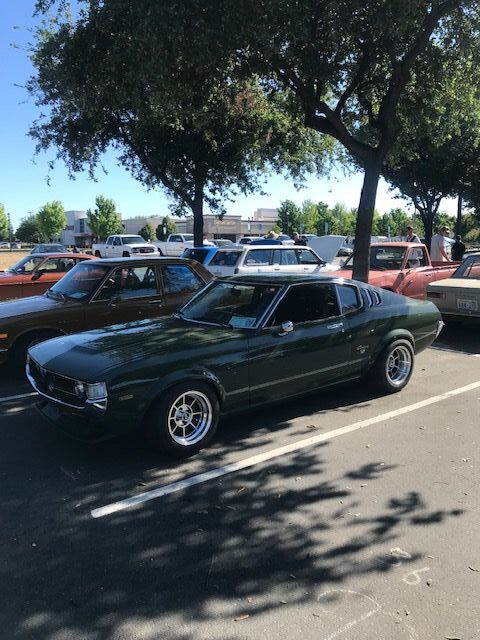
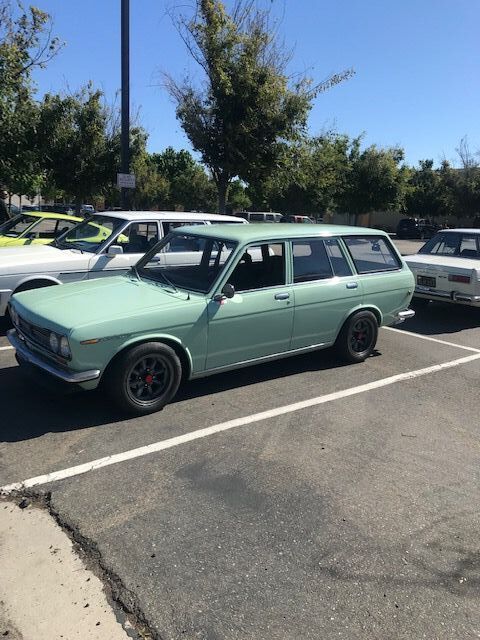
Hi. Wanted to share some pics from this event.


.jpg.dd4450fd823bf51d397f9aab9fcc1f6e.jpg)


-
7
-
2
-
-
@damon looks good! Hope it runs good.
-
1
-
-
Cool! I had a 73 with a L28 and SU's and the Xenon air dam and was such a fun car. Glad to see others have fun with these cars. If i'm lucky I can get another Z again.
-
1
-
-
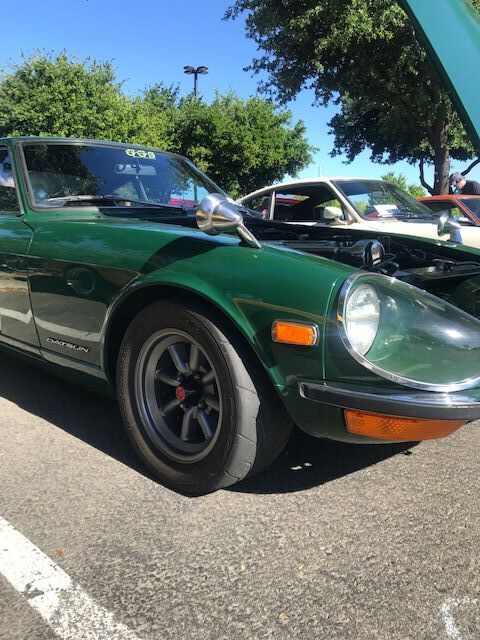
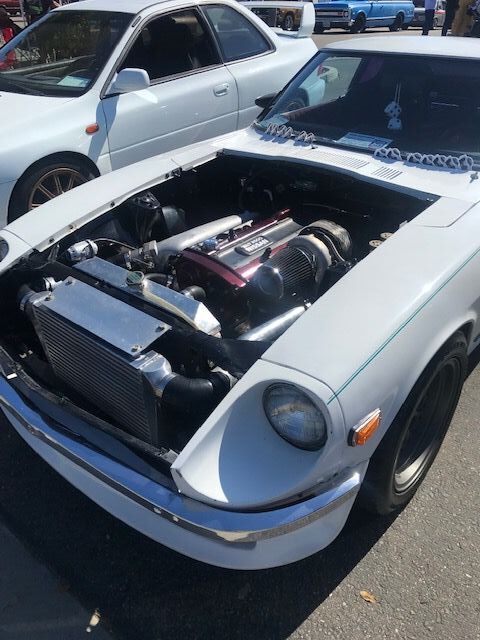
Attended the local SFOBHotRods meet and trying out some of these Westlake RP18 tires on some SSR MK3's I recently picked up.


.jpg.0a3a24742c943bfec264ada8908501e4.jpg)
-
5
-
-
Was doing a search on the web and this post came up on the search function so wanted to share my experience for people searching the web to try to help narrow down the search.
-
1
-
-
@MikeRL411 Thanks Mike. Just after posting I seen a mention of early BMW's.
-
Hi Everyone!
Wanted to ask fellow wagon owners what options they used or found that were good for gas tank cap options? I tried this stant # 10811/G26 and it fit on my 71 wagons fill nozzle but it sticks up high and doesn't cover the indentation well. I remember once someone said a VW rabbit locking model works but can't find that info anymore. Any info will be greatly appreciated.
Thanks

-
@datsuntech Sweet! Satisfied with the purchase. Was hoping to be more Ratsun and score something for extra cheap or free but this isn't bad.
-
2
-
-
@Duncan Right On! I guess one chapter closed to start a new one.
-
Wanted some floor mats. Don't have time to search wrecking yards. Was about to buy ones from BRE but found these at local O'Reilly's parts store for 37.00. They fit pretty good or will do the job.


-
3
-
-
Don't have time to search wrecking yards and was about to buy the BRE models but found these at local parts store that work/fit ok. They were 37.00 for the set.


-
1
-
-
@Duncan Oh good to know. Checked and Deaver Spring is still in business.
That's pretty good the air shocks hold air for a bit or loss was minimal.
Sorry you don't have the wagon anymore.
-
1
-
-
@Duncan That's good to know. The pic of the wagon looks good! Who did the de arching of the springs? With the T3 kit I don't have any squat or axle wrap compared to when I had stock spring and 2" blocks. For the air shocks does it have a guage or do you base it off the air nozzle if the nozzle has a guage to show how much is going in? also what is the capacity of air the shocks can take and how often do you have to fil or recharge?
Thanks!
-
@Duncan Thanks for that info. I had seen others use air shocks with good results. This is good info for other wagon owners so they know choices.


.jpg.dd4450fd823bf51d397f9aab9fcc1f6e.jpg)


.jpg.0a3a24742c943bfec264ada8908501e4.jpg)


Wagon Gas Cap Options
in 510/1600
Posted
@mrbigtanker Thanks Ray
@datzenmike Thanks for that info
@rosso Thanks! I checked the listing and no more but something always pops up.
@Draker I'll check to see if I can find that listing. Thanks