


71DIMER
-
Posts
2,020 -
Joined
-
Last visited
-
Days Won
1
Content Type
Profiles
Forums
Events
Store
Classifieds
Posts posted by 71DIMER
-
-
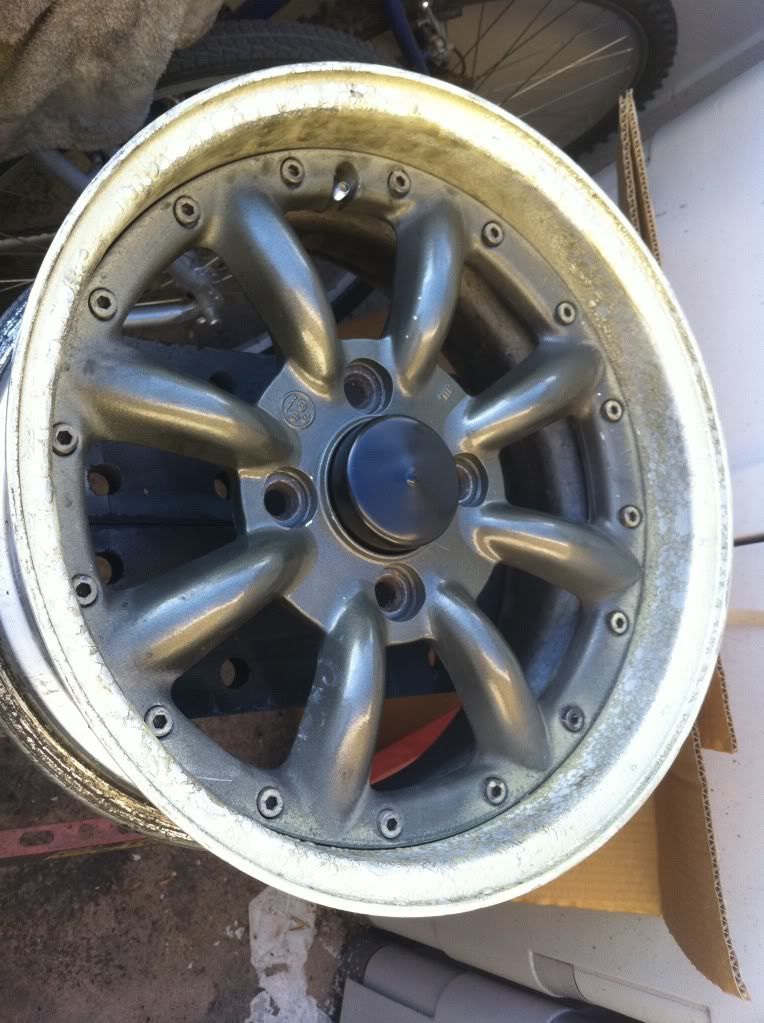
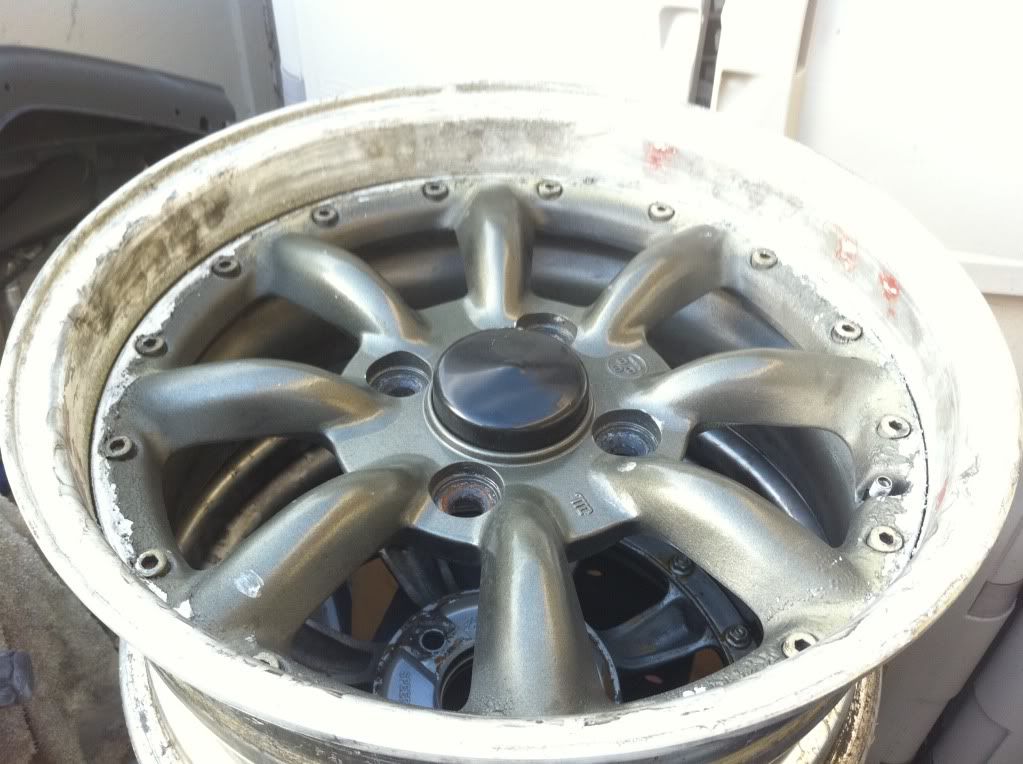
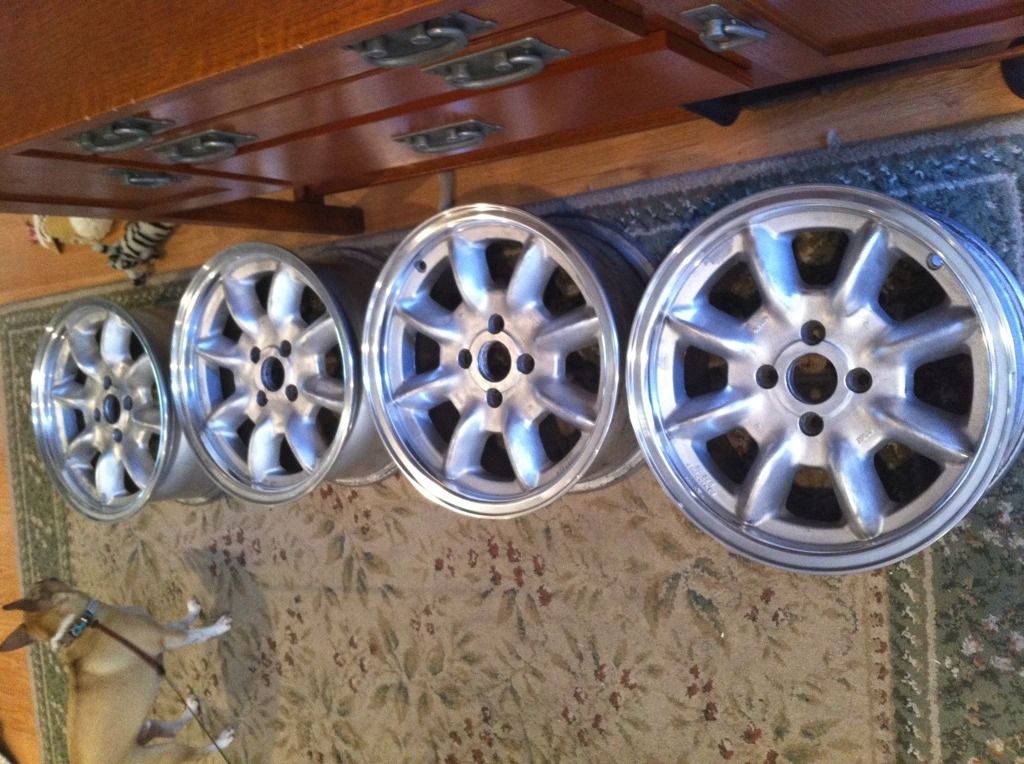
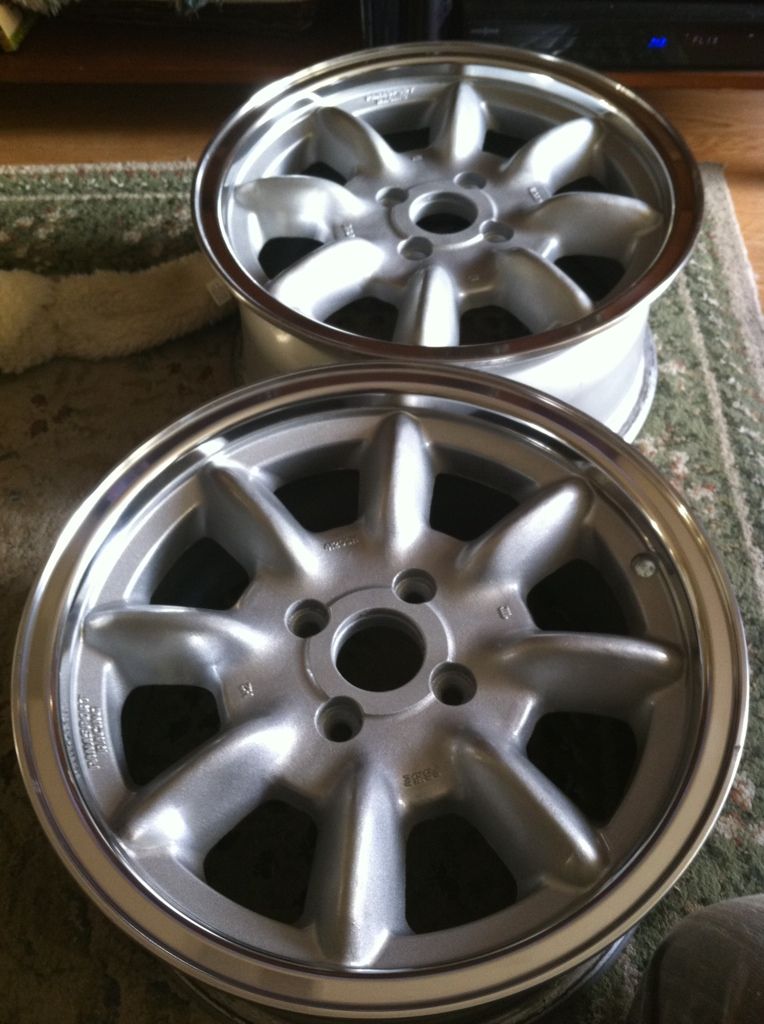
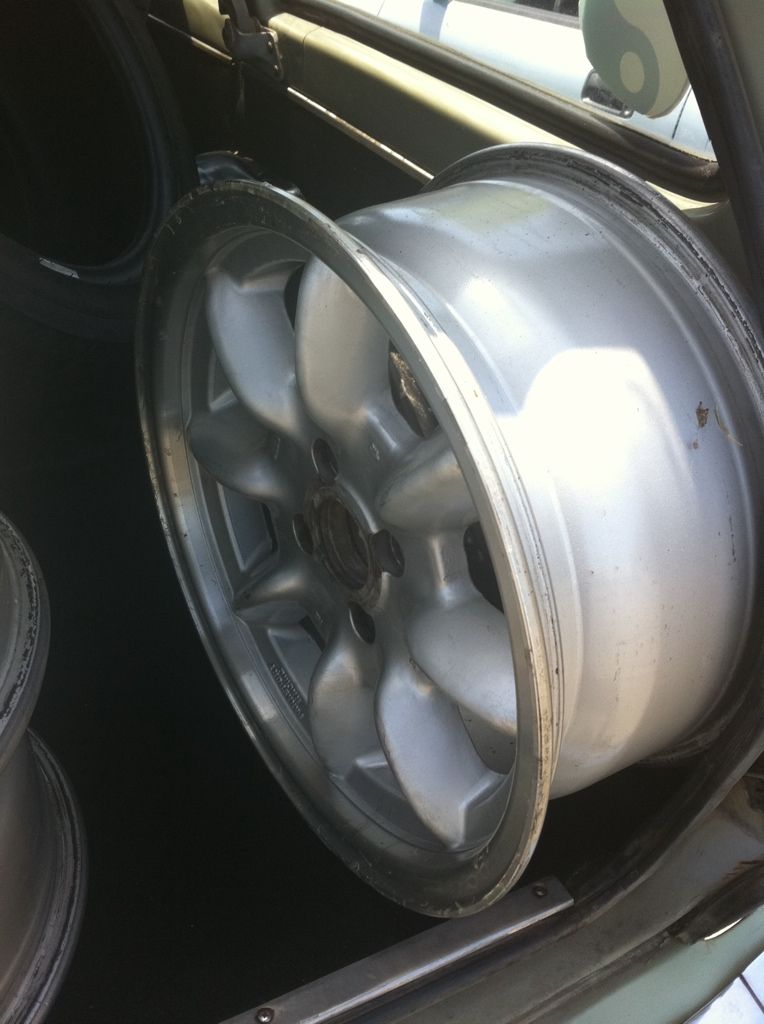
Here’s my Watanabe wheels I also refurbished for a second time since I was lazy the first time around and just painted and clear coated the lips instead of polishing them…what a mistake! :P
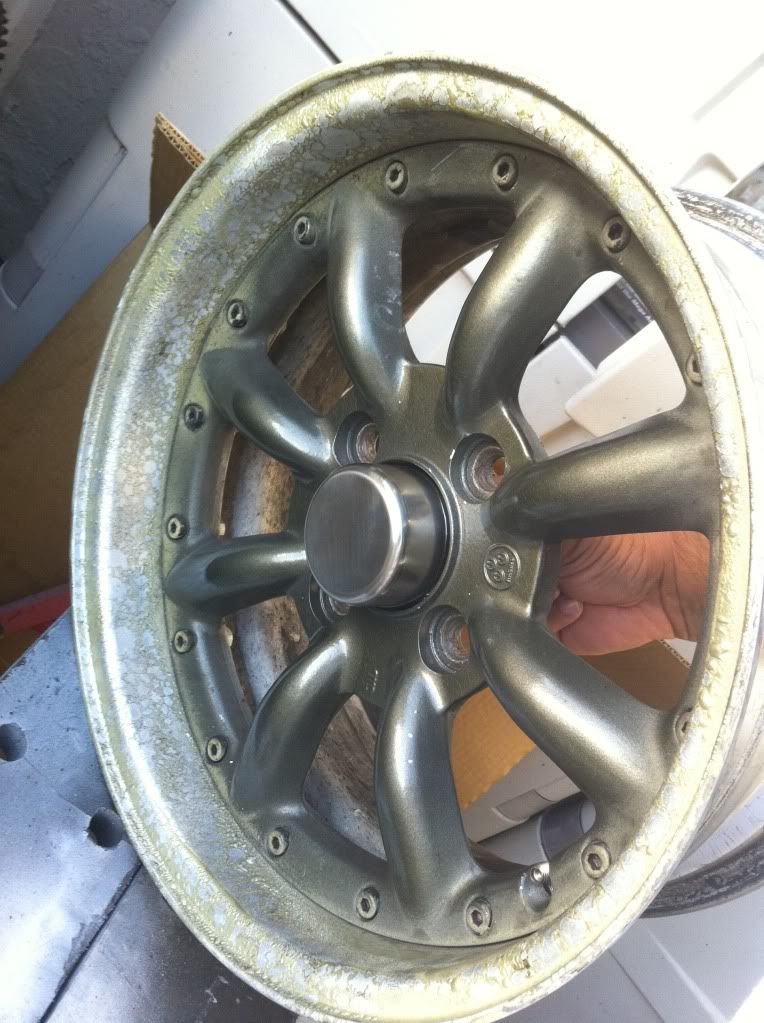
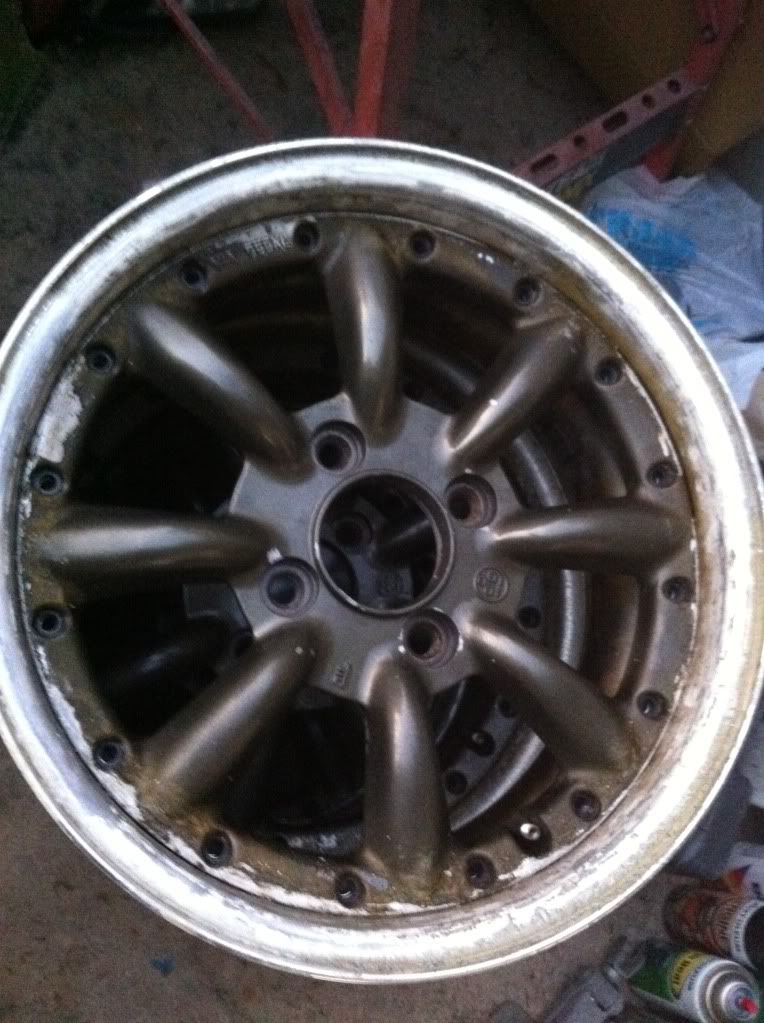
Before:

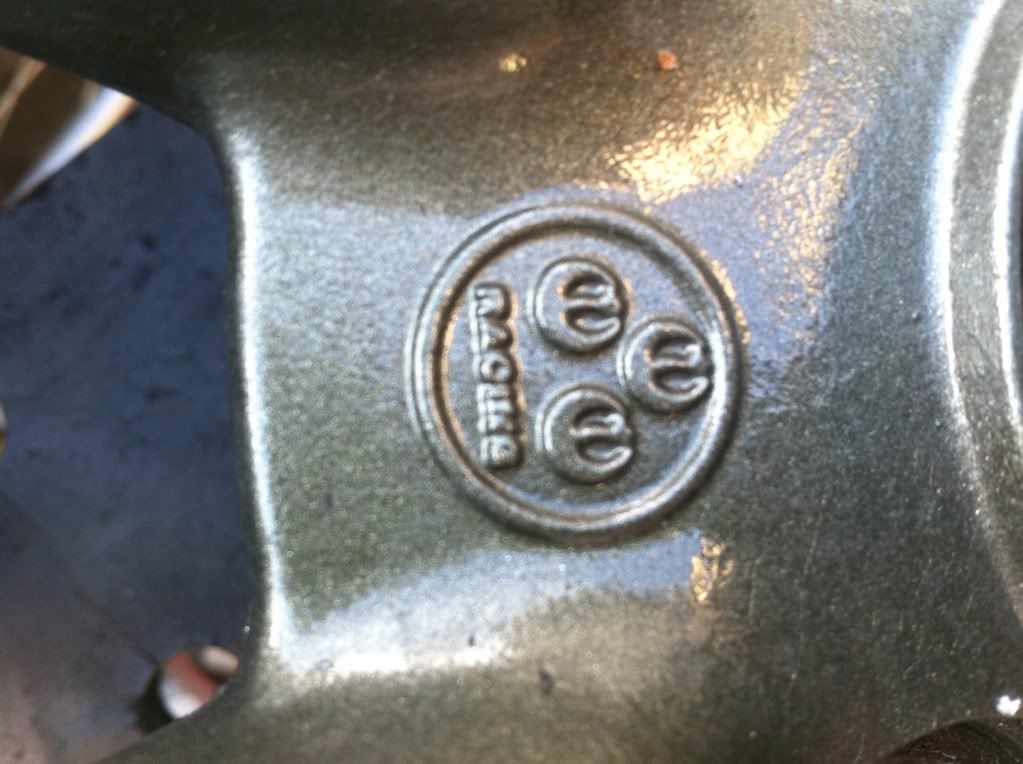
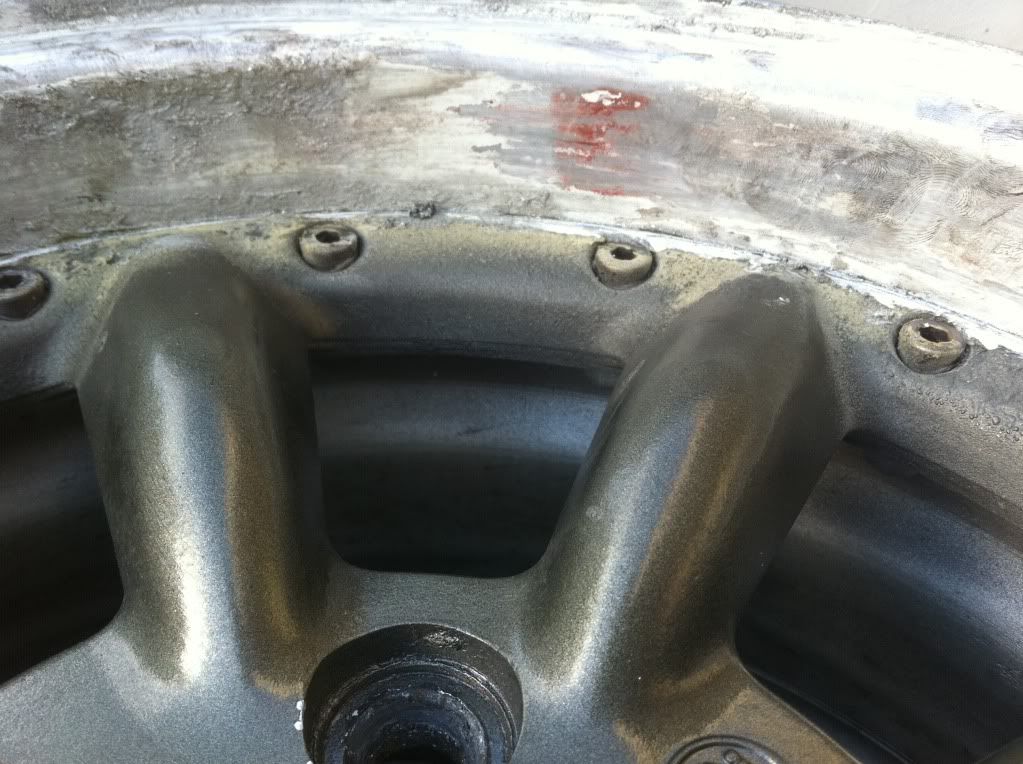
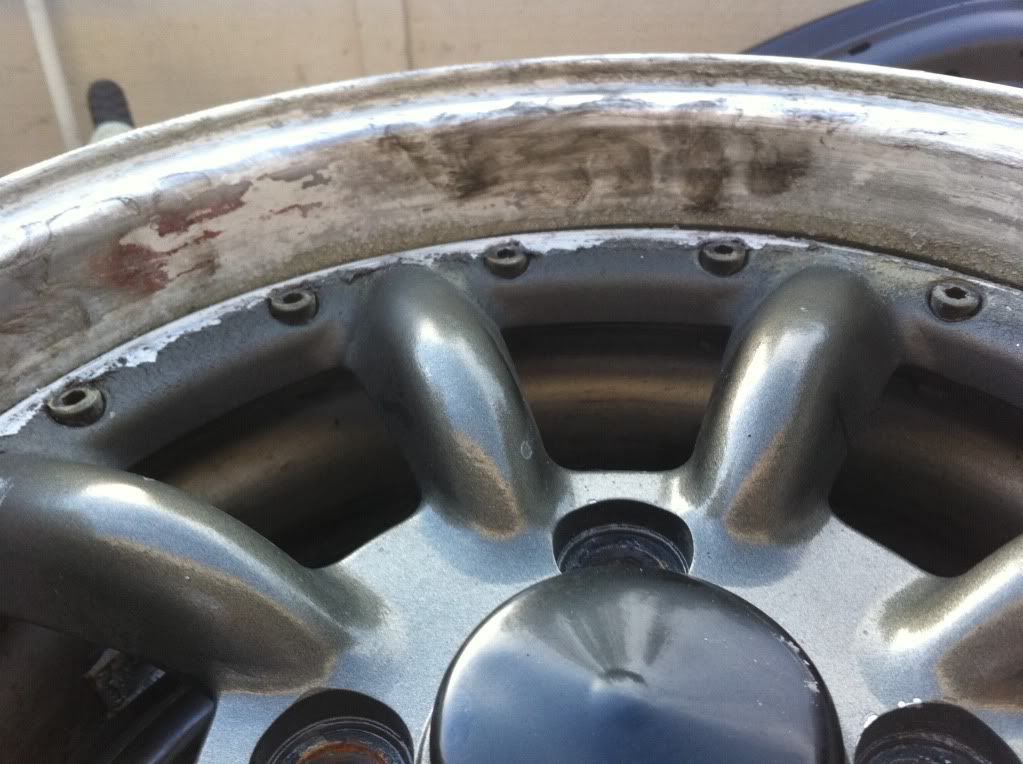
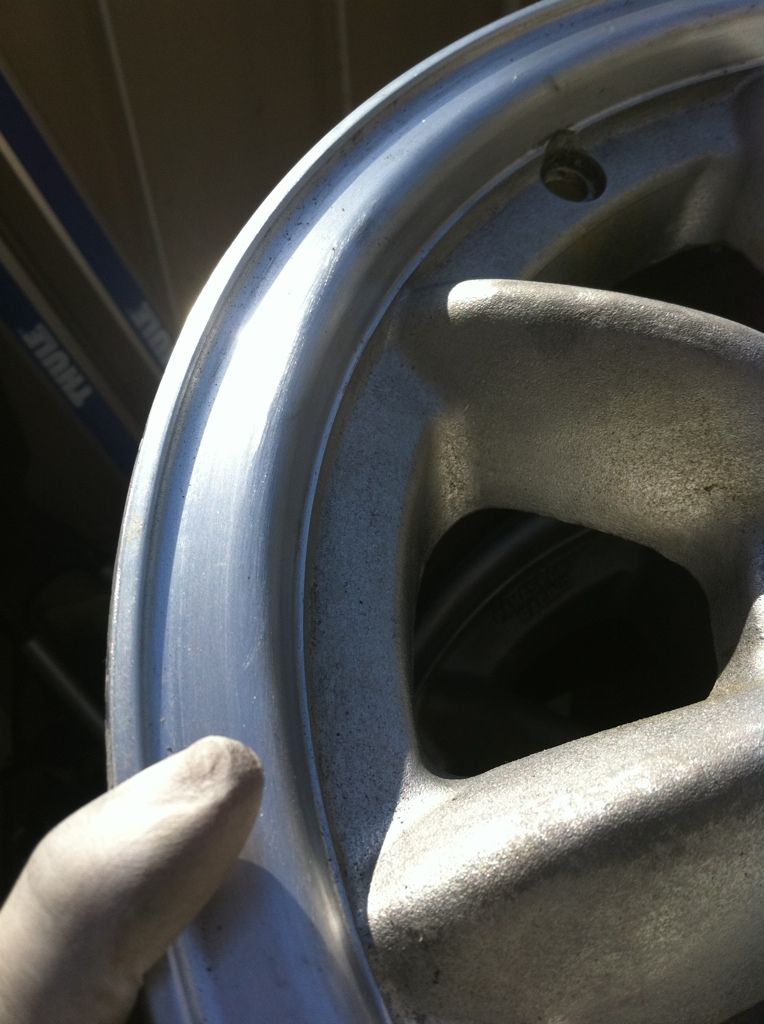
Close up of Lip & logo:
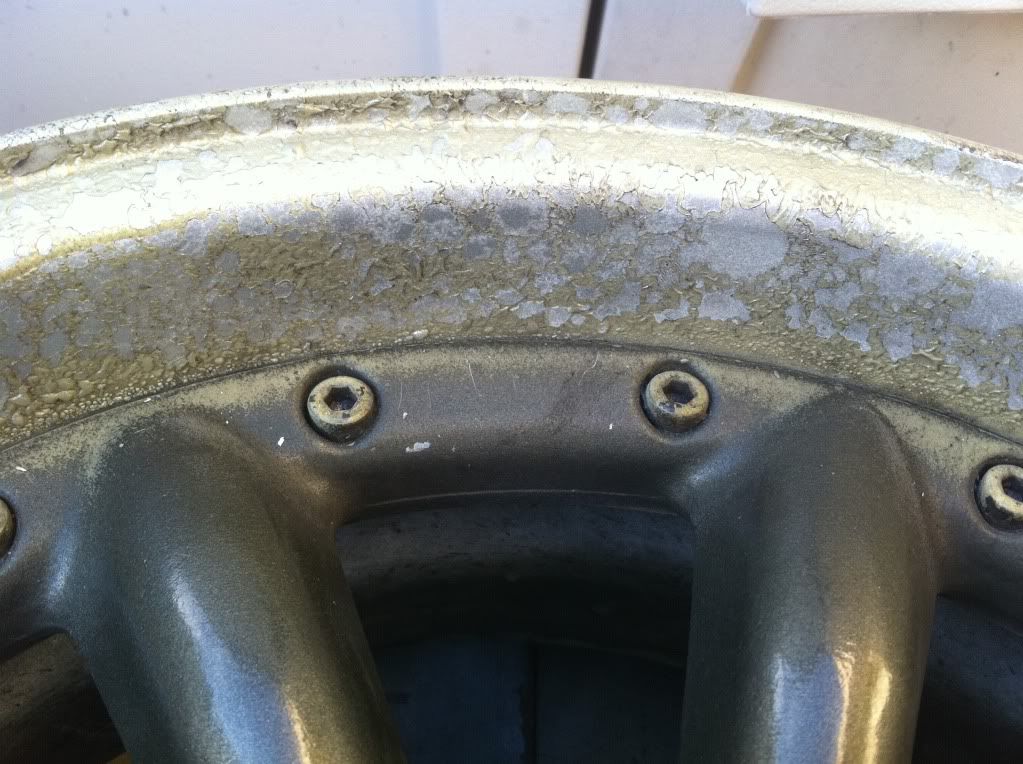
Clear coat sanded off lip:
Bolts removed:
Face/Barrel separated (hammered out):
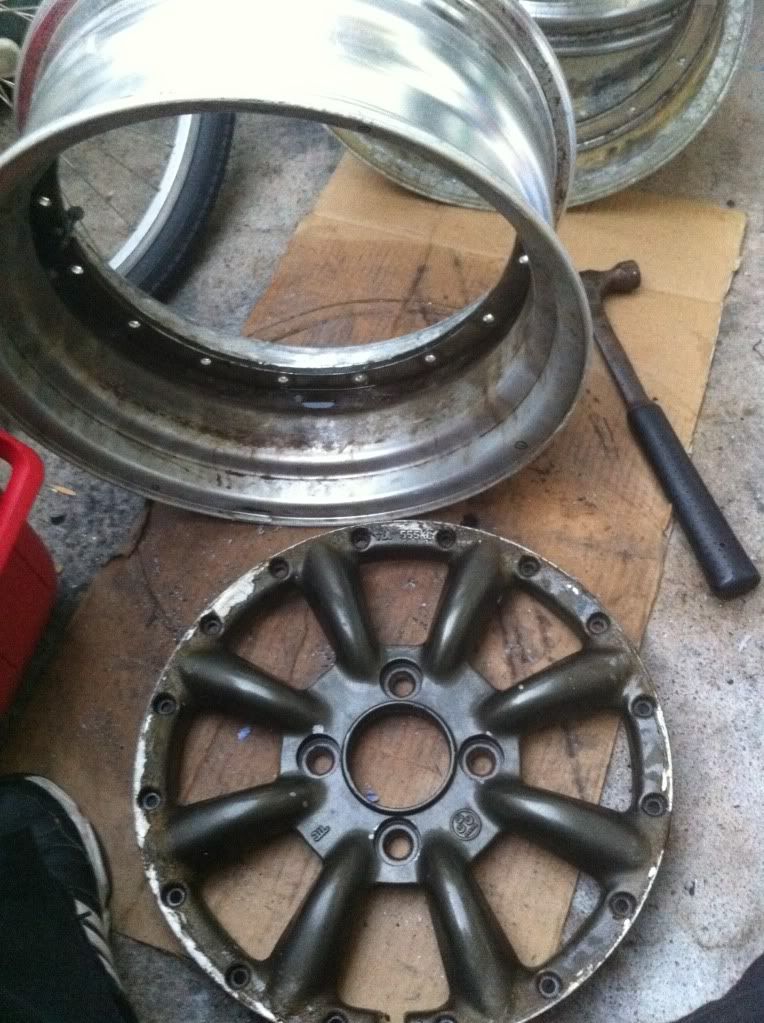
Face prior to stripping:
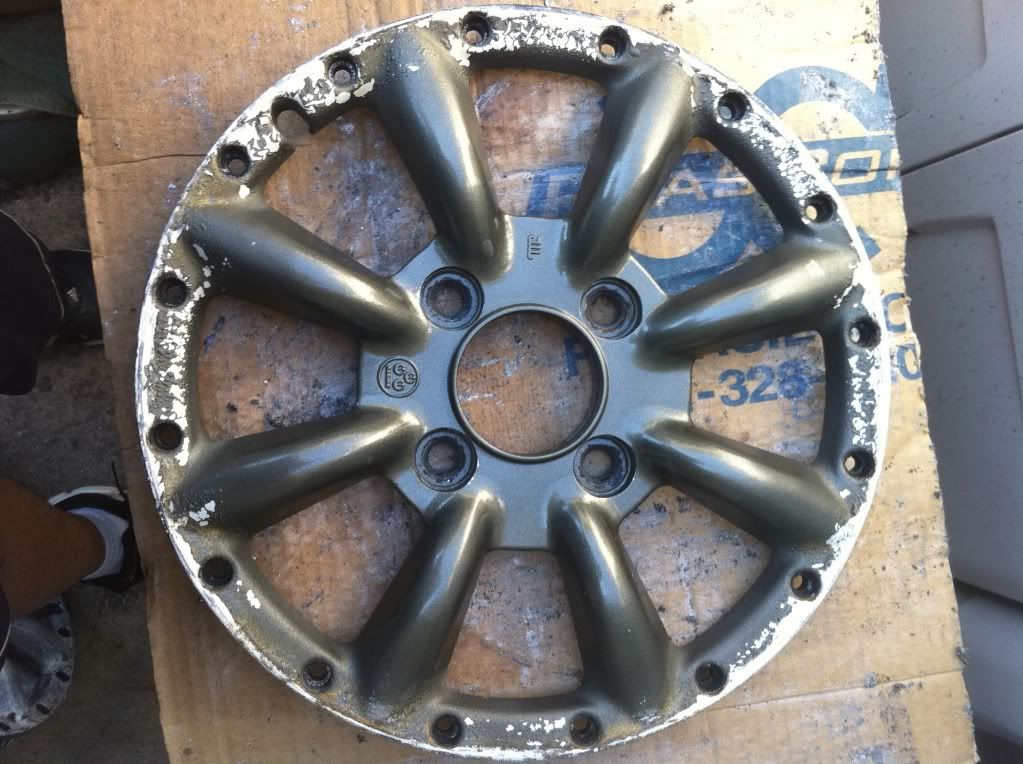
Face being stripped:
Barrel before polishing:
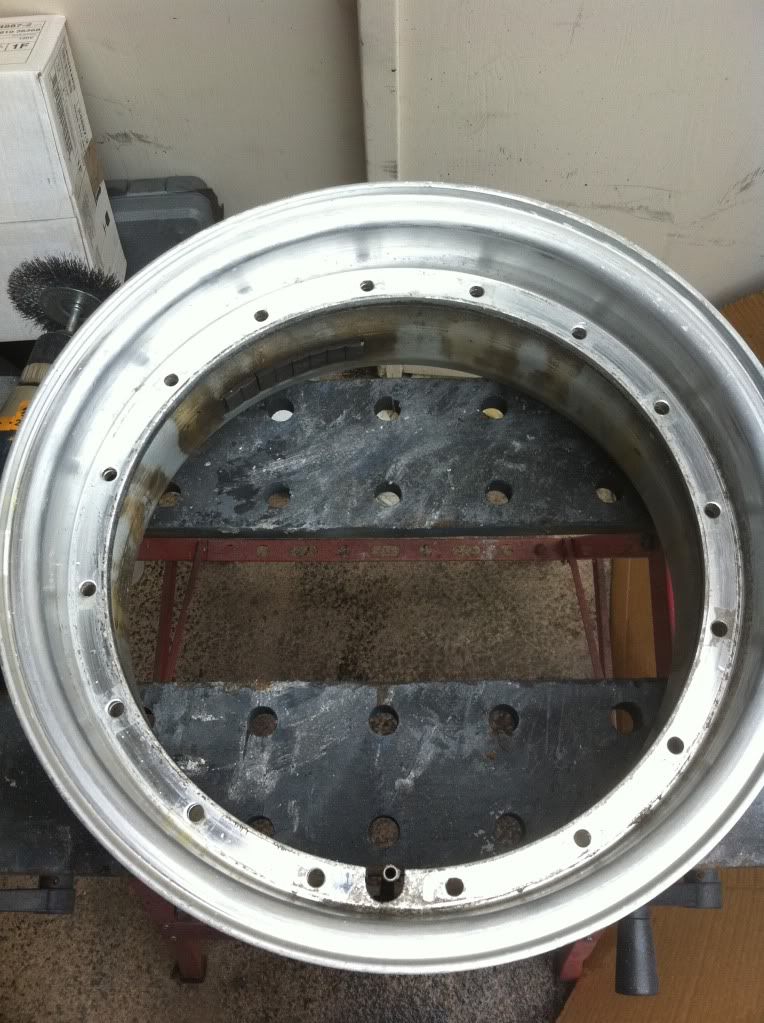

Barrel rear side before:
Barrel rear side cleaned up:
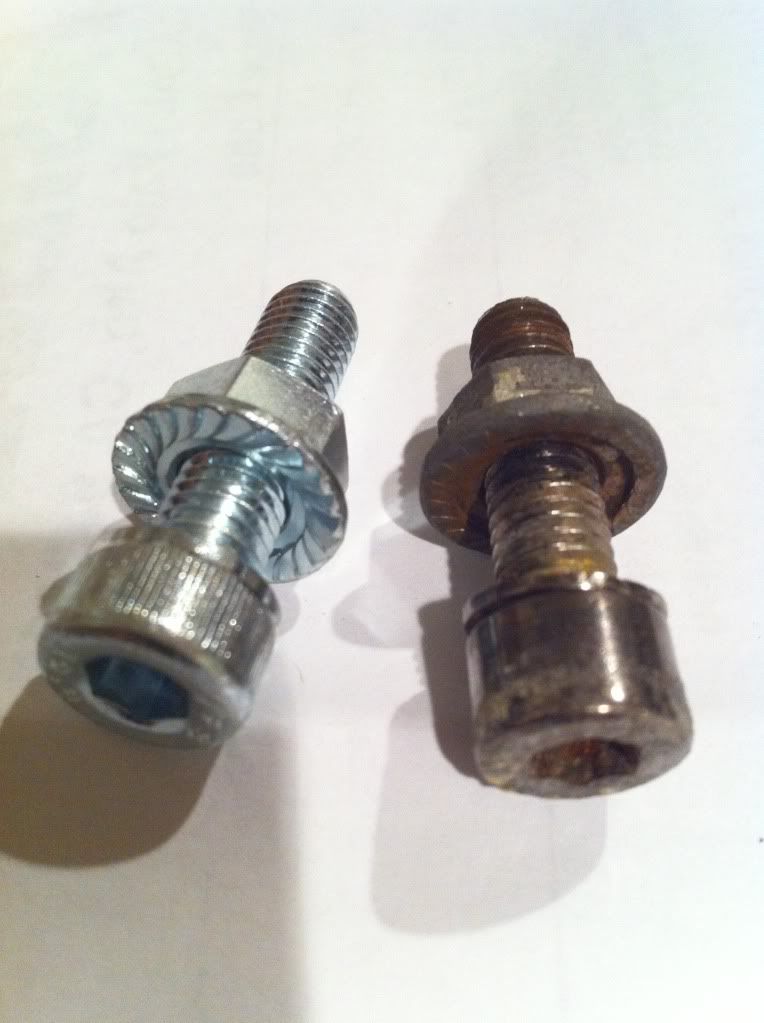
Old hardware: I tried salvaging by cleaning them:
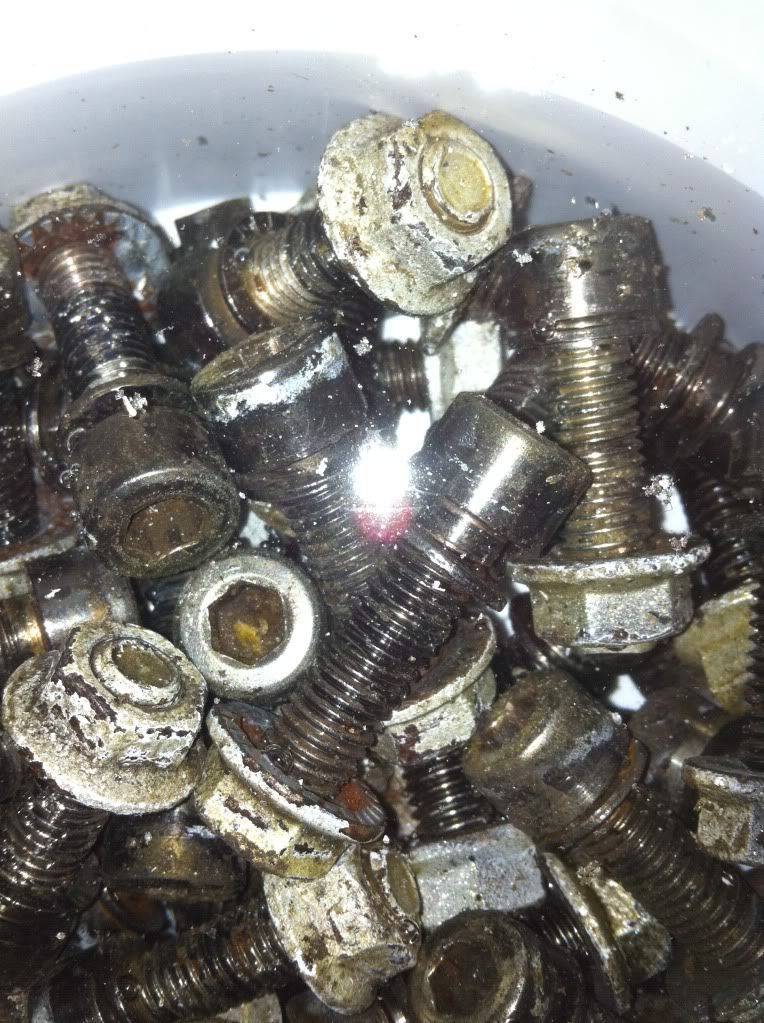
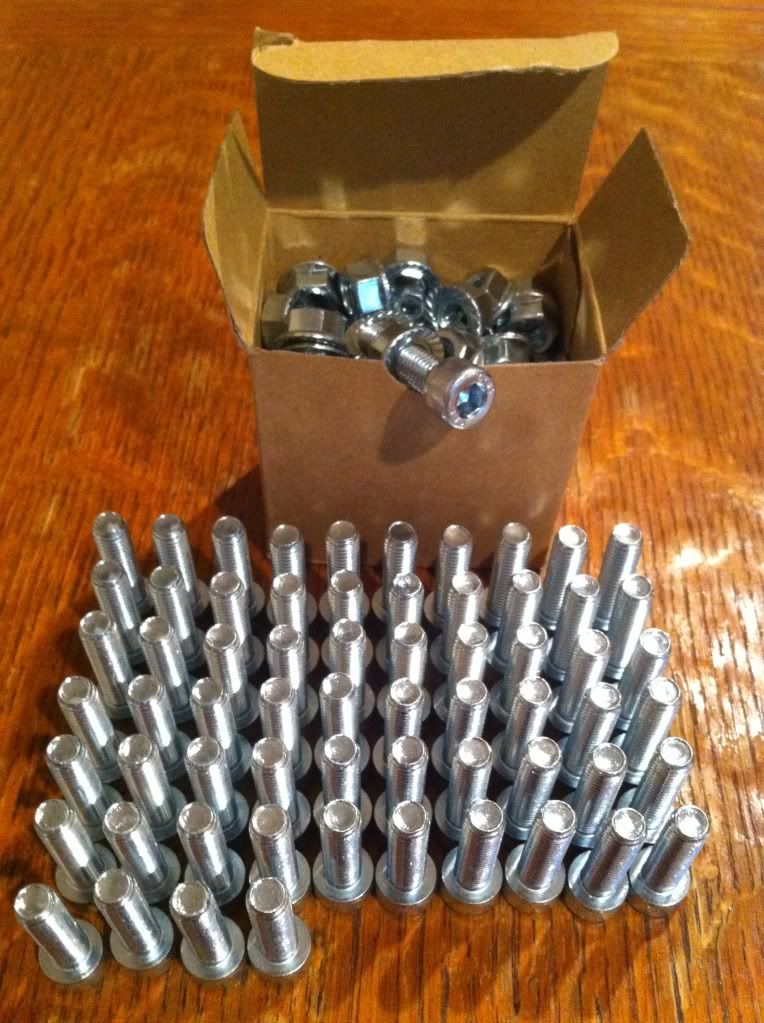
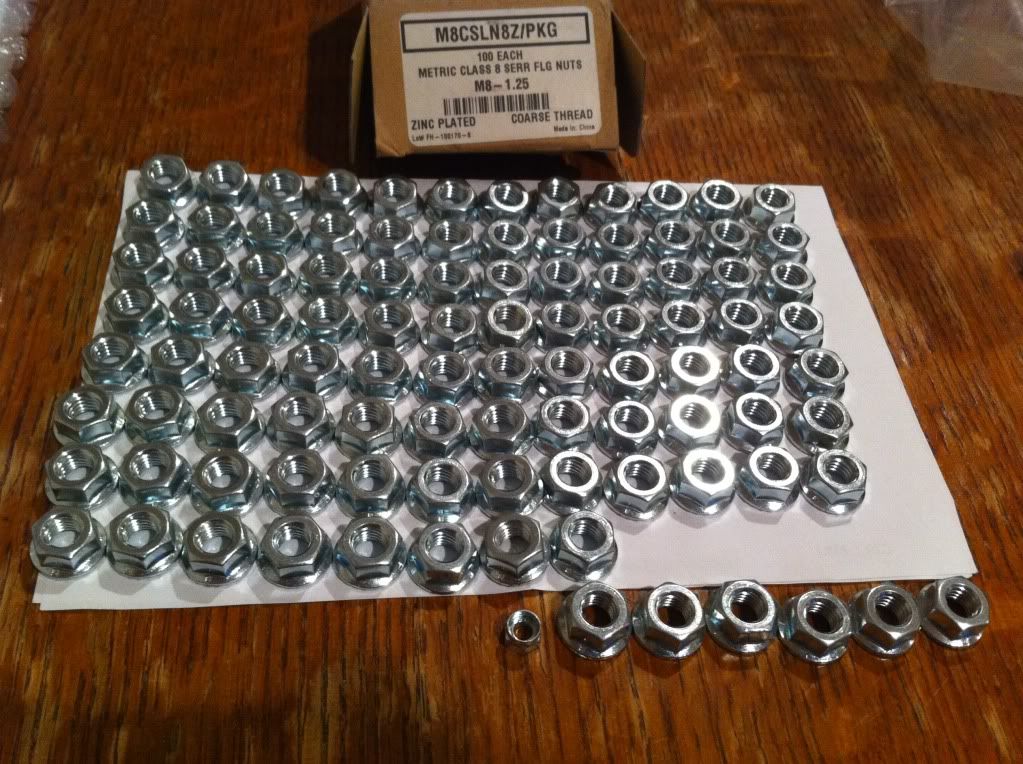
But decided it wasn’t worth the risk so I got the proper grade hardware from Fastenal.com (you CAN'T use hardware store quality nuts/bolts here guys!)
Nice and Shiny:
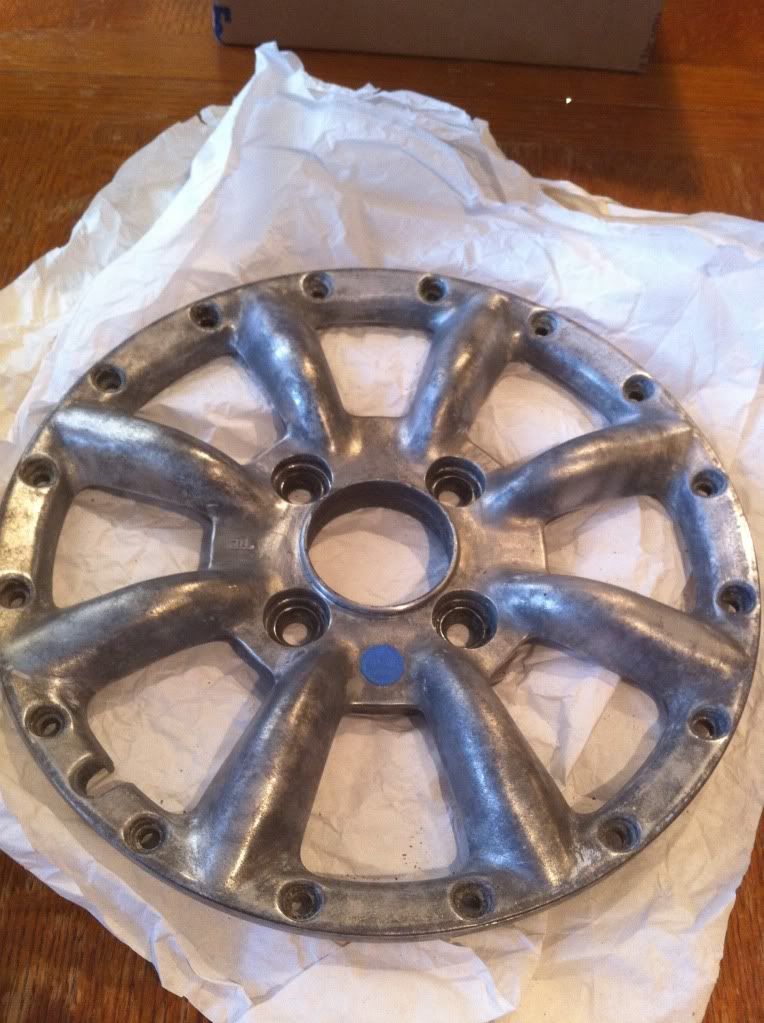
Face paint removed:
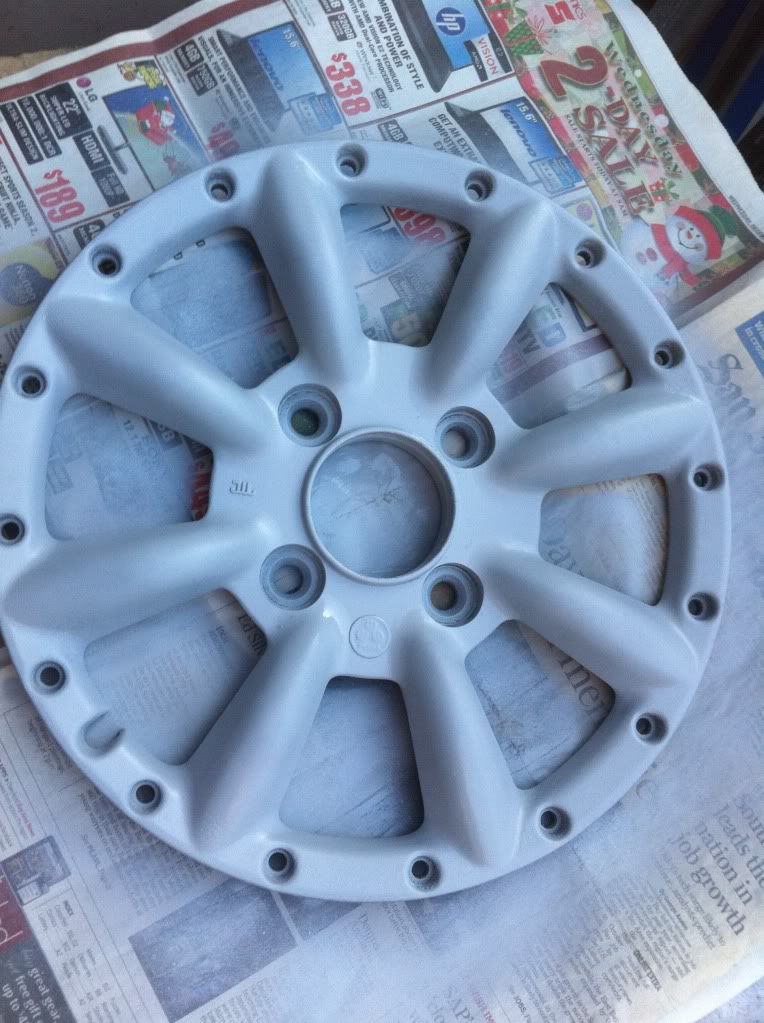
Face primered:
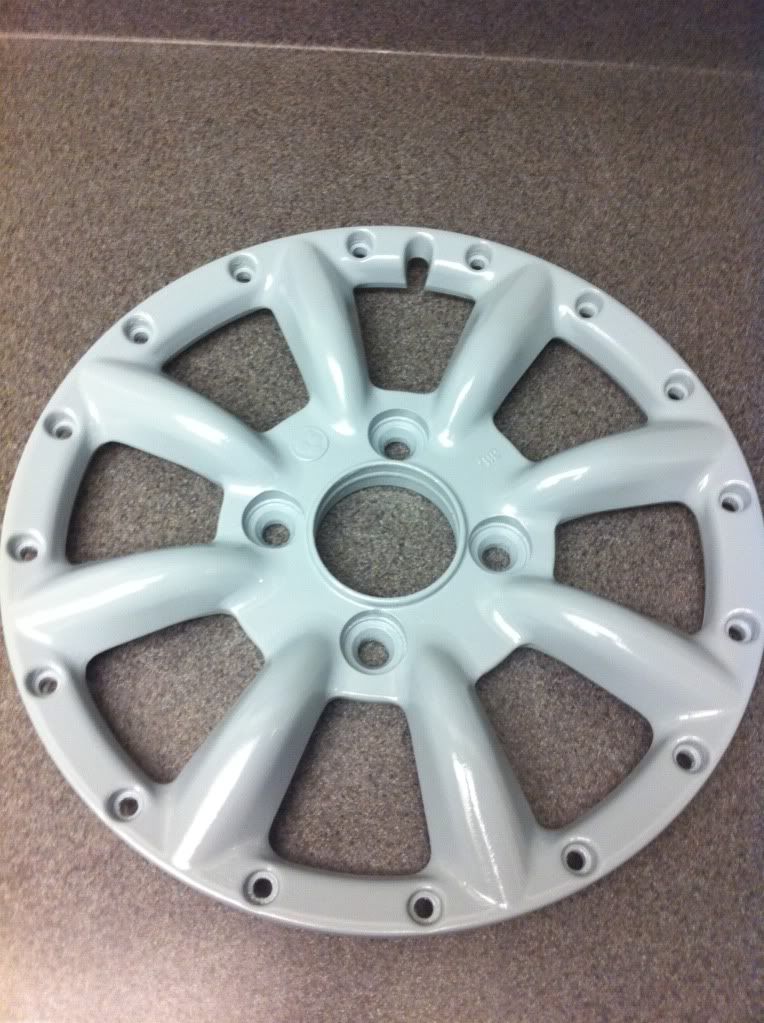
Face painted:
-
 1
1
-
-
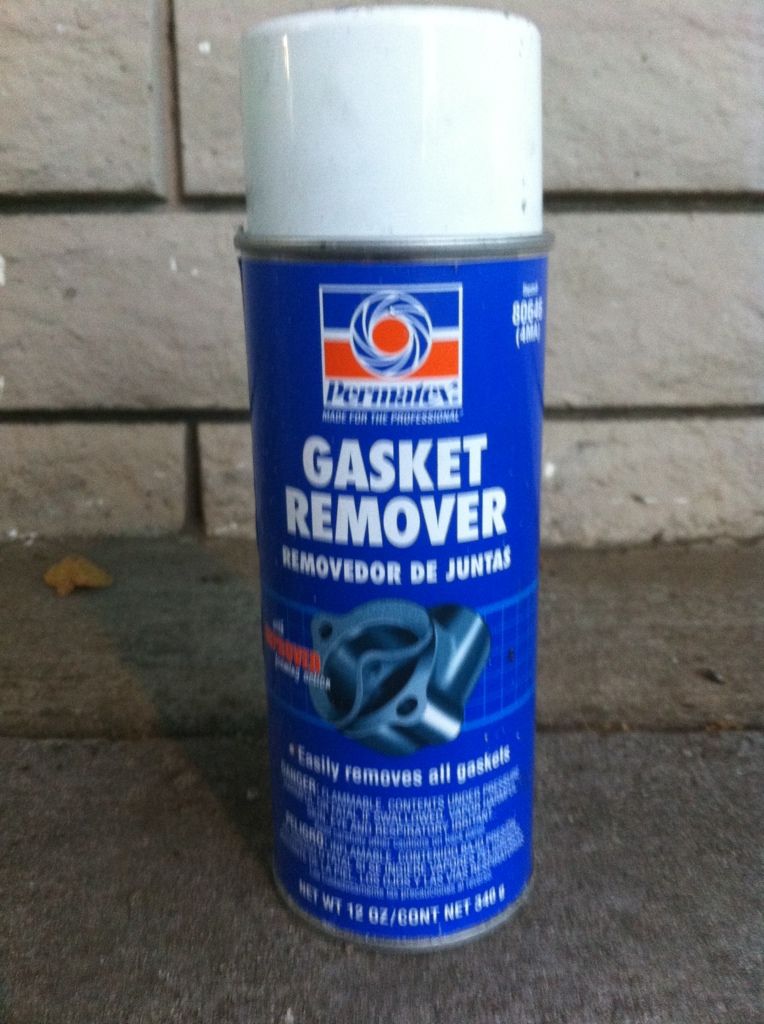
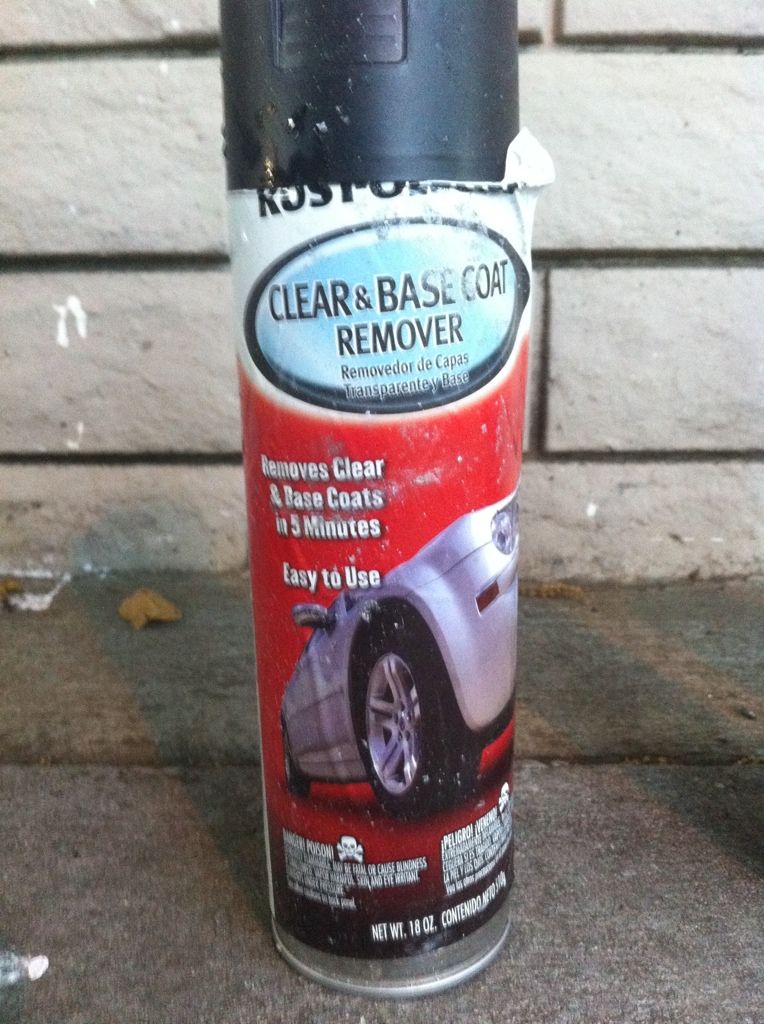
Oh and I forgot to mention you have to used the aerosol gasket remover, not the stupid pump spray one they sell here in CA so it might be hard for us CA guys to find. :(
-
Wow! Thanks so much for breaking it down step by step for me Dimer! I hope this helps a lot of people. Im definetely going to use this method on my lips. As for my faces, since they are mesh, I think its going to be a bitch to get in all the holes. I was planning on just getting the grime off and re spraying them. Any idea on what I should use?
Your rims look brand new!
Edit: Did you only sand the lips? And just used gasket remover on the face?
Thanks!
Yes and no.
Yes I did sand the lips only but I i did use the paint remover on the entire wheel (lips and face) but since the lips were only clear coated, it removed it from the lips but didn't even scratch the factory powder coating.
No I did not use the gasket remover on the lips, just the face.
I've done mesh wheels in the past, I think it was the first set I did and I used the JASCO gel like stuff with a toothbrush to get in the nooks and crannies and let it do its thing to bubble the paint up. It's a tedious process but you can do it. Just make sure to try to get all the paint off otherwise if you give up and just spray over any left on paint it will look half assed so once you commit, you have to finish the job.
-
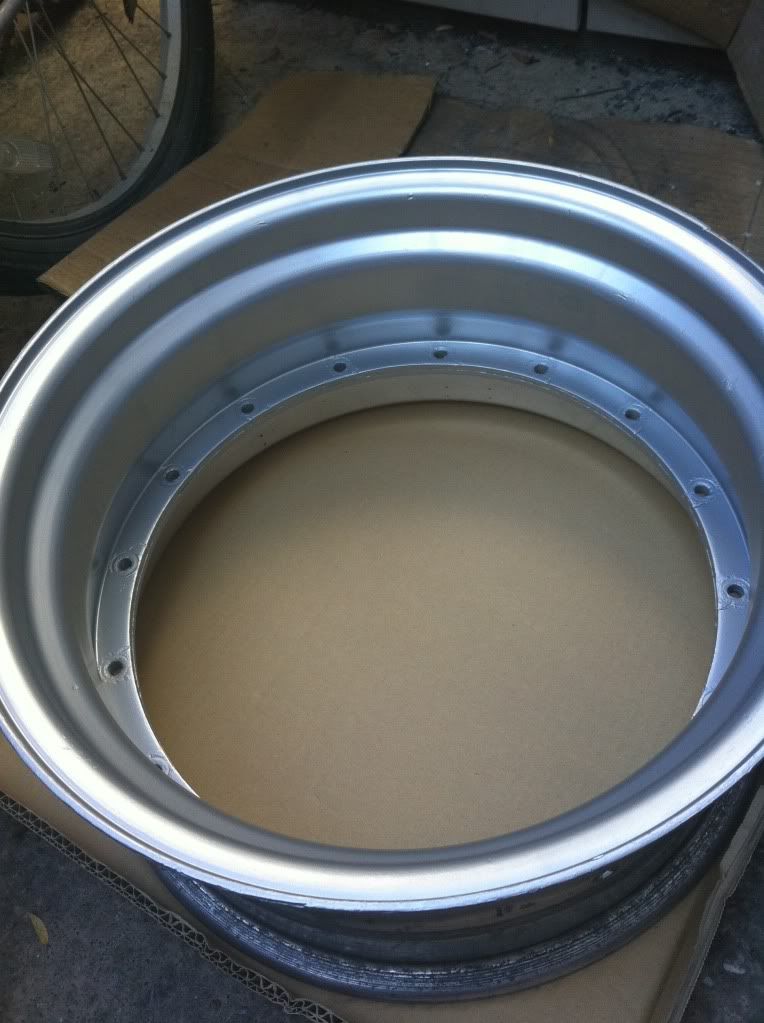
All cleaned up and ready for paint!:
Masked: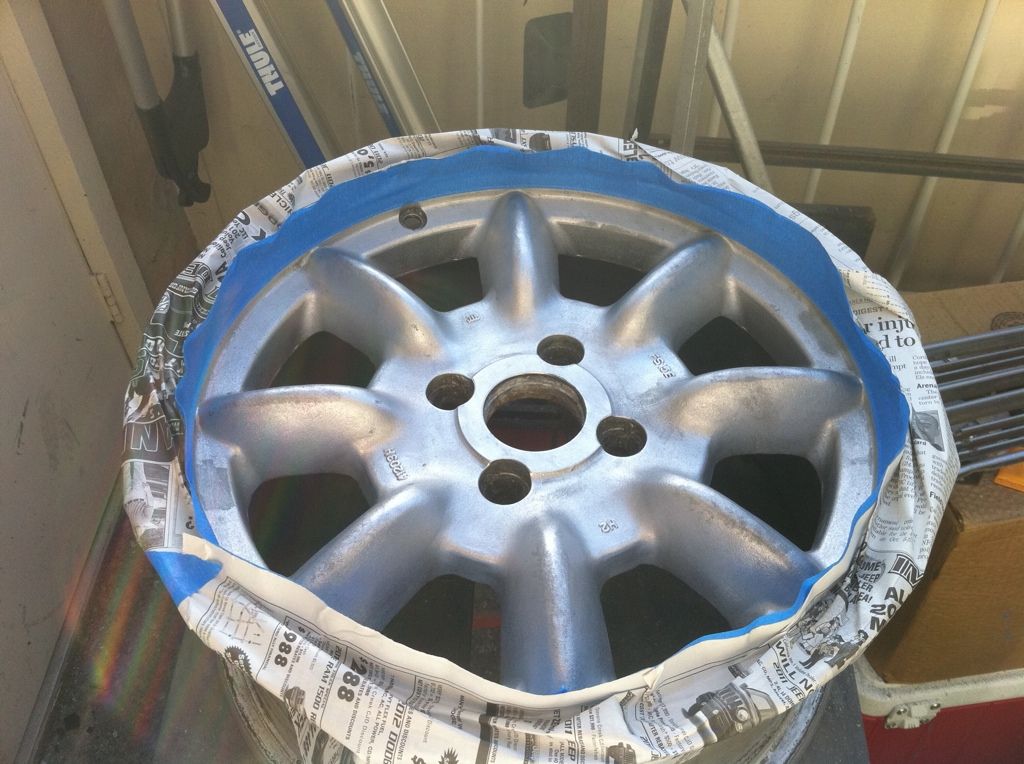
Painted (silver metallic) after being primered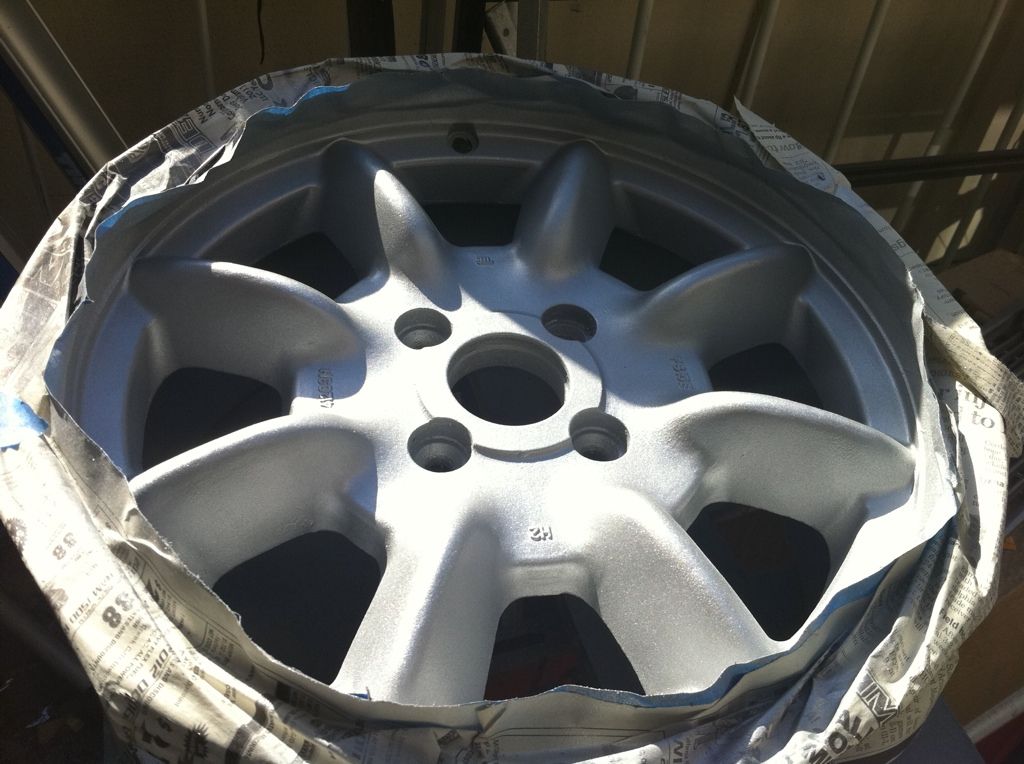
Painted and clear coated: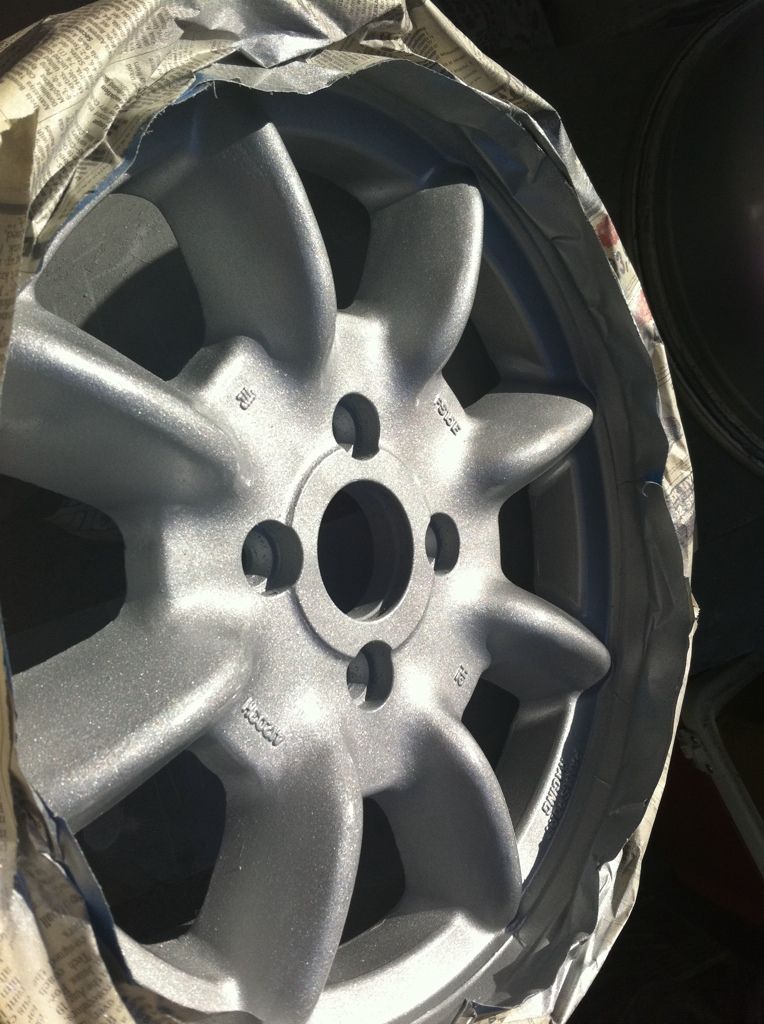
All masking removed and lips touched up from getting my grubby paw prints on them!:
Oh and BTW, I also did the back barrels of the wheels just didn't take any pics of it.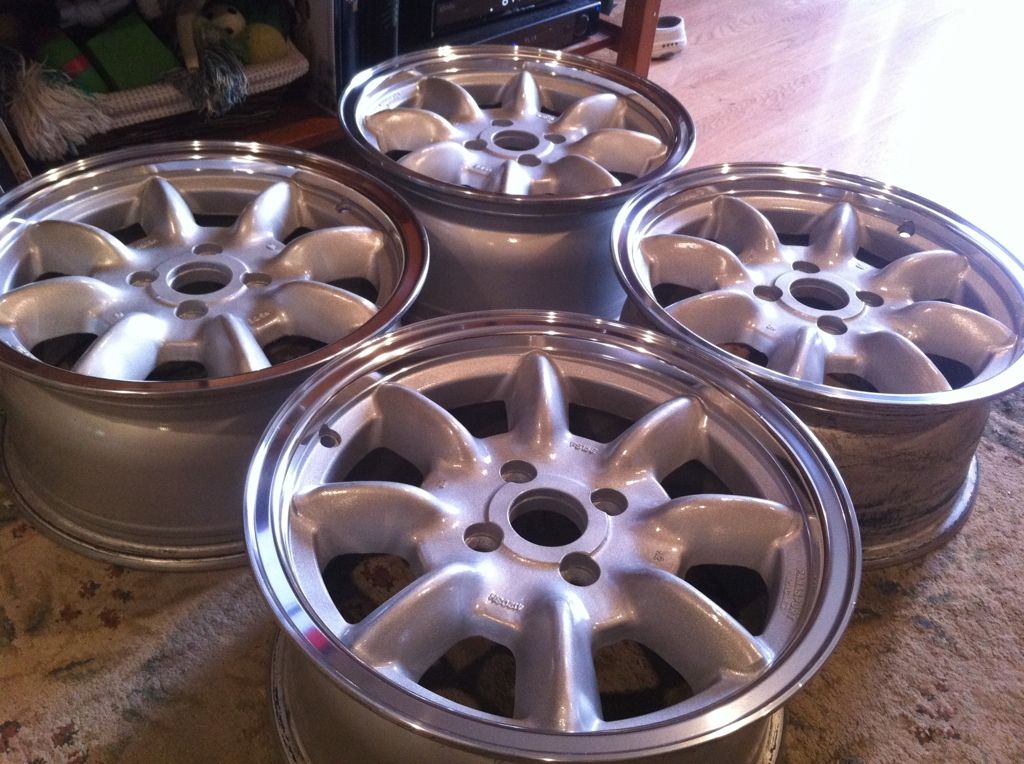
And here they are on my Miata after I was done: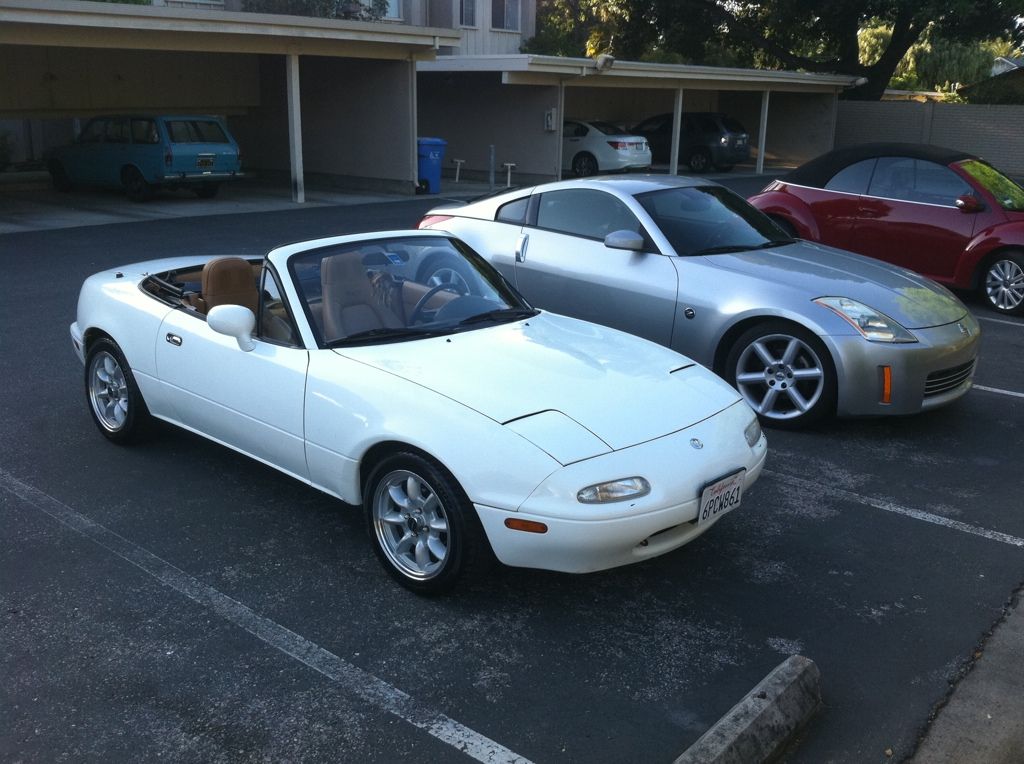
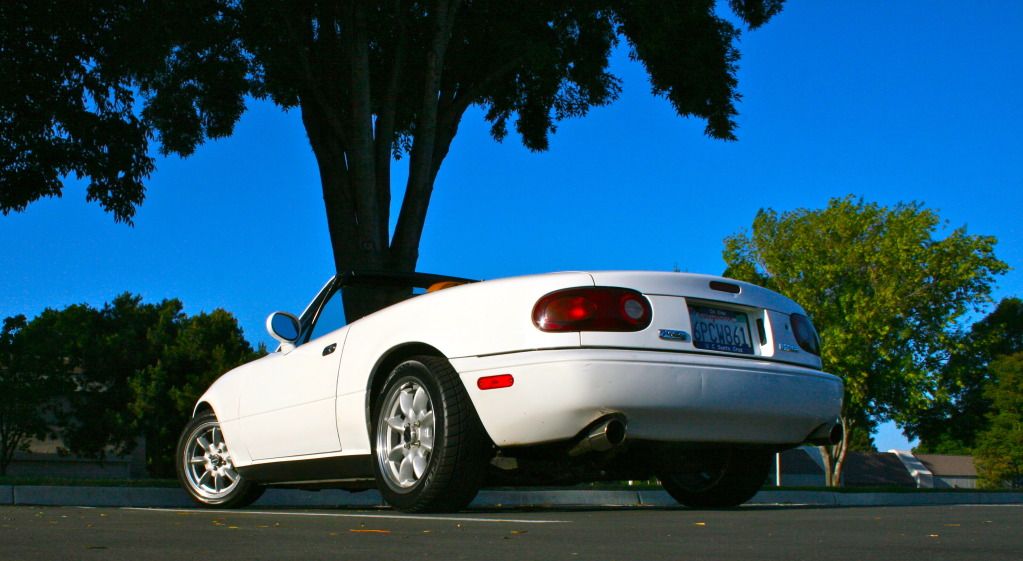
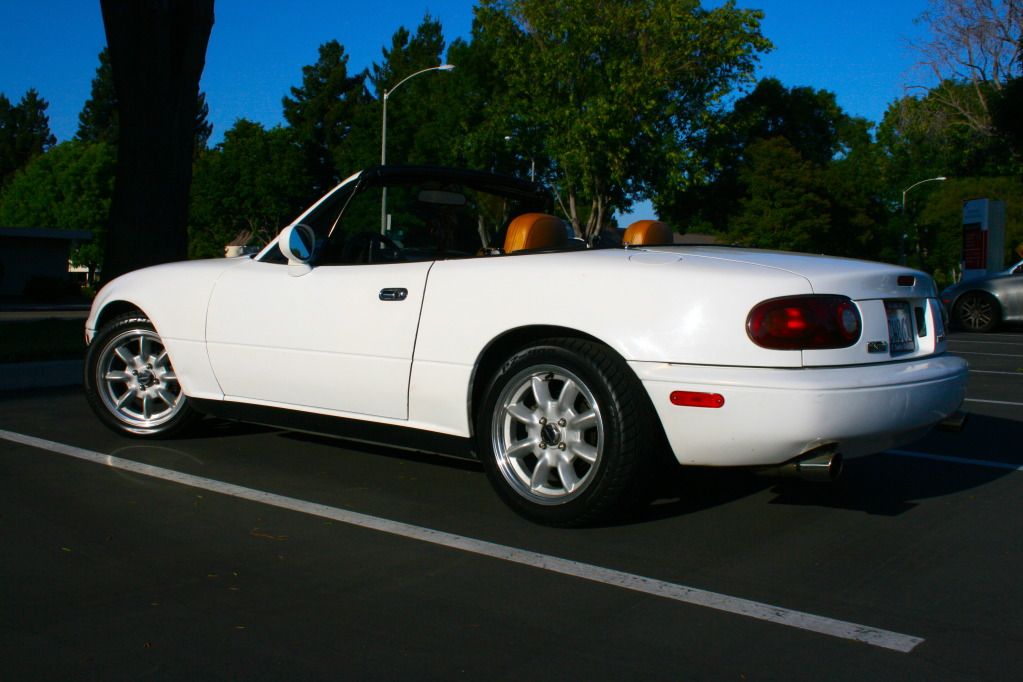
I think they came out pretty well considering I didn't have a proper set up to remove the factory powder coating, nor polishing setup...just a bunch of basic methods that I've used a few times.
-
3
-
-
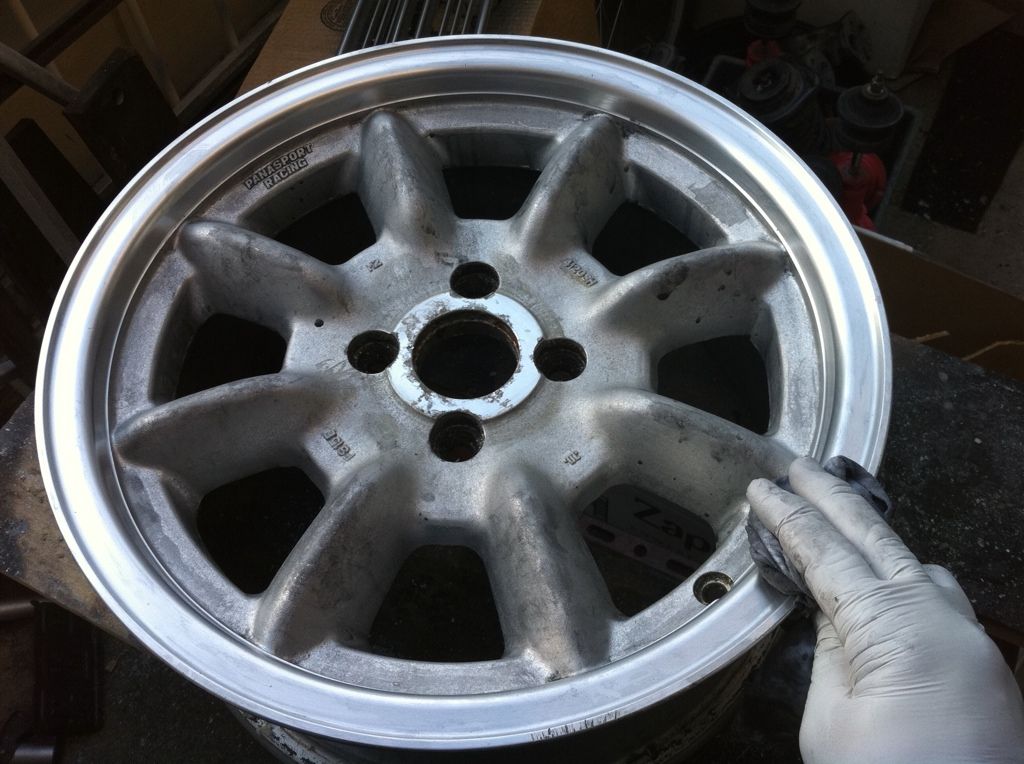
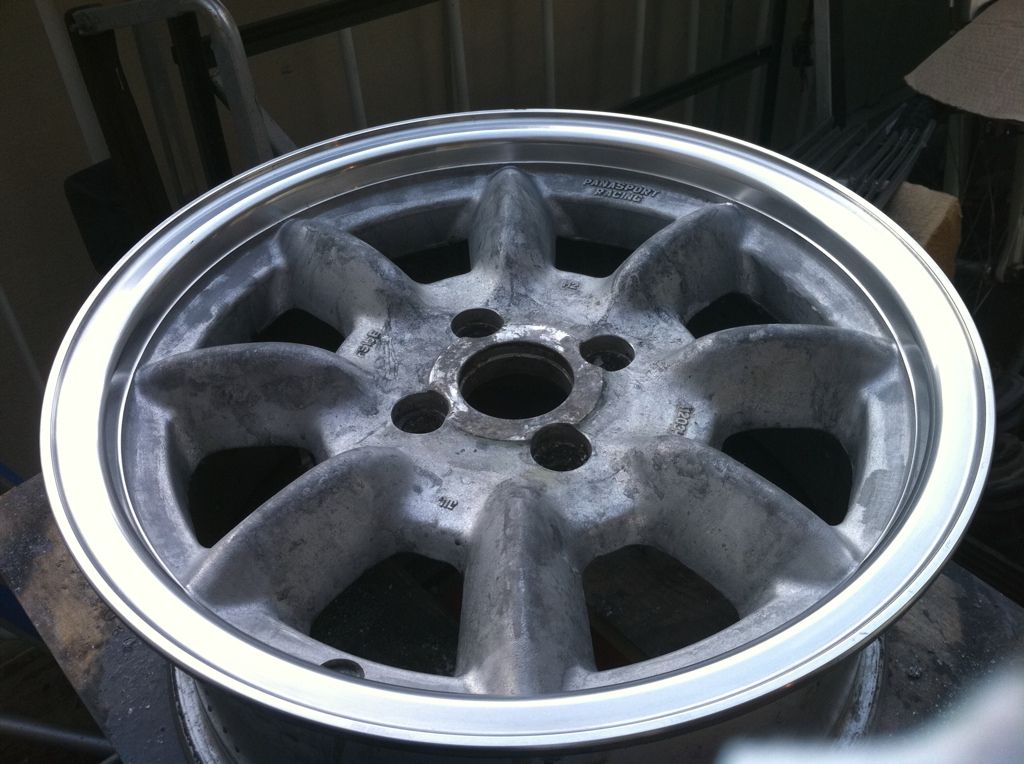
After some more cleaning of residual bits before any sanding:
 Before and after 1st sanding with 200 grit sand paper:
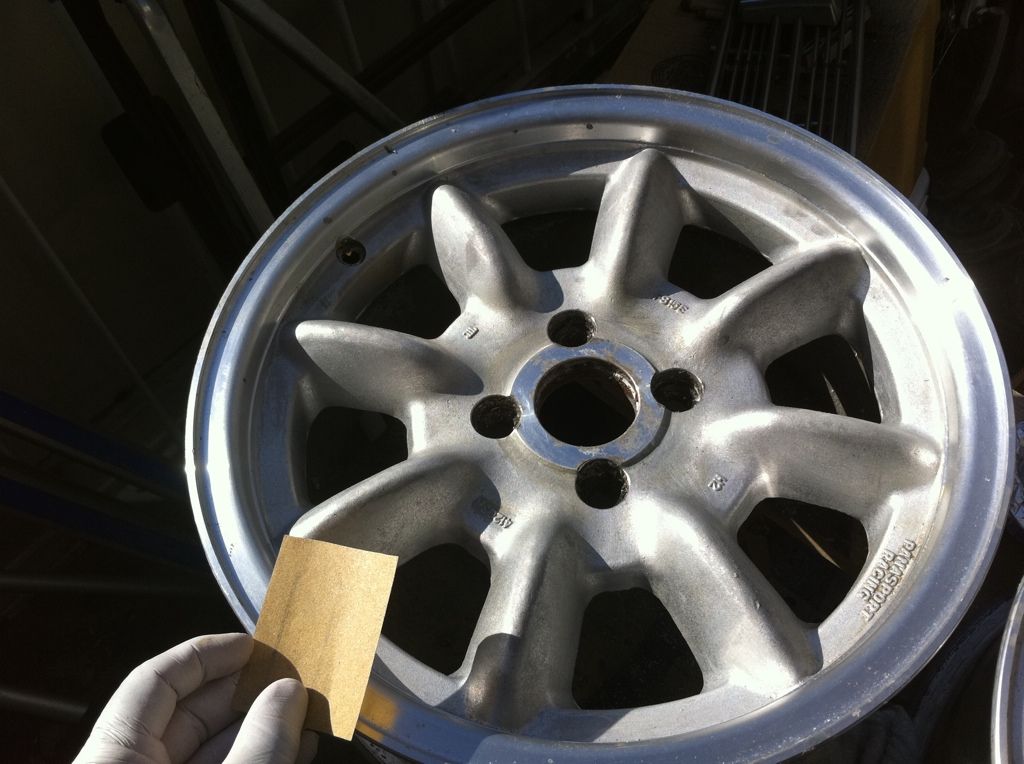
 During and after 2nd sanding with 400 grit wet sand paper:
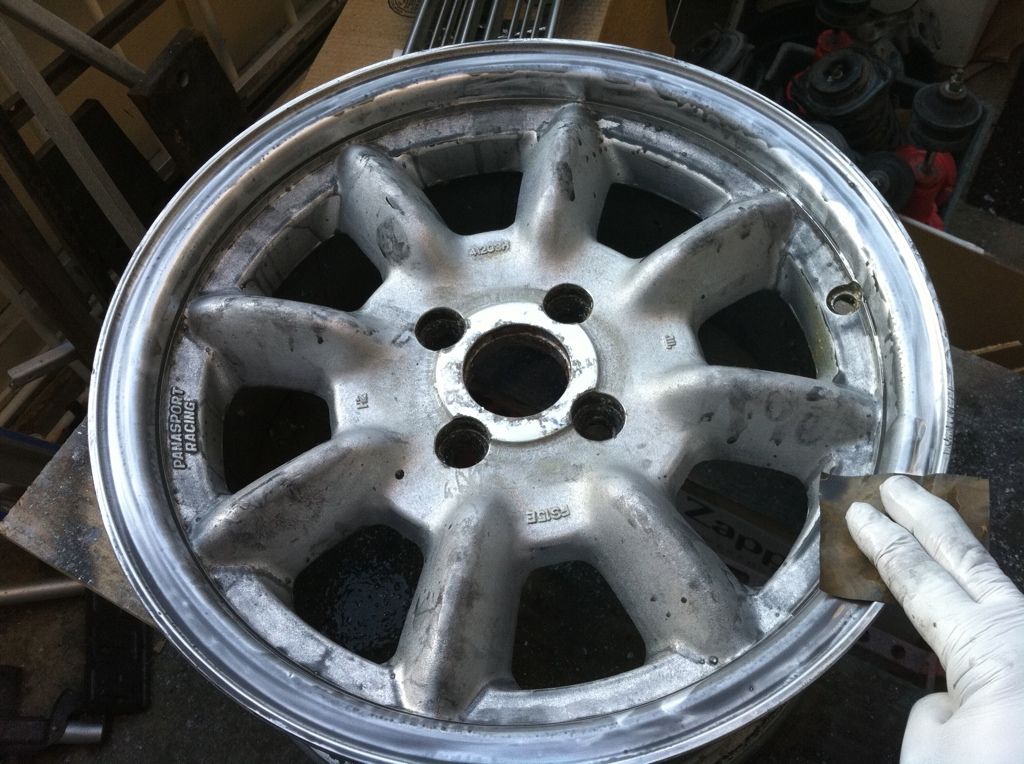
 During and after the 3rd sanding with 1200 grit wet sand paper:
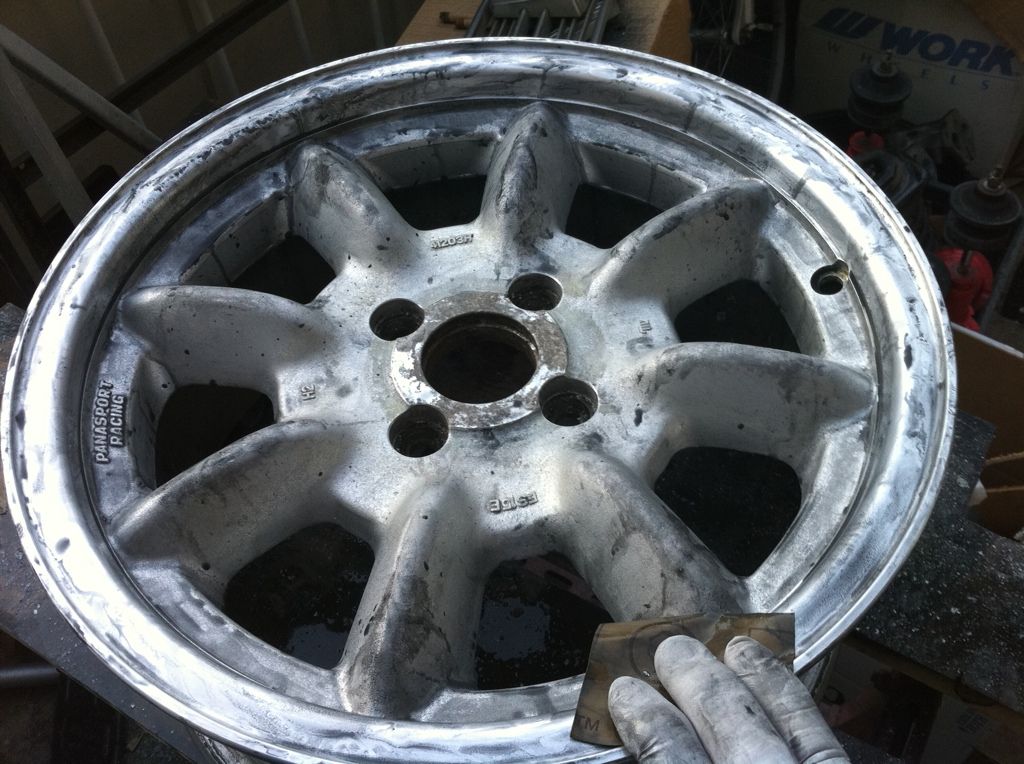
 During and after the 4th sanding with 1600 grit wet sand paper:
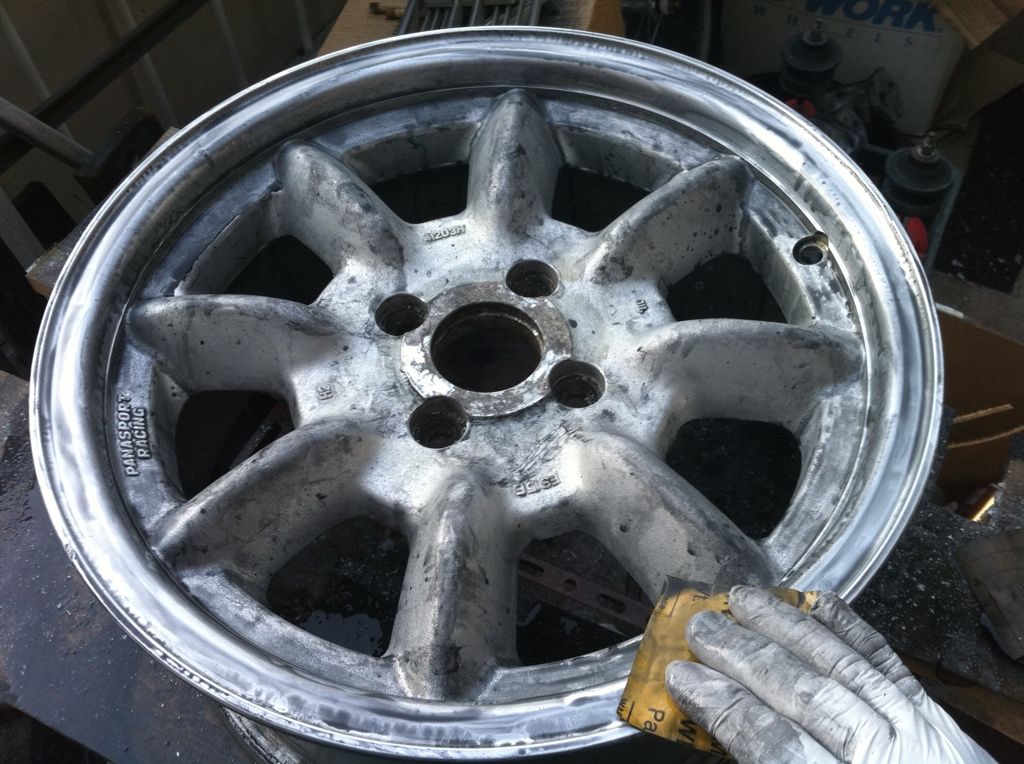
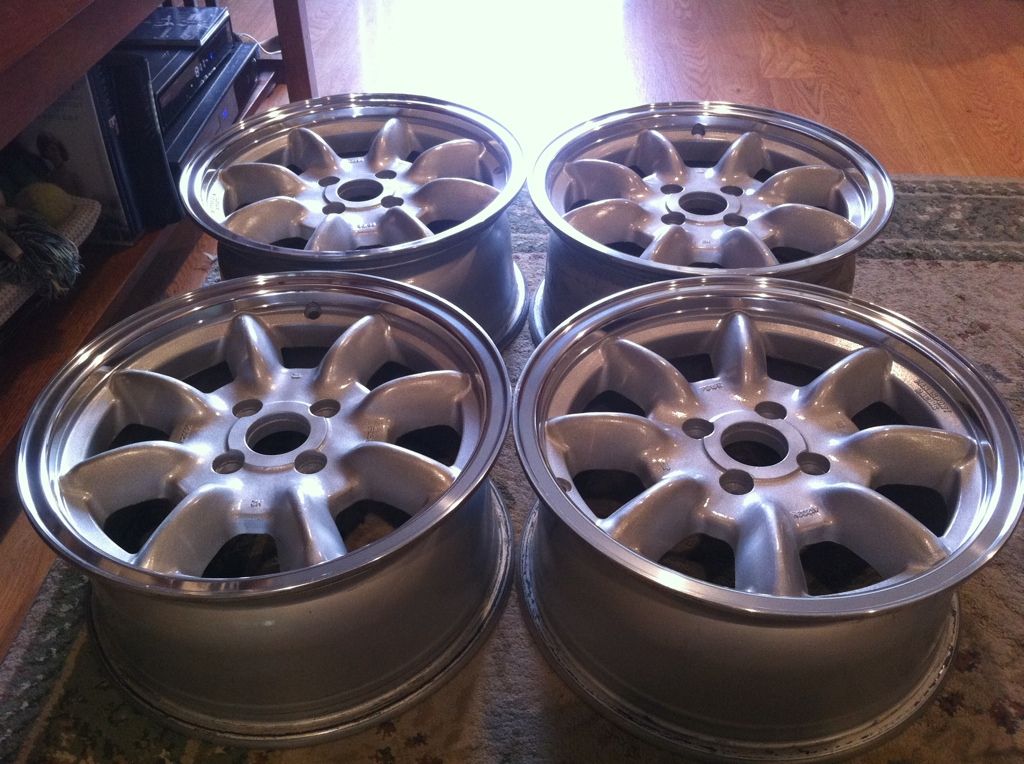
 Lip after hand polishing using Mother's polish:
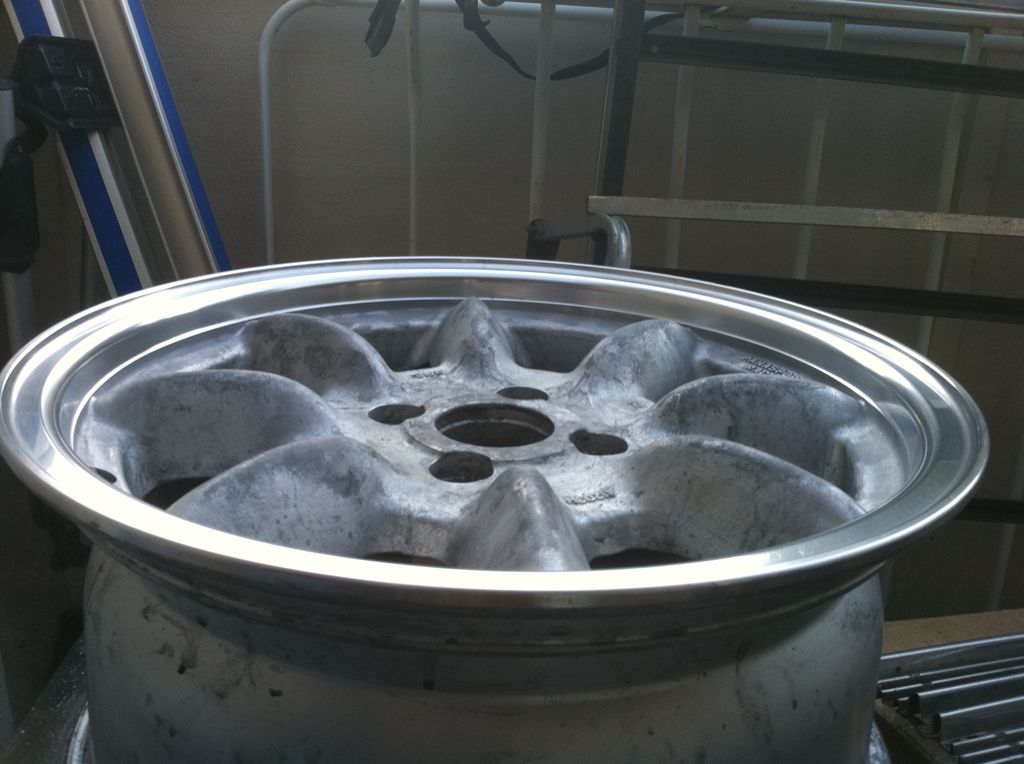 All 4 lips after polishing with wool drill bit attachment from Harbor Freight (a whopping $10?):
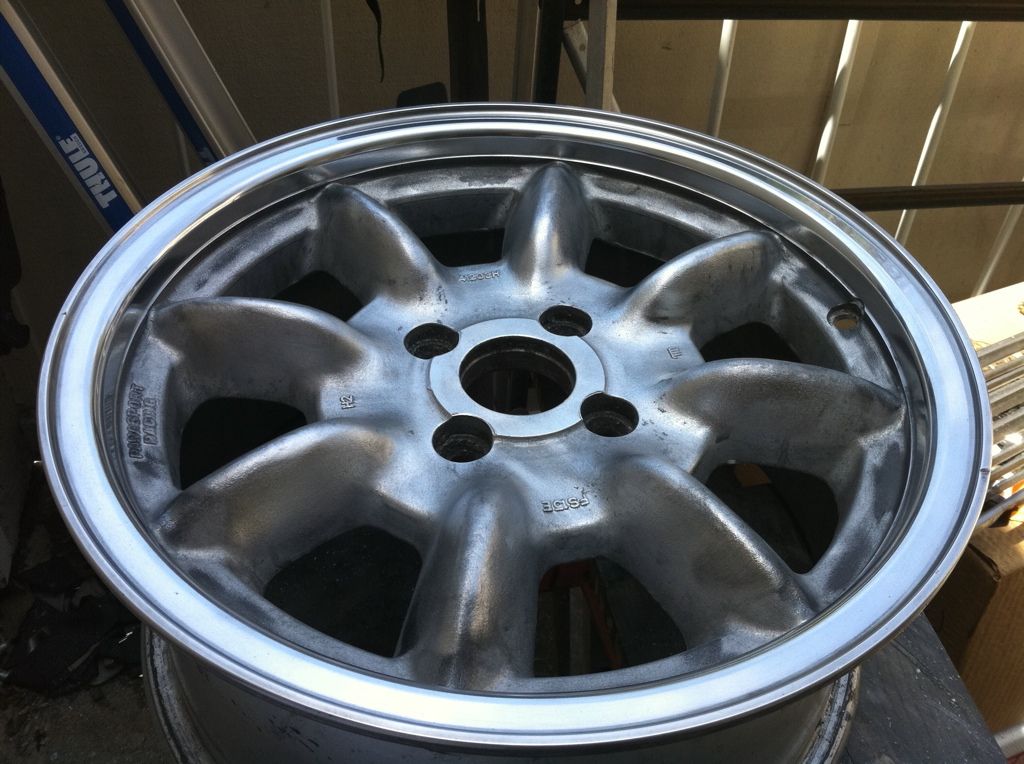
 Cleaning off the polish residue to get it prepped:
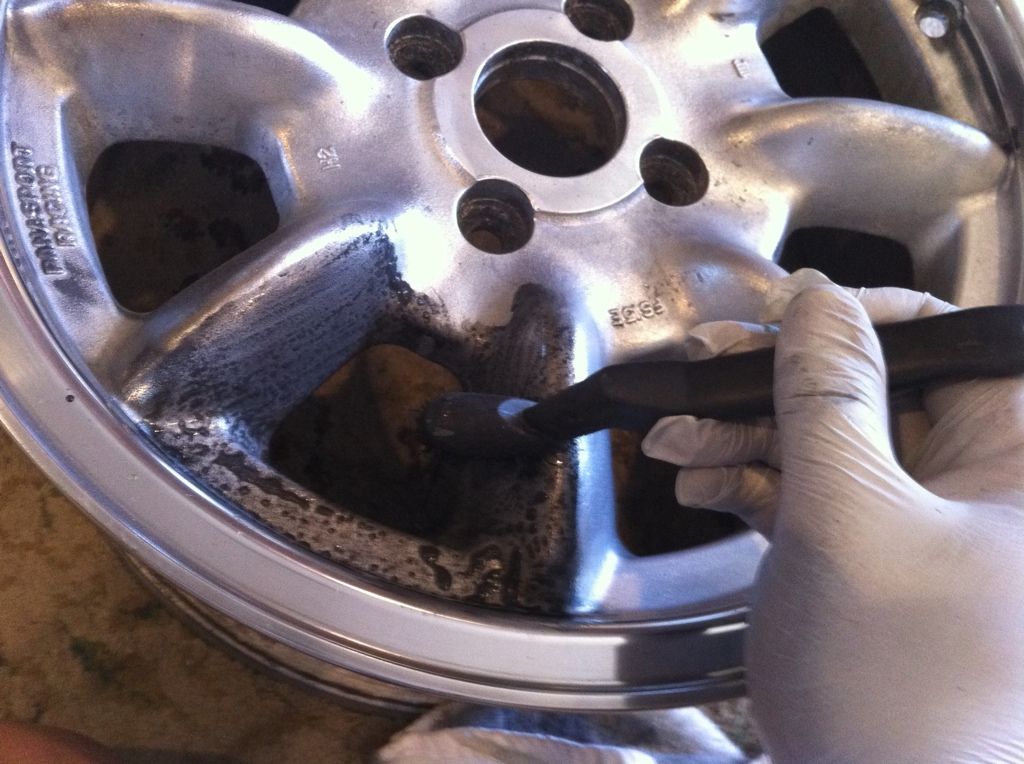
-
1
-
-
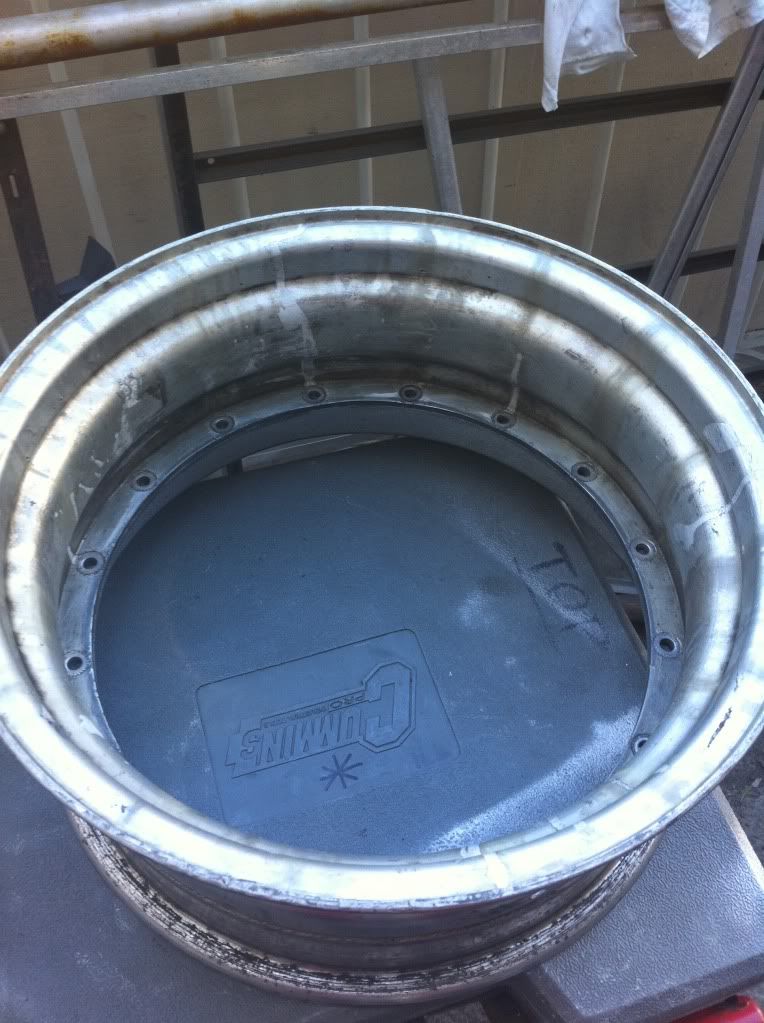
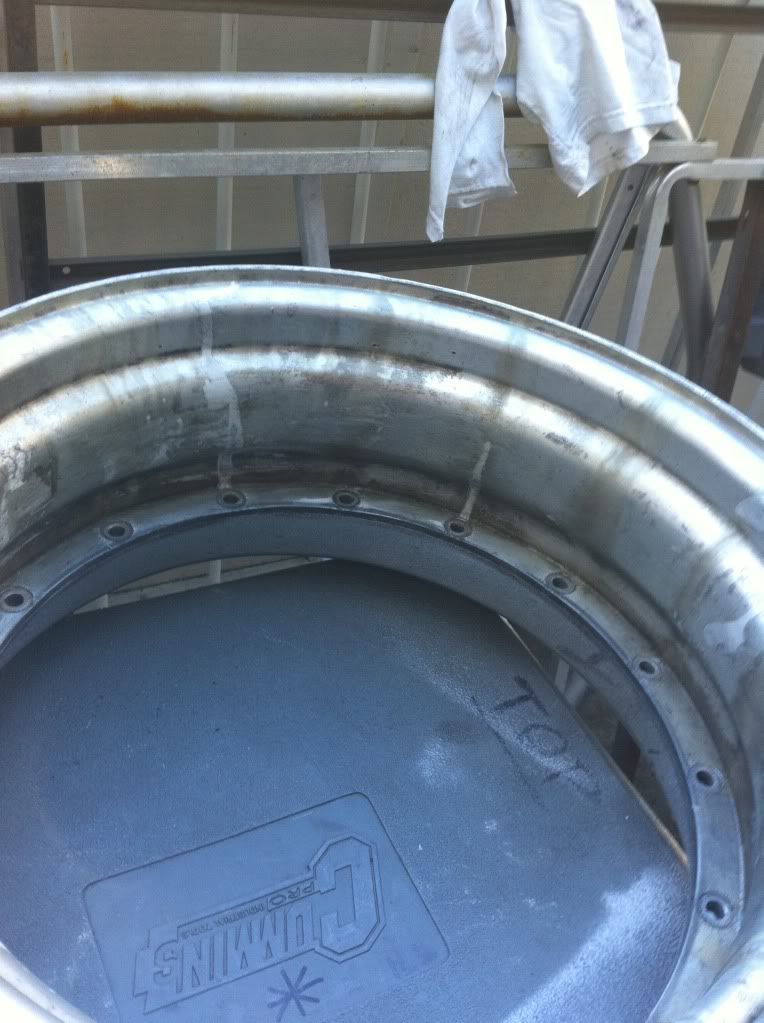
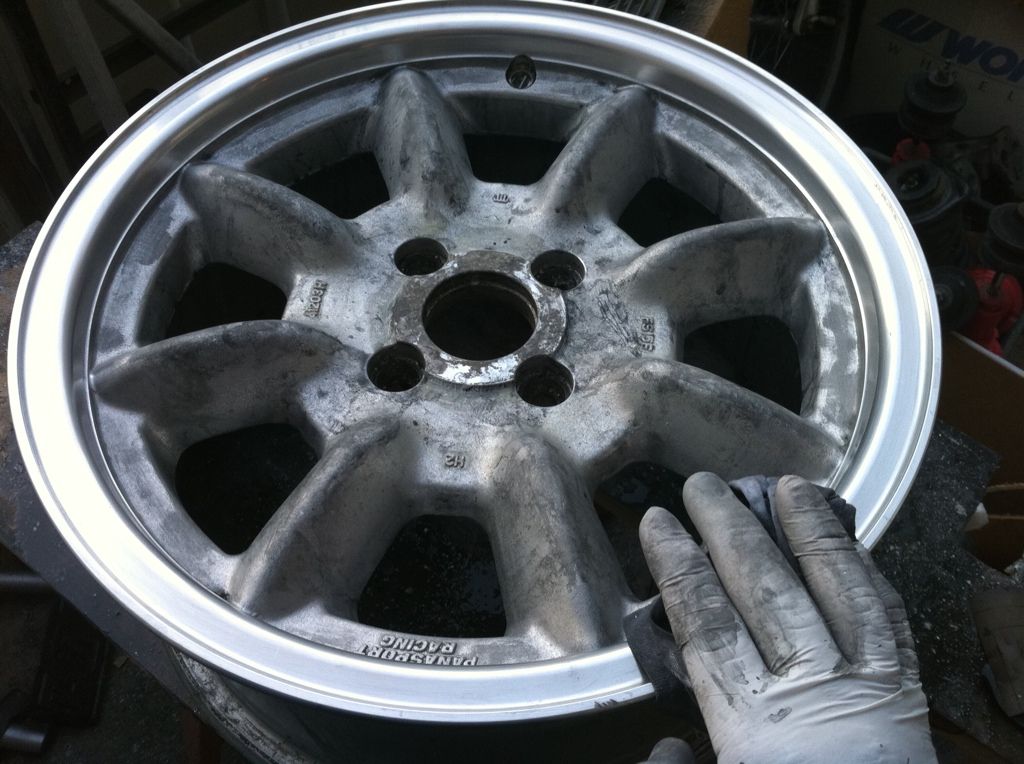
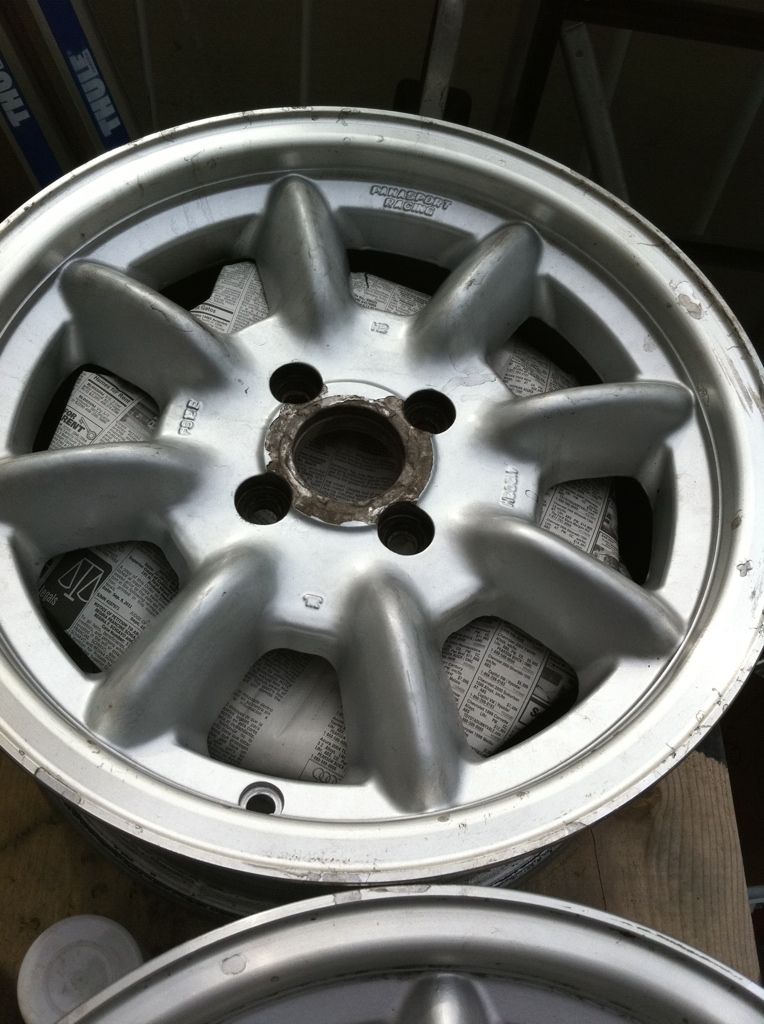
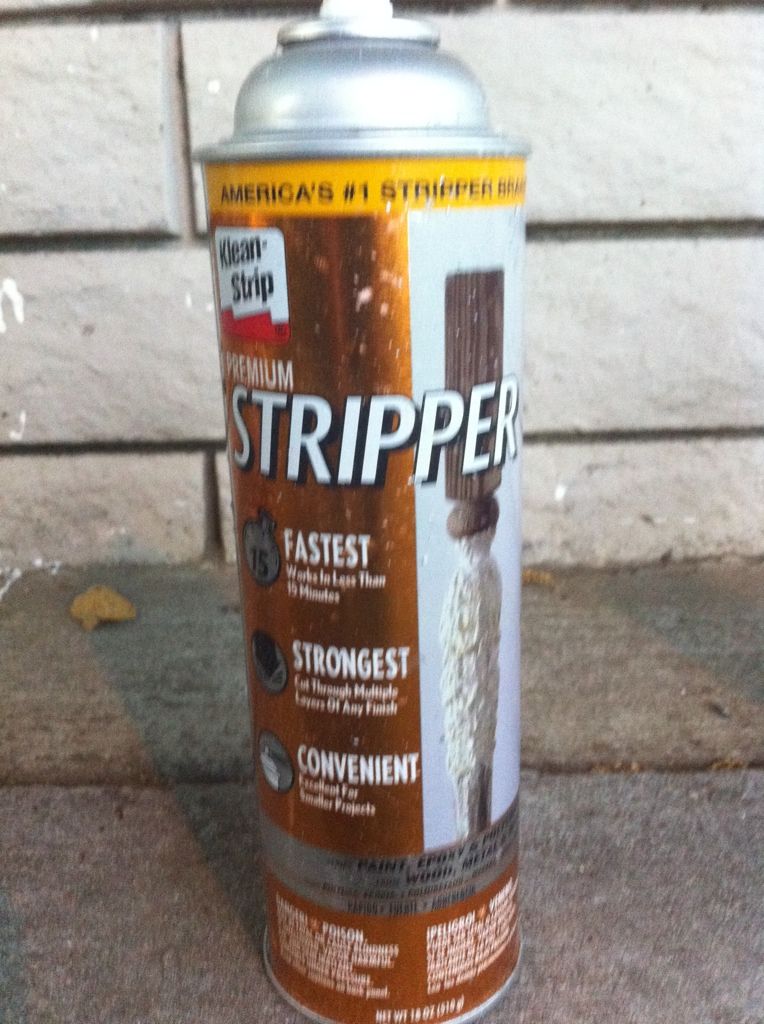
So when those paint removers barely made scratch on the factory powder coating, I had to pull out the big guns (well big since I don't have access to a beadblasting machine)
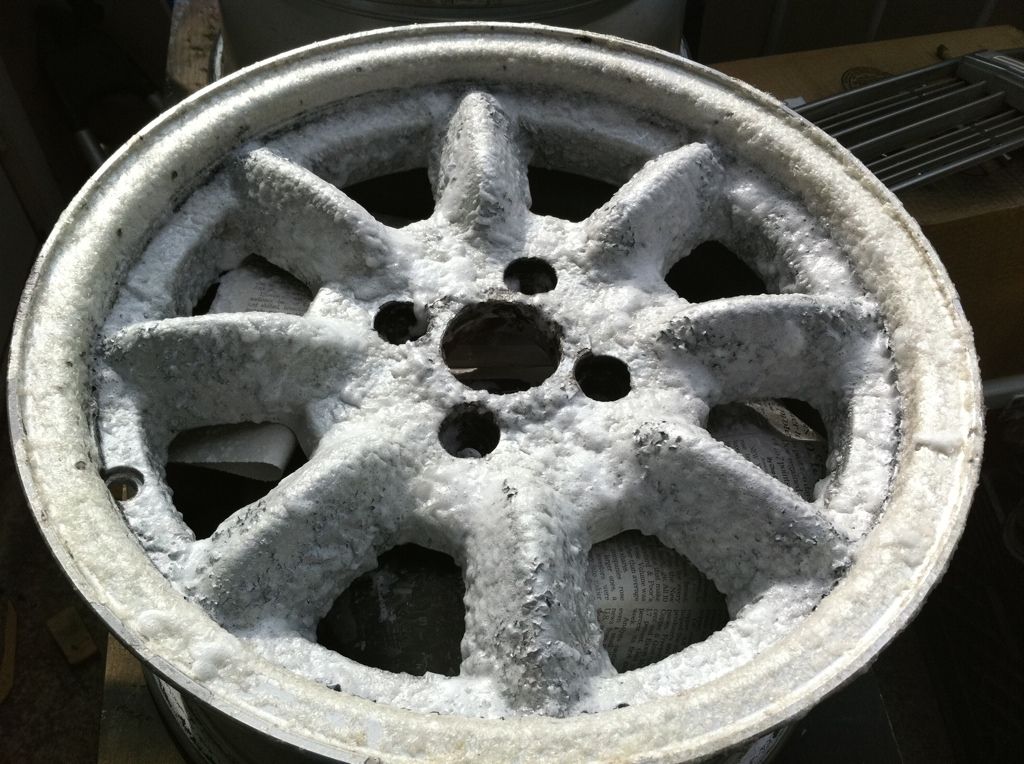
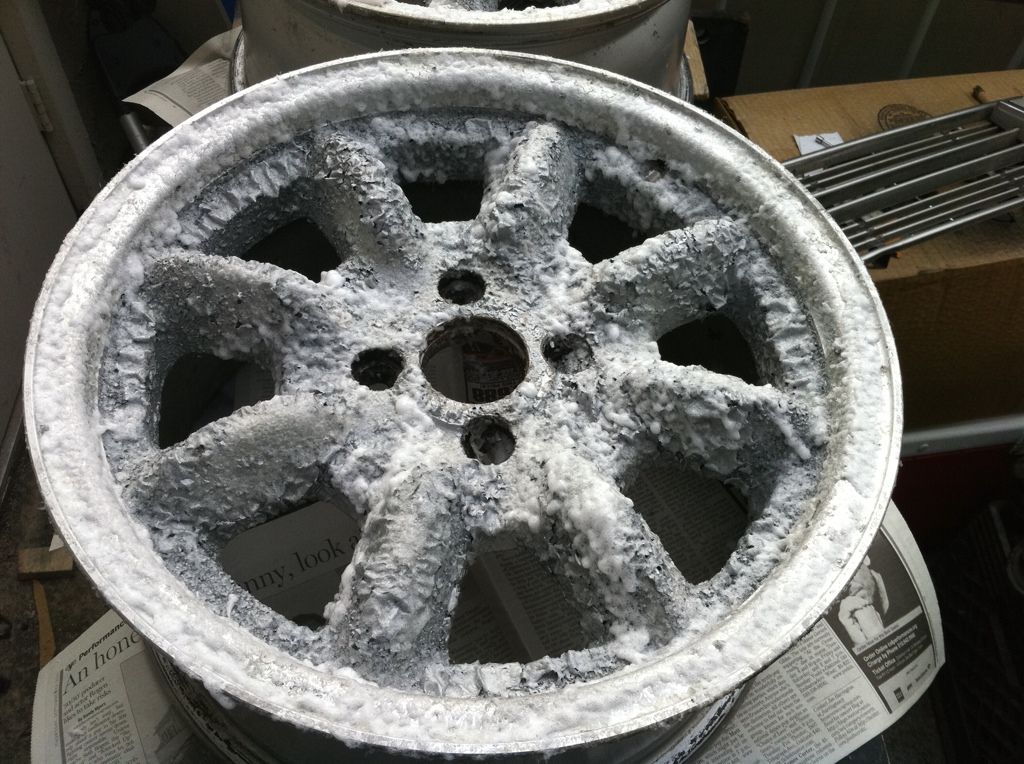
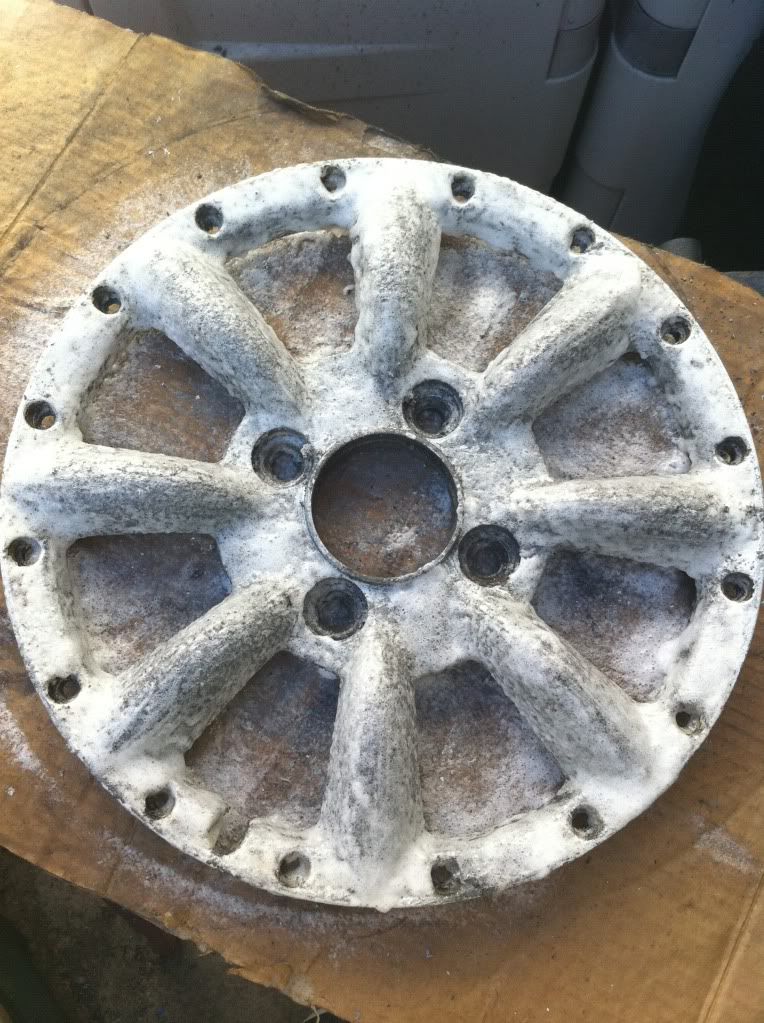
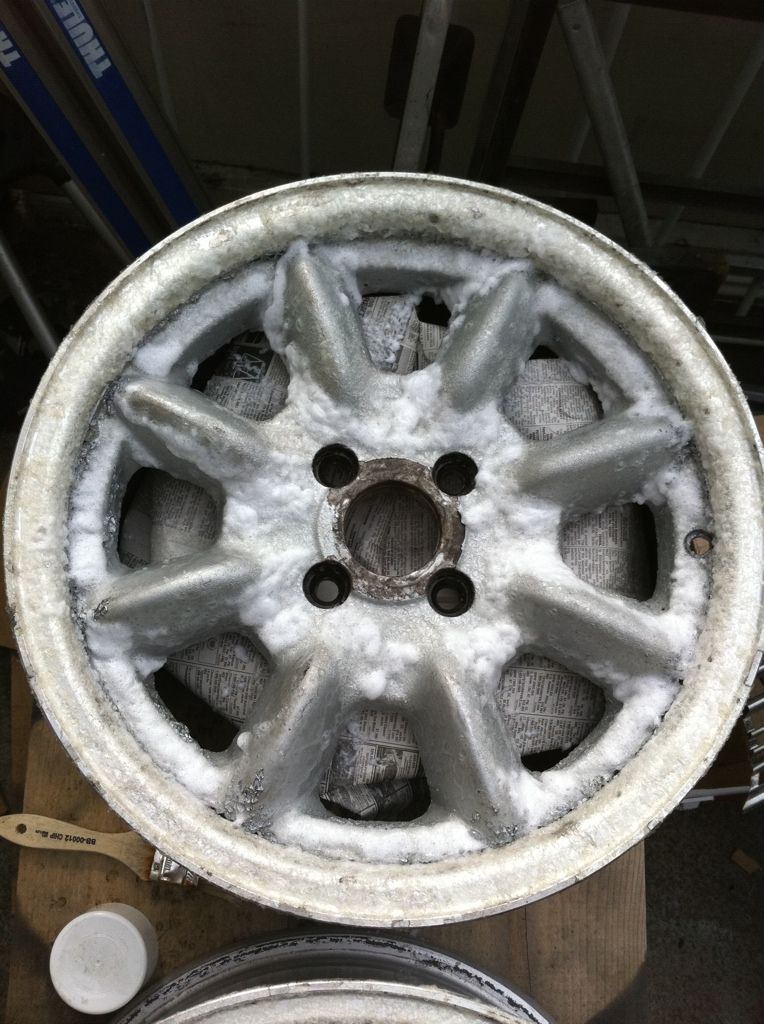
 This is literally about 2-3 minutes after spraying it on the wheel...it bubbles it up FAST!
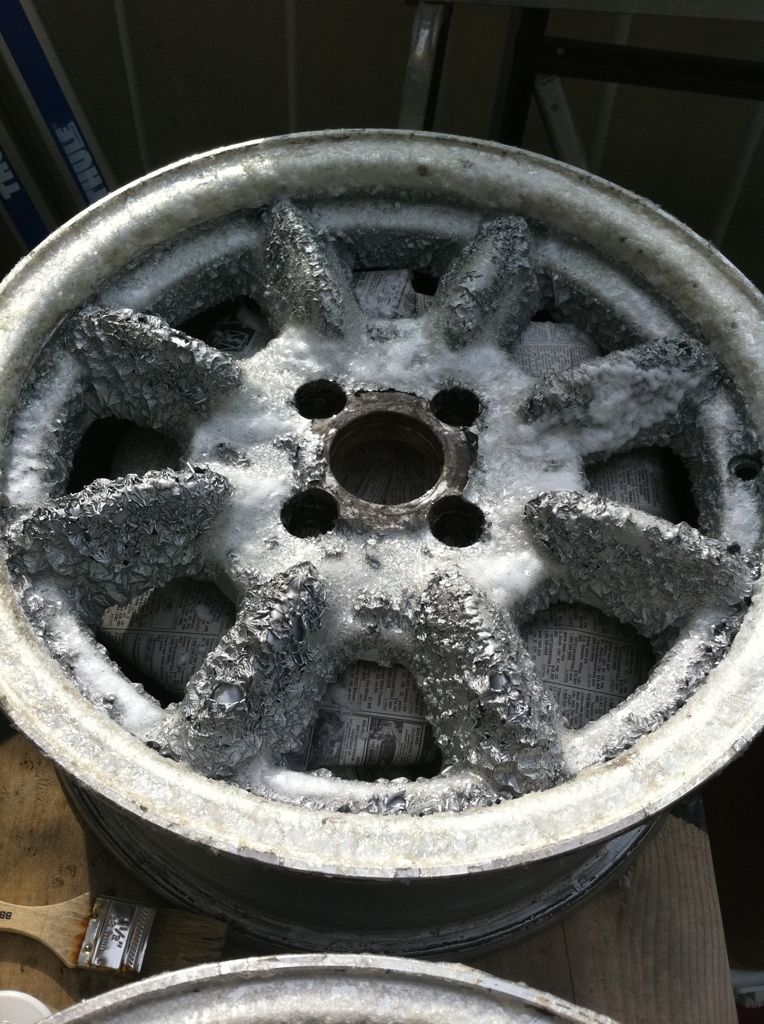
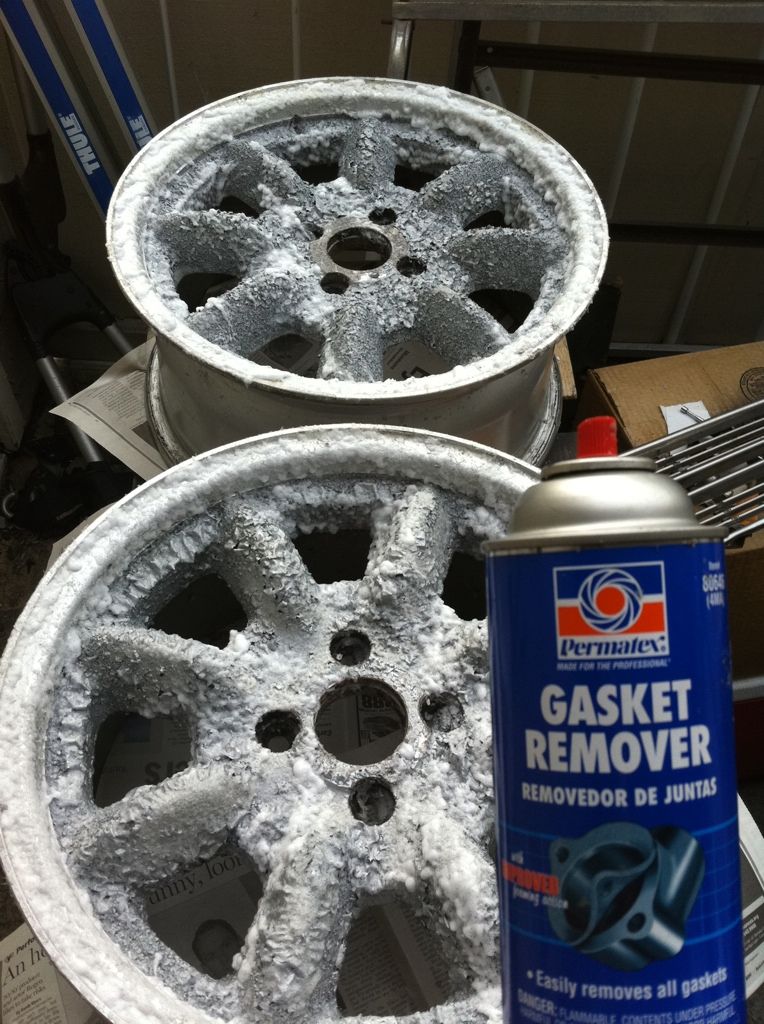 This is the 'Oh man, what did I get myself into' moment:
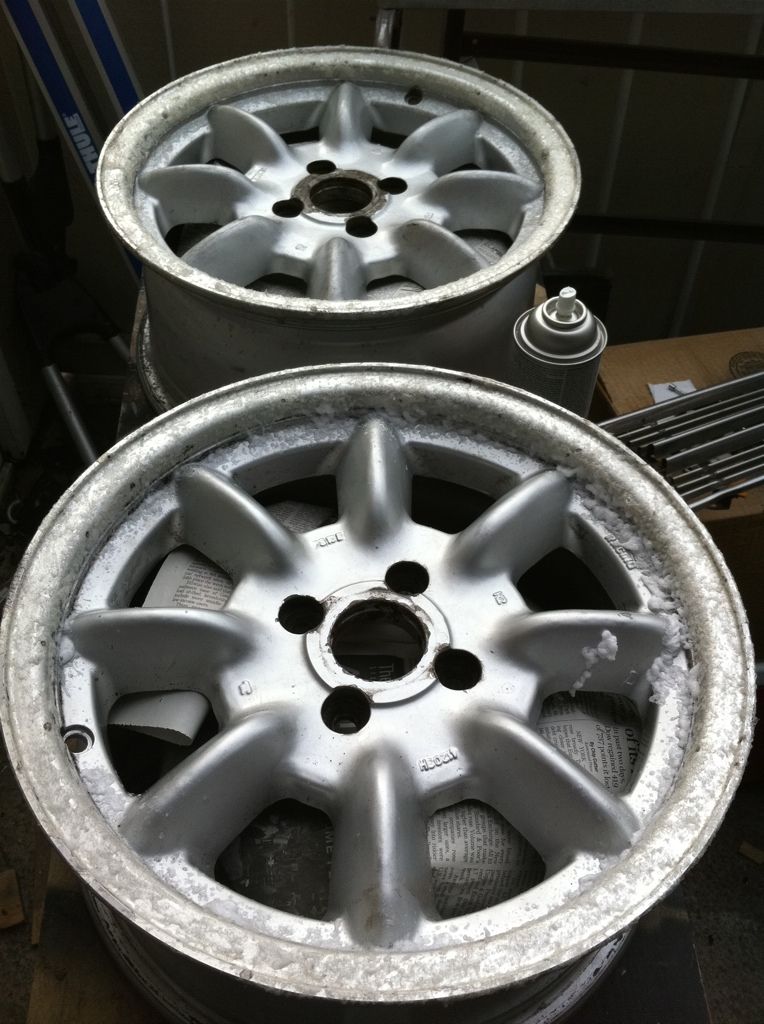
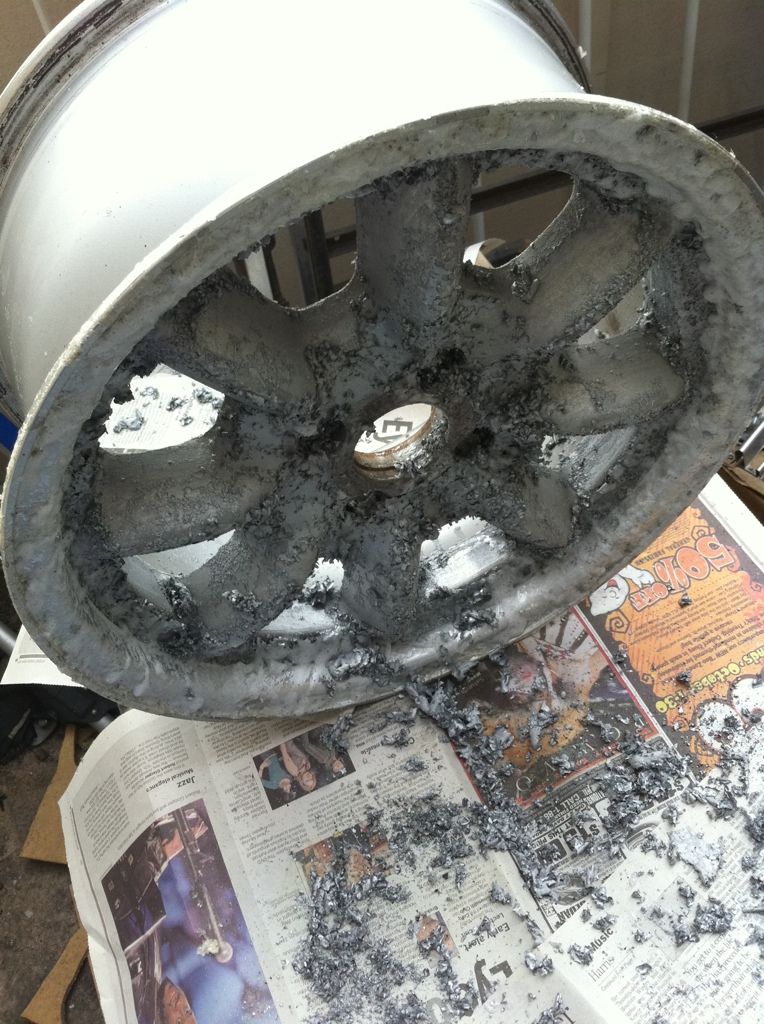 End result after a second coat of the gasket remover:
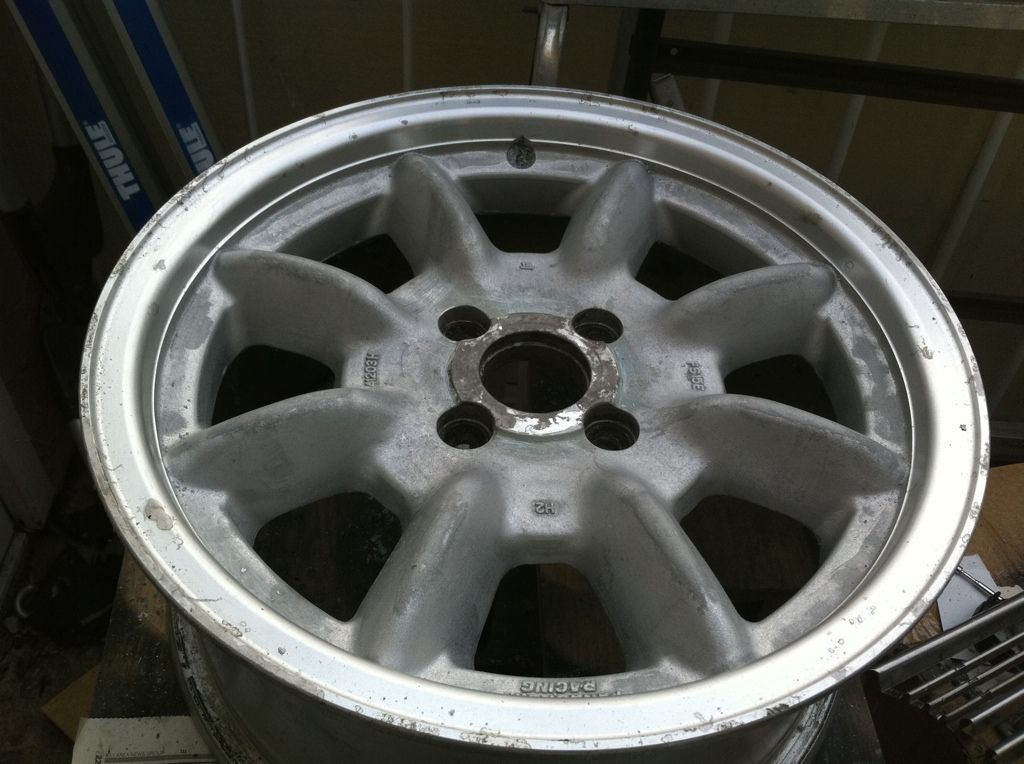
-
2
-
-
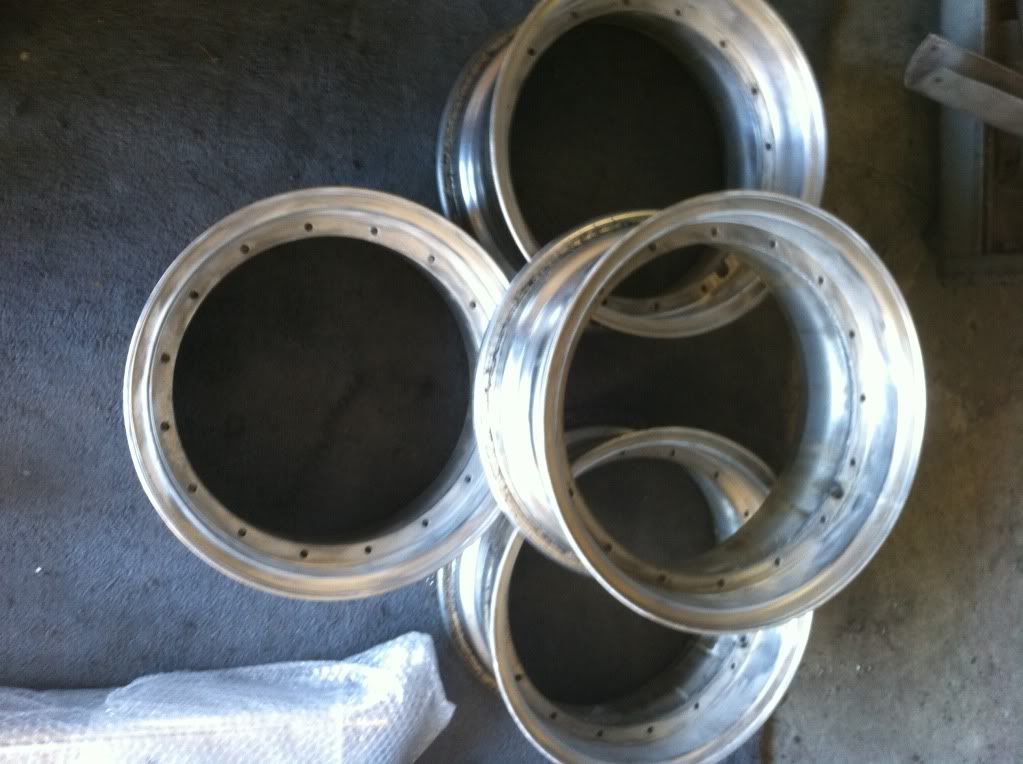
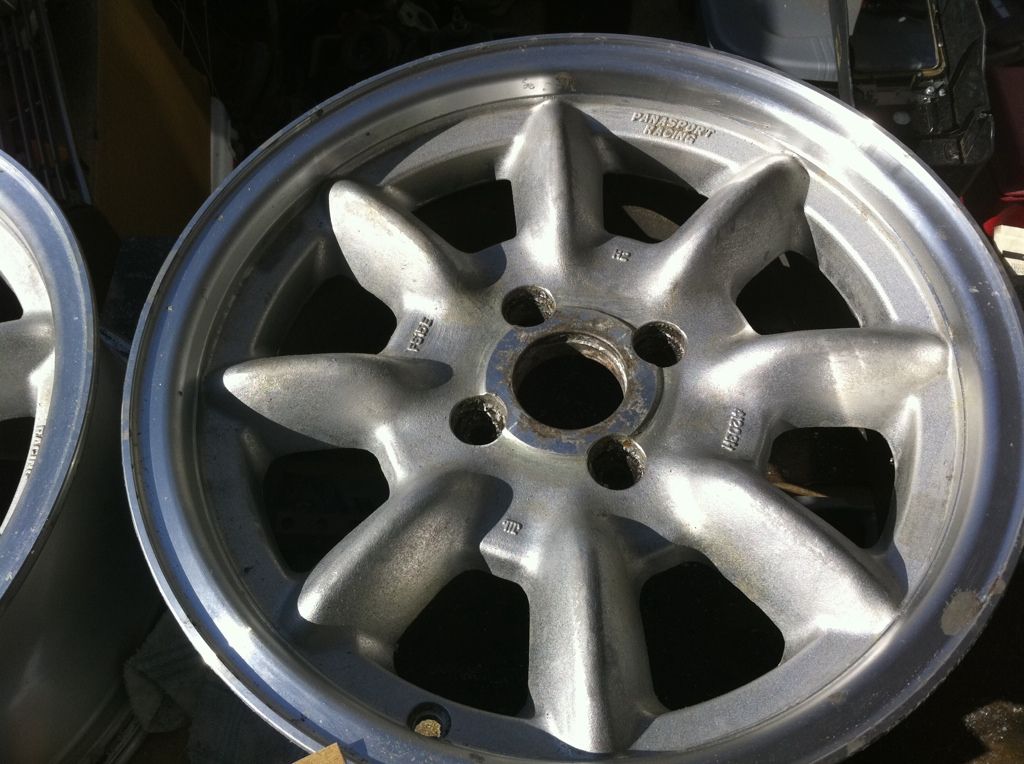
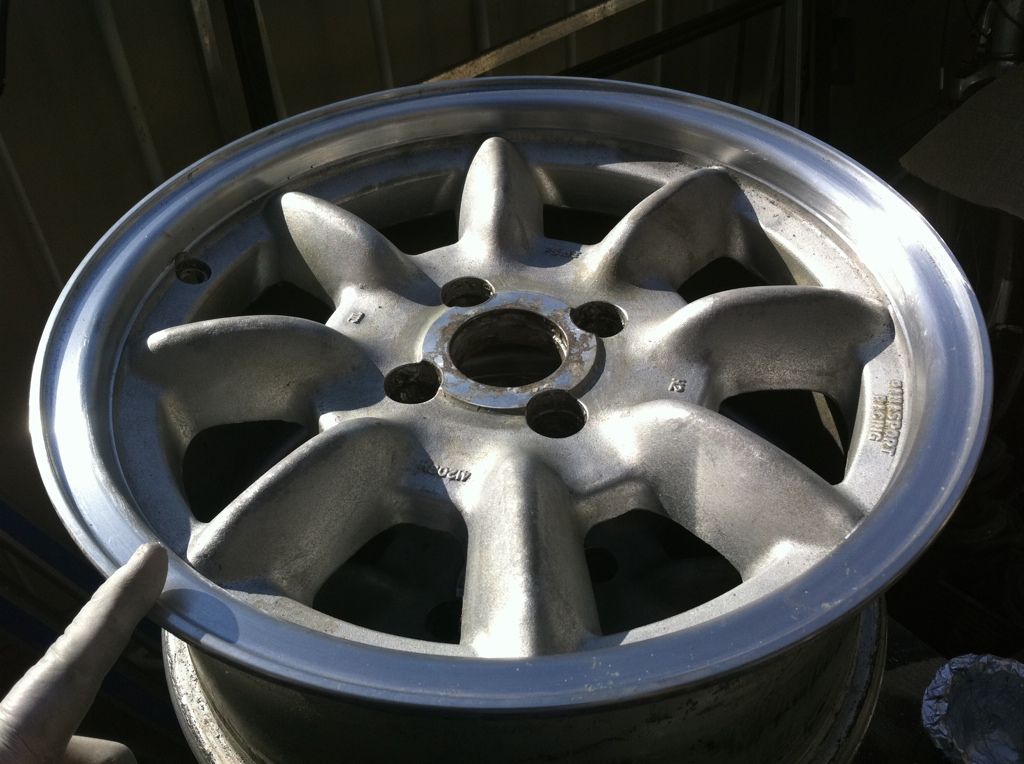
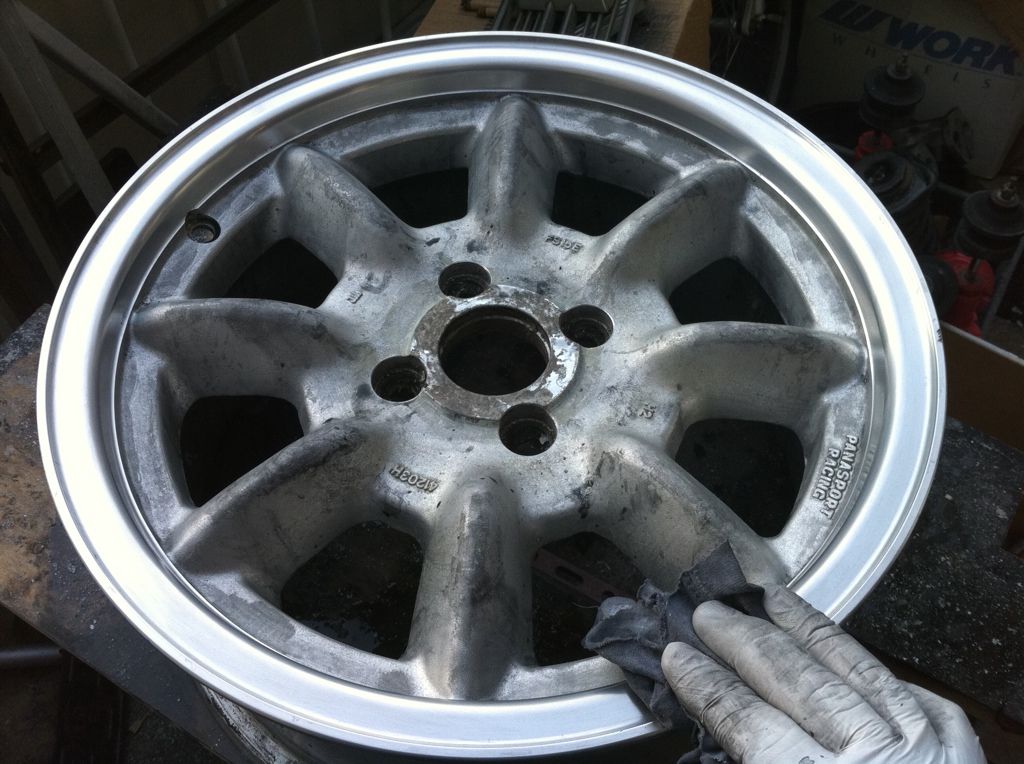
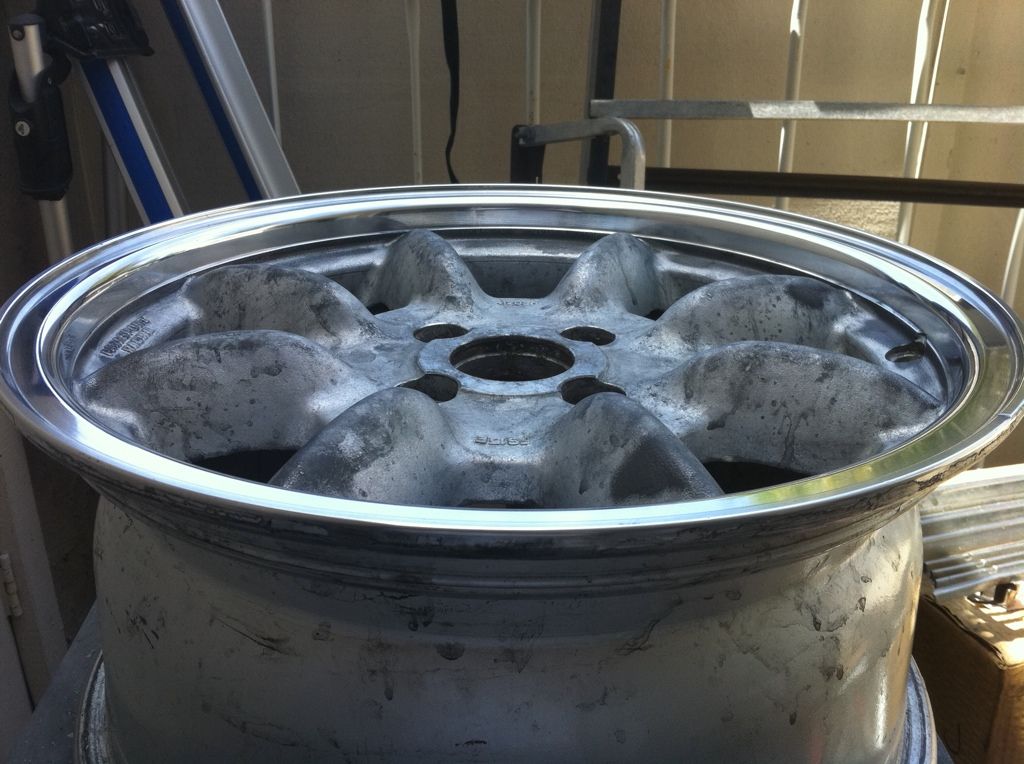
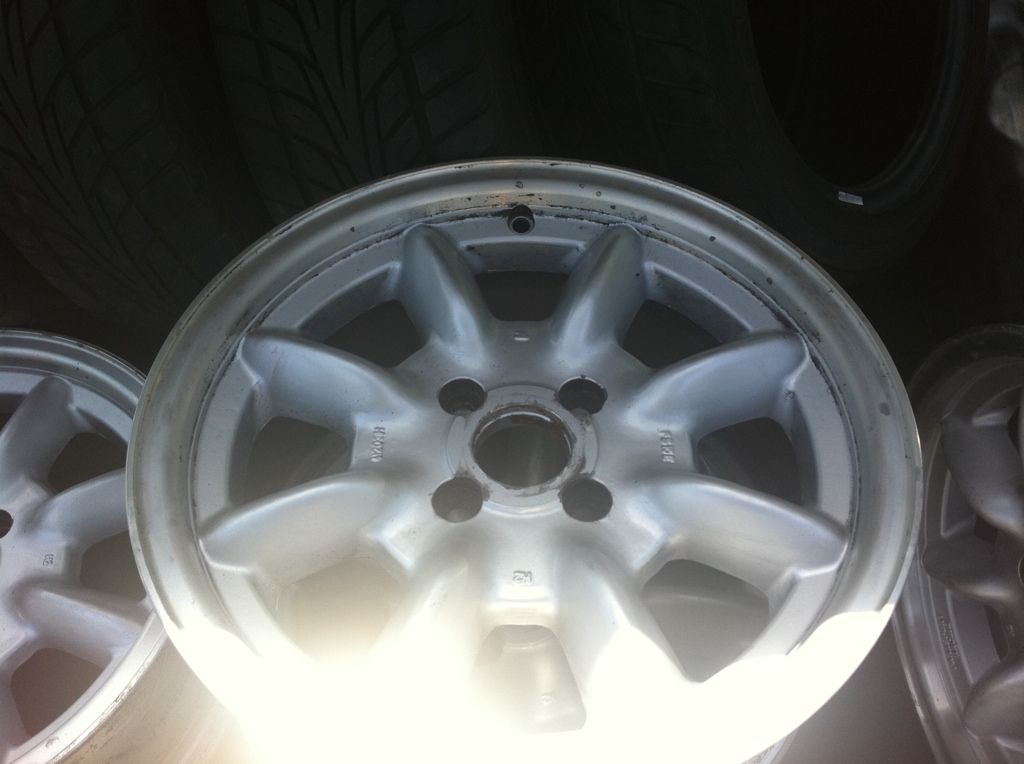
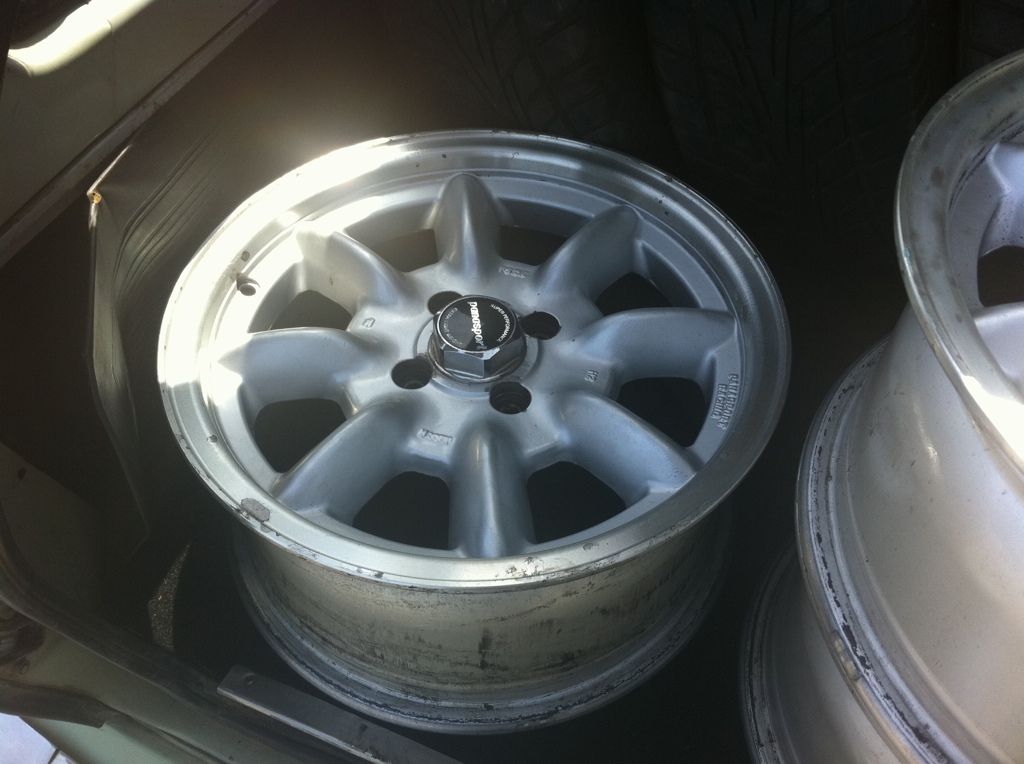
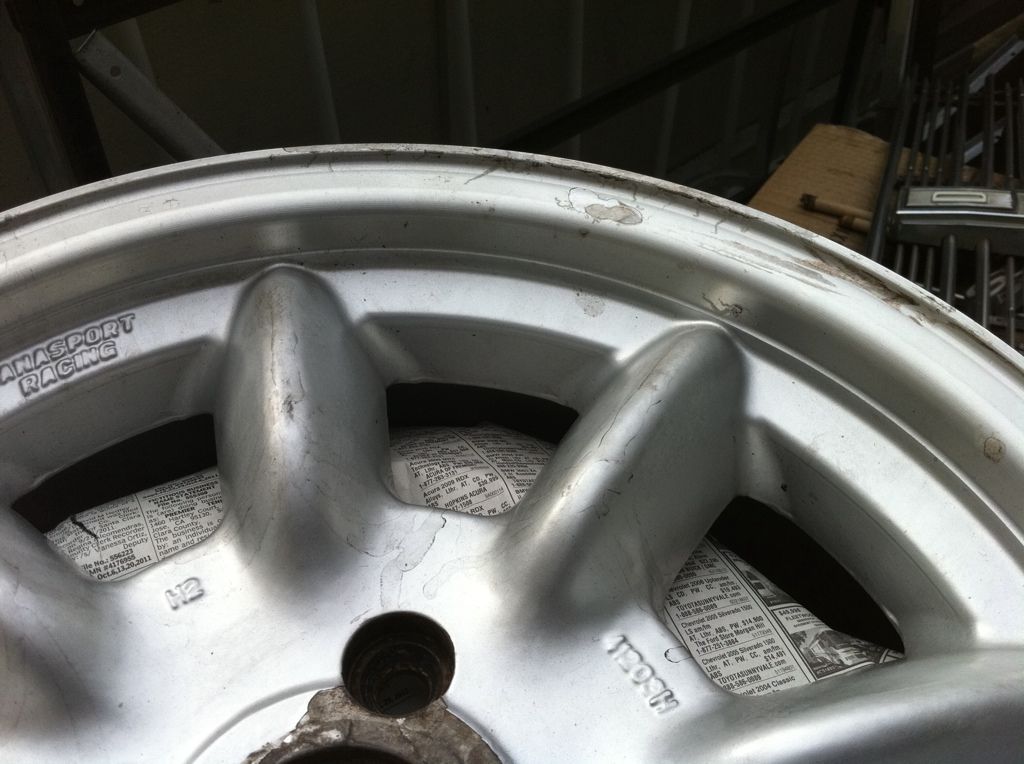
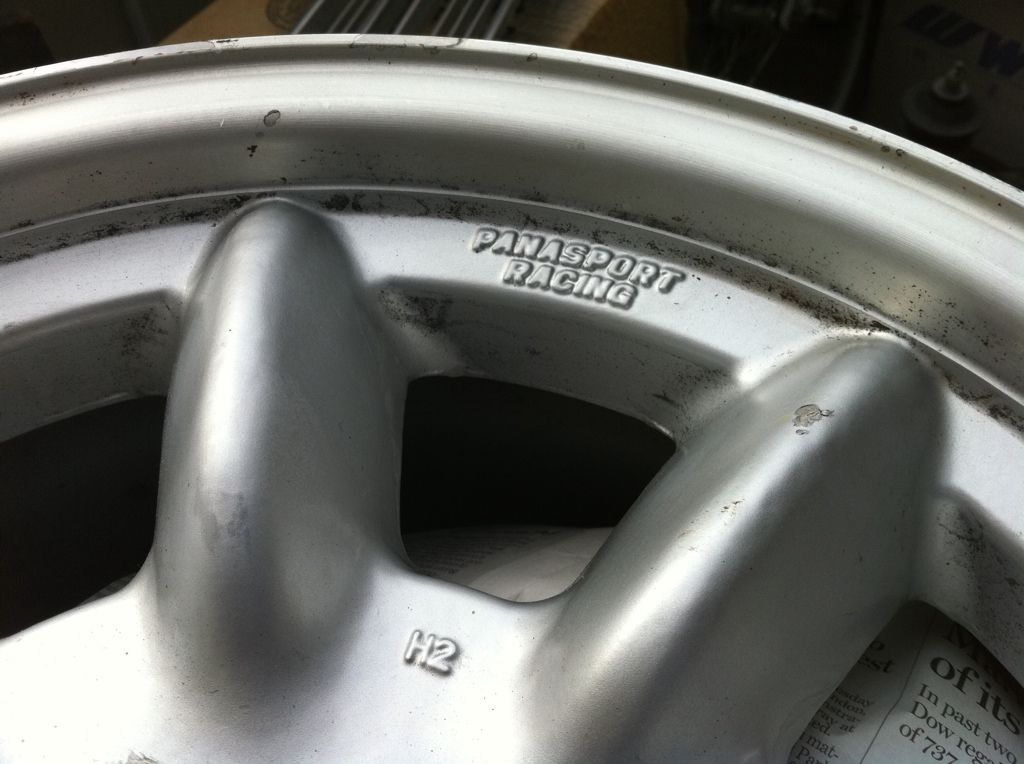
I have refinished a few sets of wheels in my time so here's a decent pictorial of my last set of wheels I've done all with store bought items and no special tools so this should give you a decent starting point.Here are the Panasports as I picked them up from a local swap meet
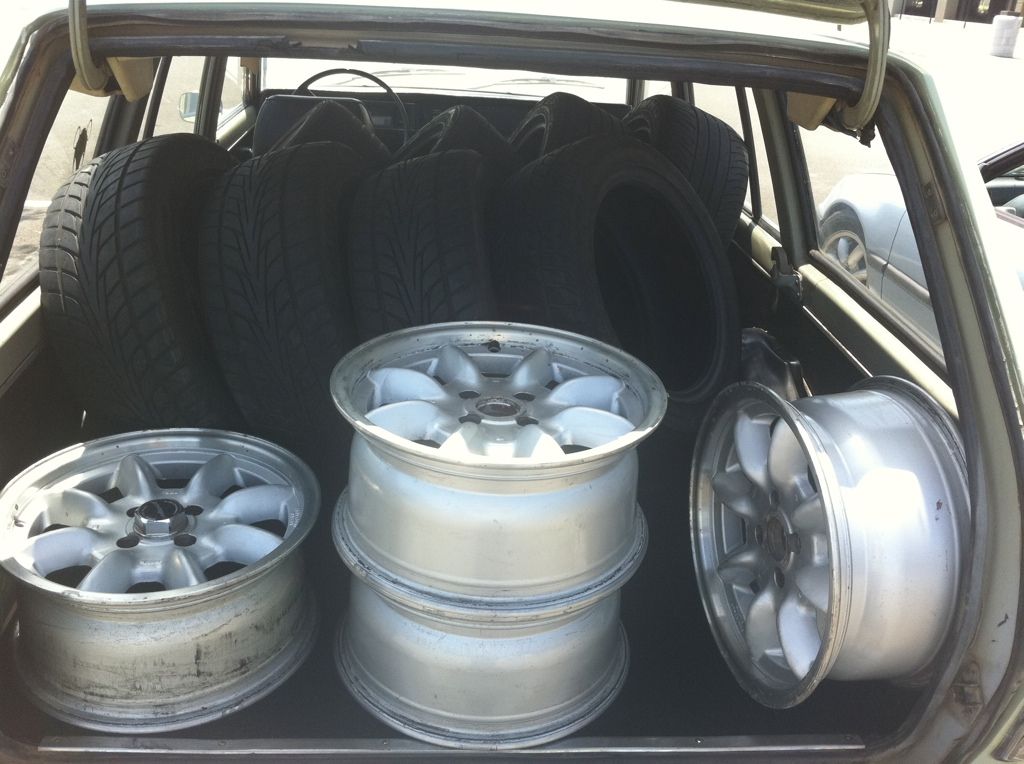 Here's each wheel's condition before, they weren't in the greatest shape, definitely not ready for ANY of my cars, including my Miata!
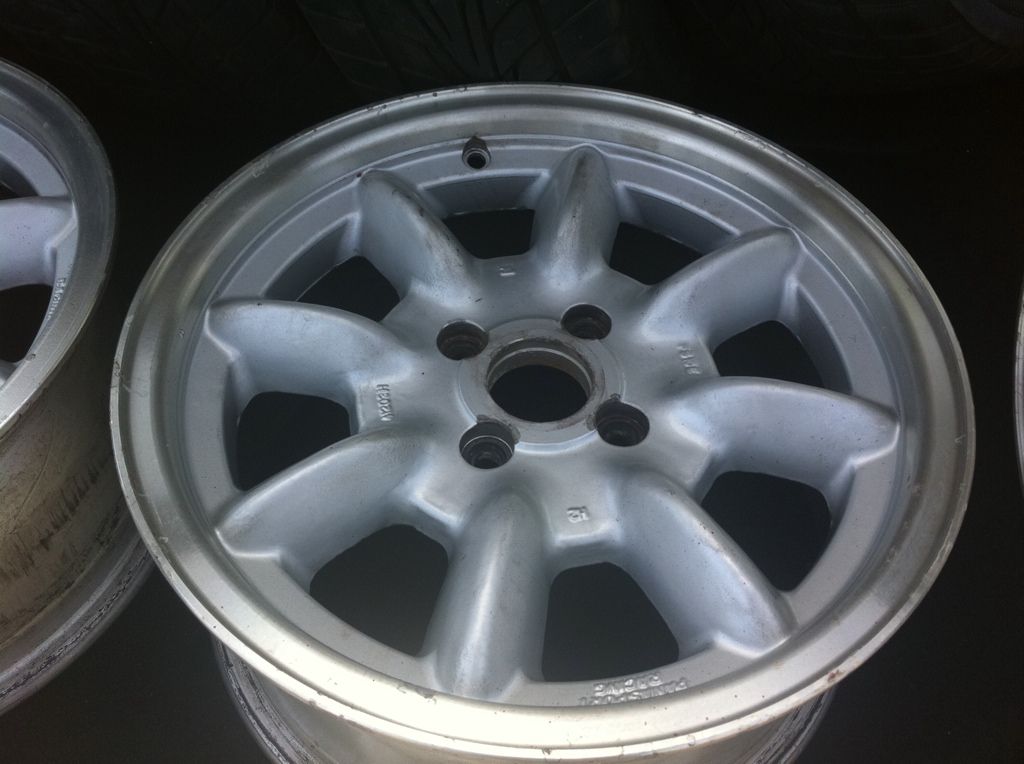
 So I got a few quotes to get them beadblasted and powdercoated but they all couldn't do it until weeks from when I contacted them (cheaper places get well used apparently)So I figured screw it, how hard can this be and I'd give it a go myself, so I tried the following in no particular order (not pictured here was the aircraft stripper as well):
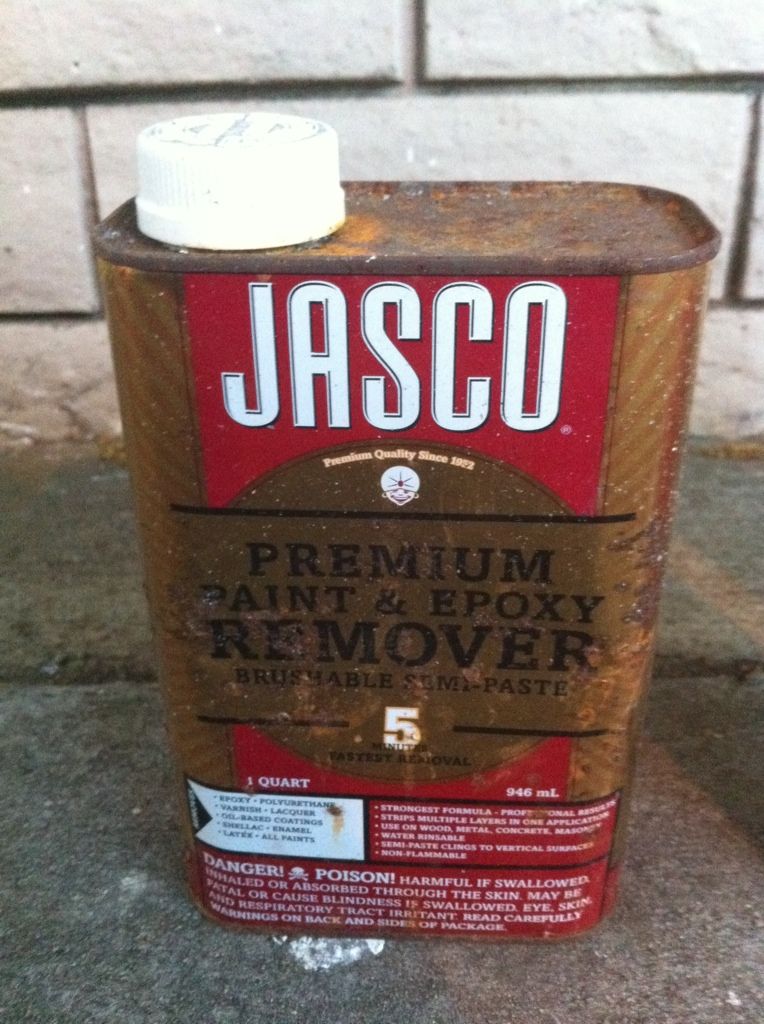
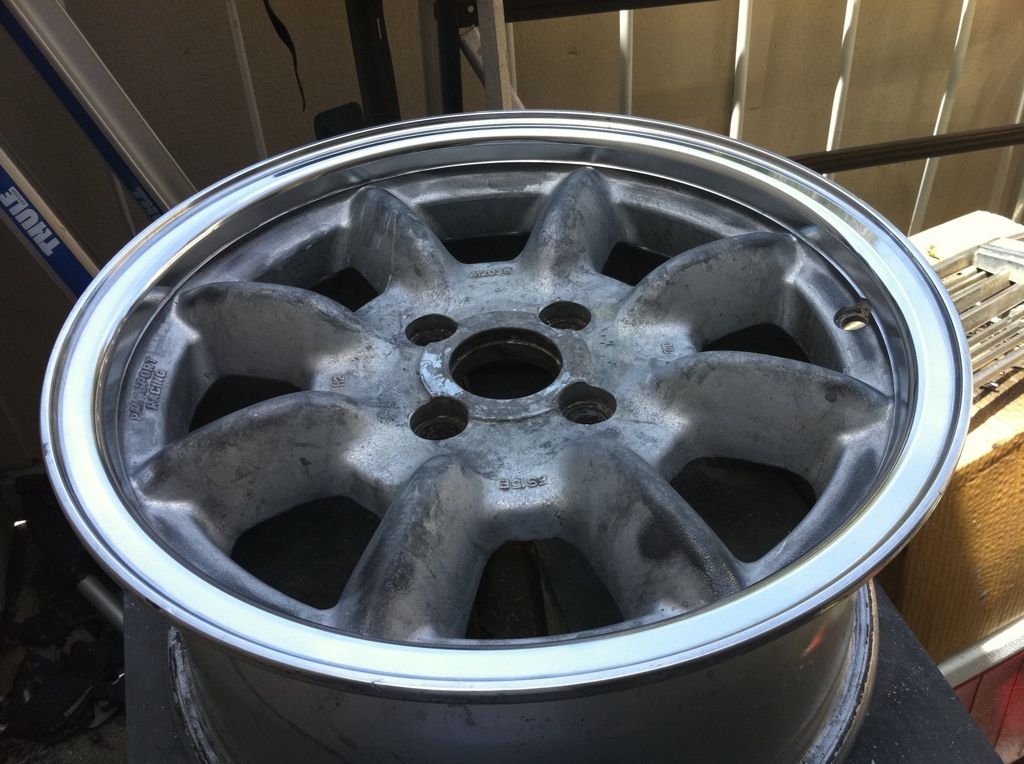
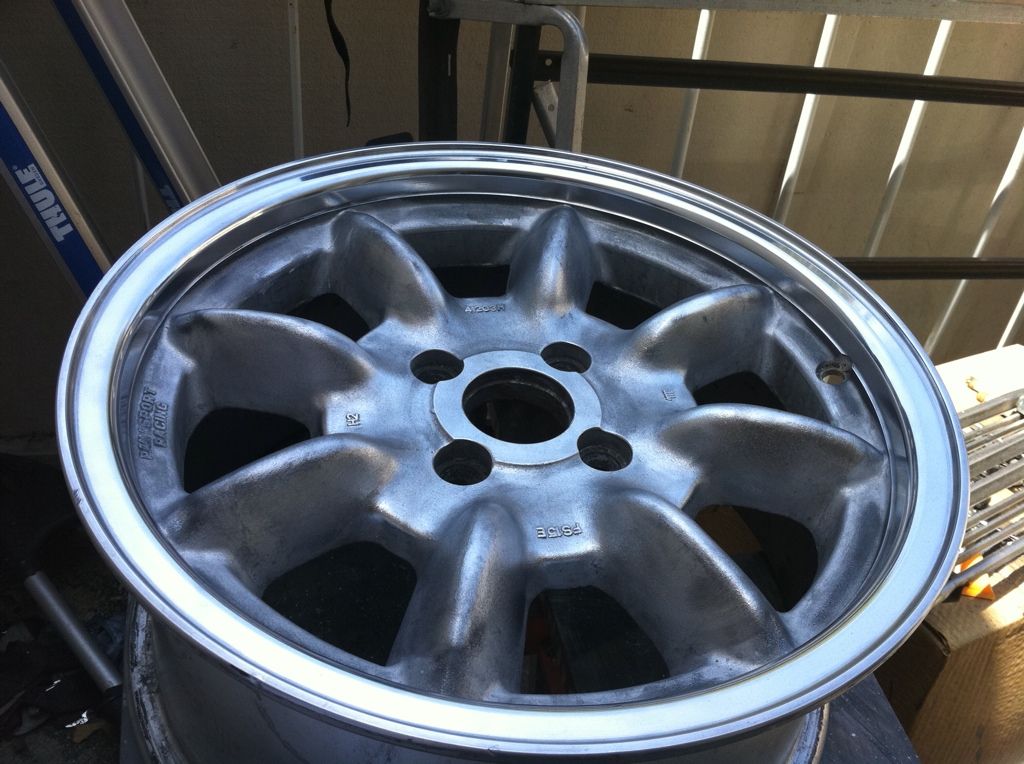
 All of these only succeeded at removing ONLY the top clearcoat:
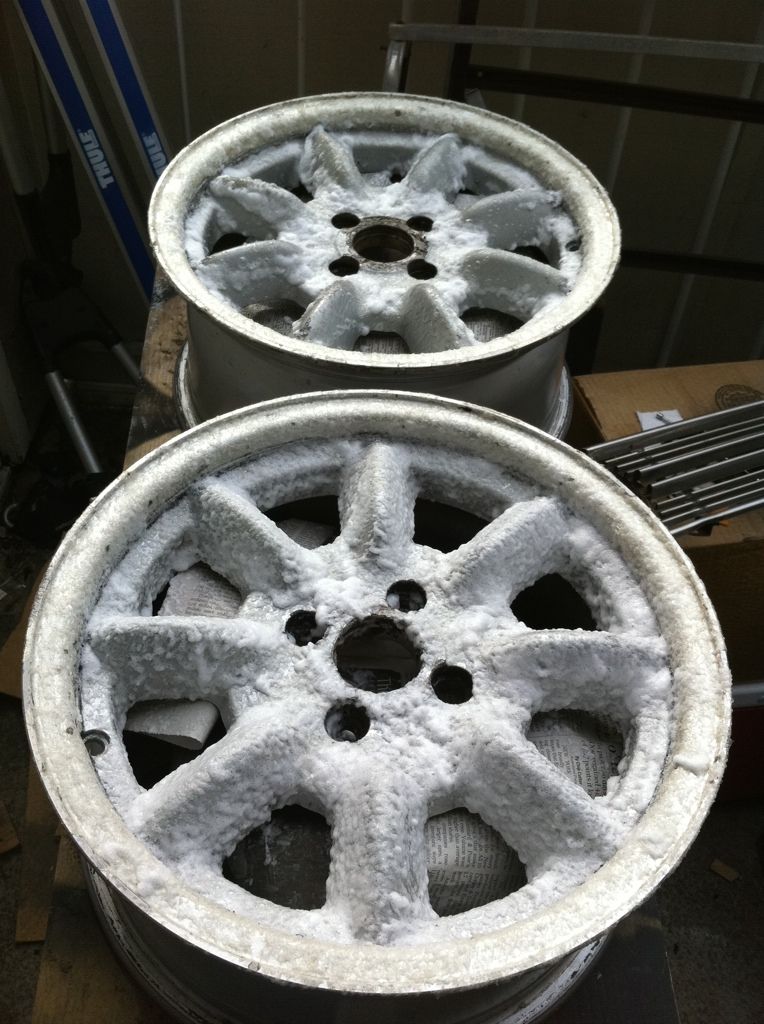
-
1
-
-
Bump for tomorrow night's meet!
-
You could find a shop that does the vapor deposit kind (think reflective plastic on flash light bulb cones). I check about 2 years ago and they wanted a minimum of $250 to do parts that would fit a certain size compartment of theirs. Just tossing out that idea.
-
Had a good time, catching up with long distance Ratsun friends, and glad I was able to open up that canned coffee energy drink for you James...too bad I had to get cut in the process!
Next time, stick to your usual and bring the Coronas! :P
-
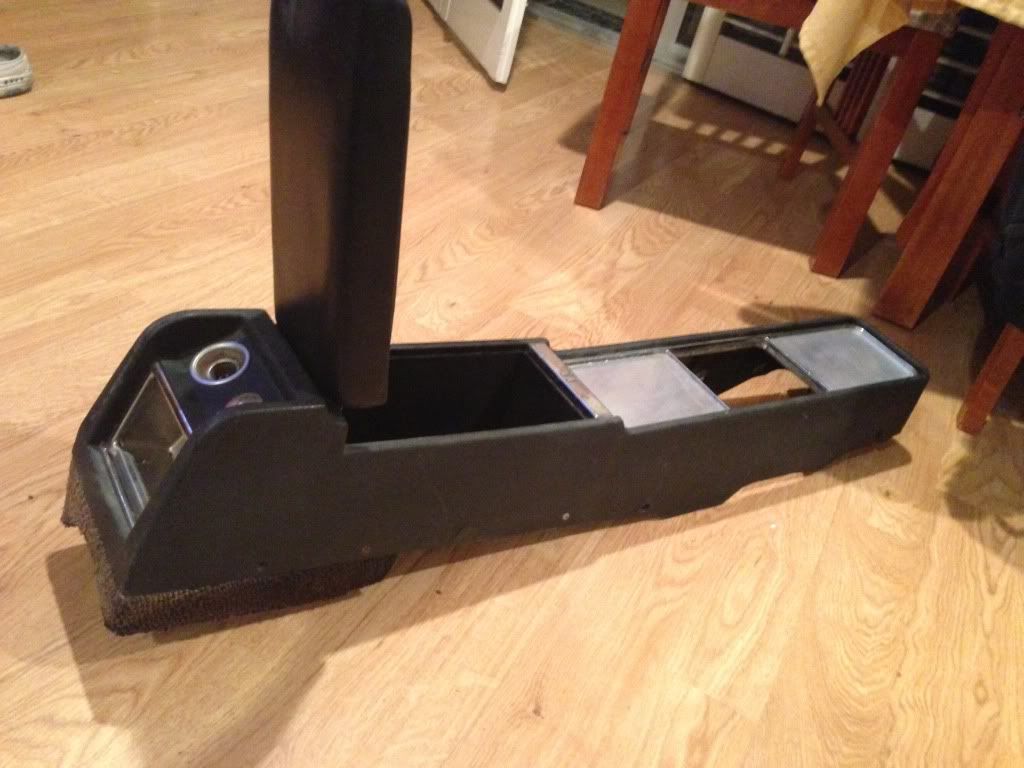
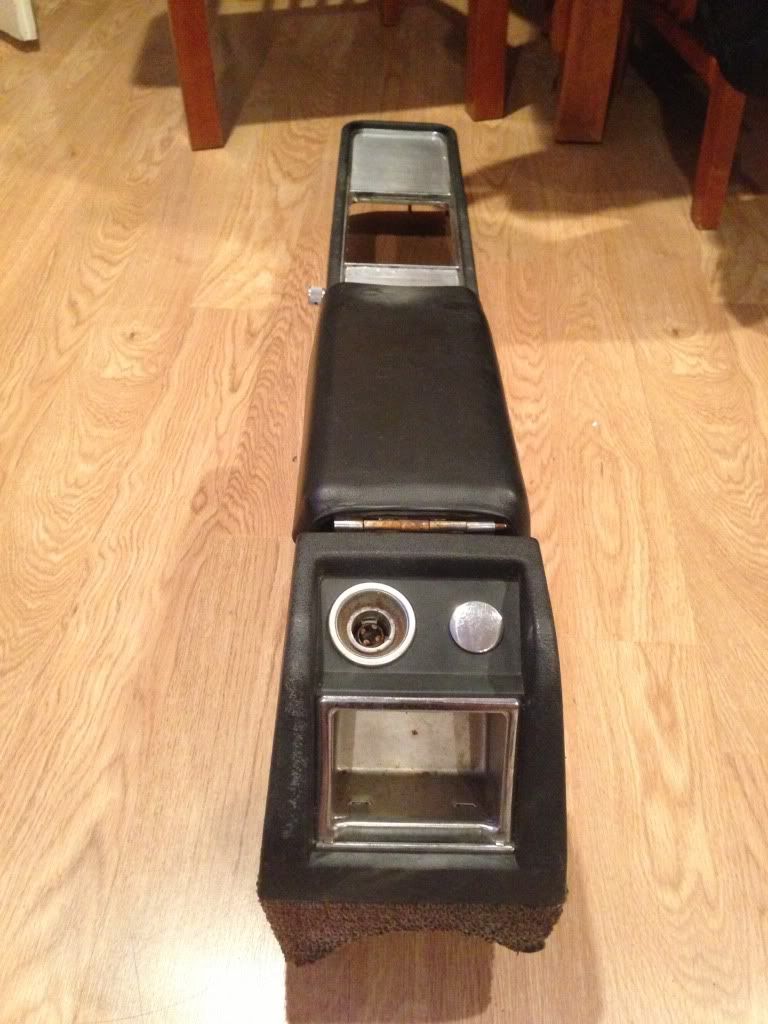
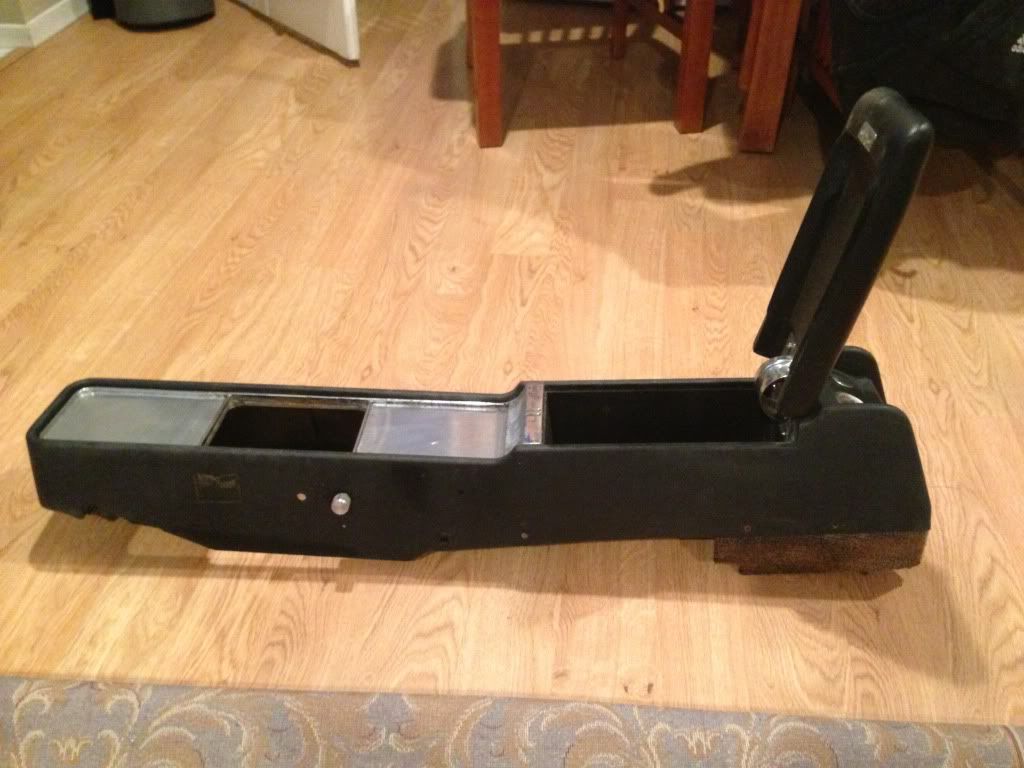
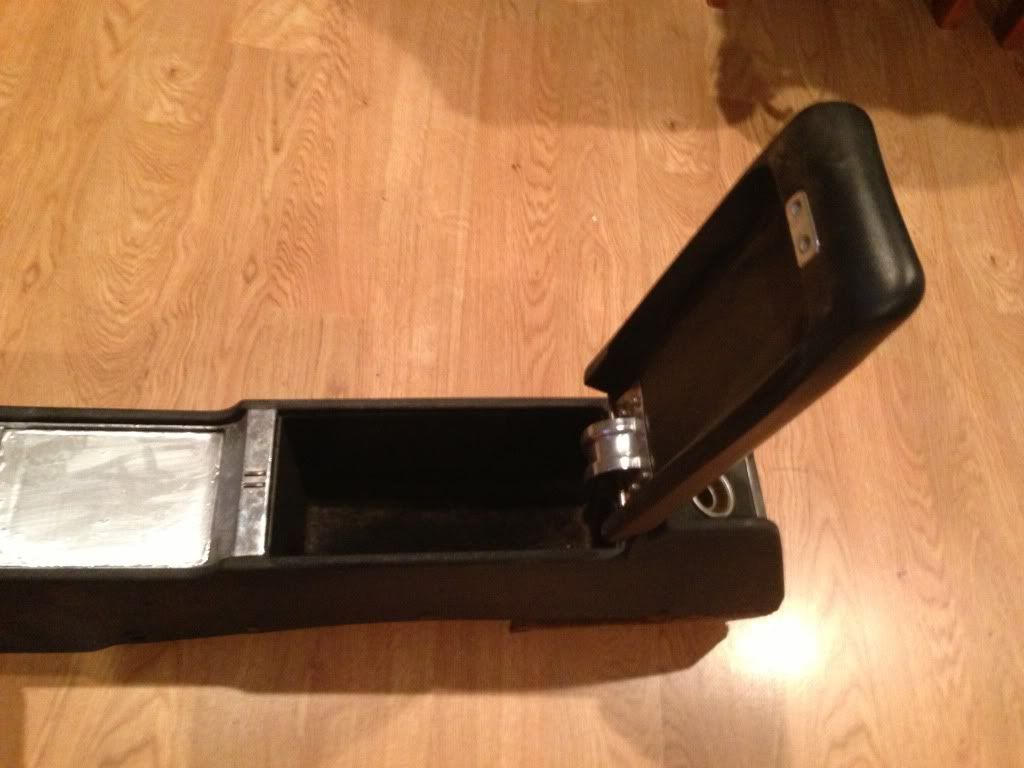
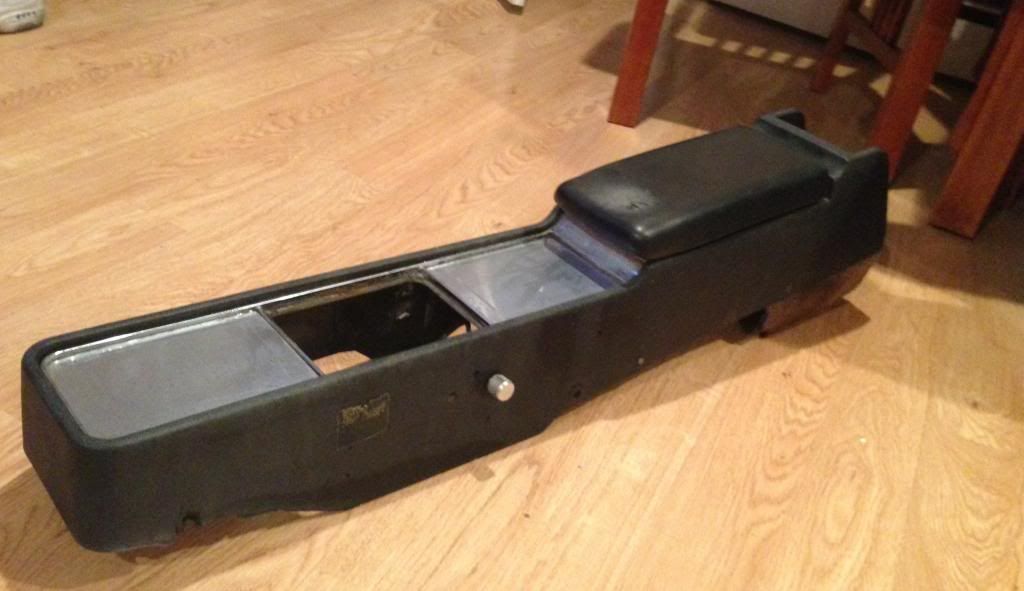
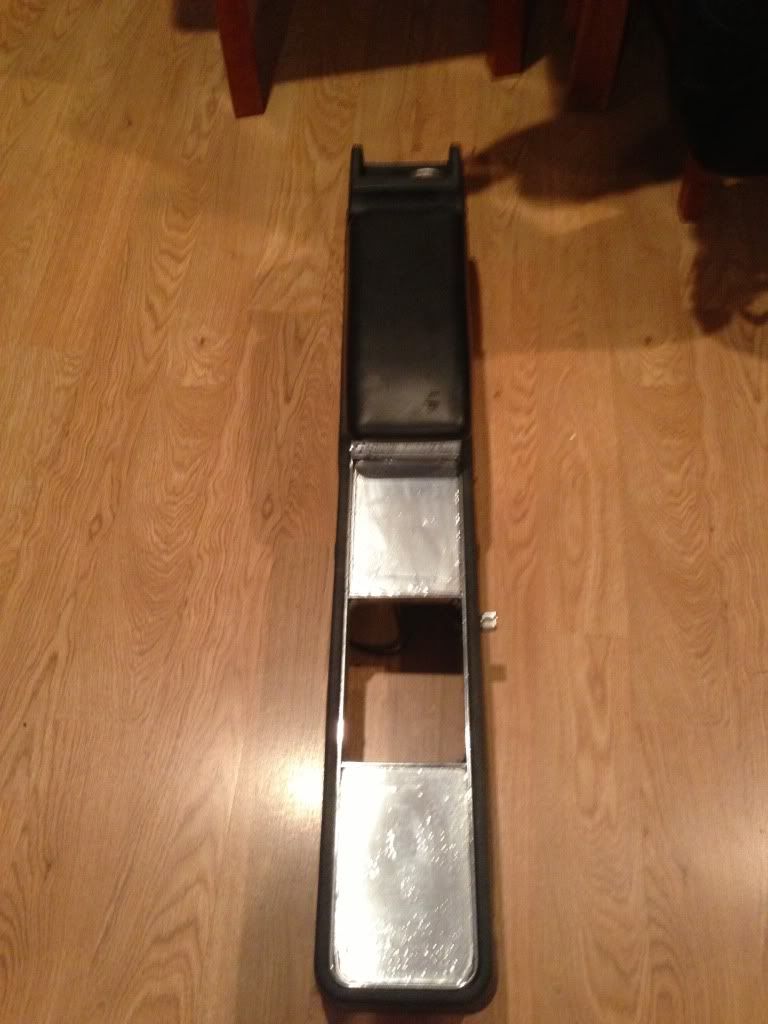
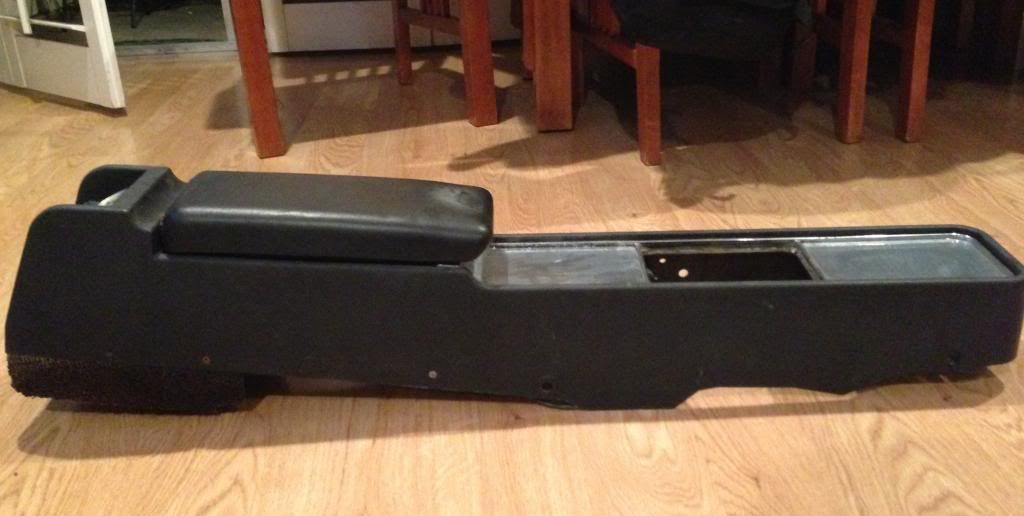
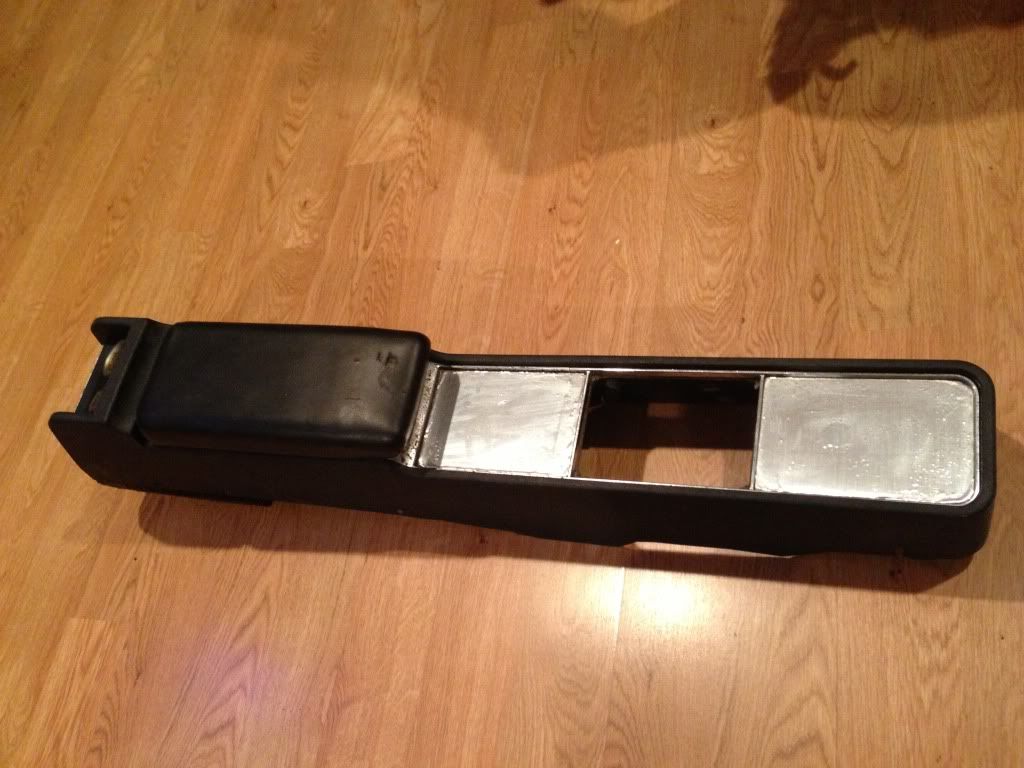
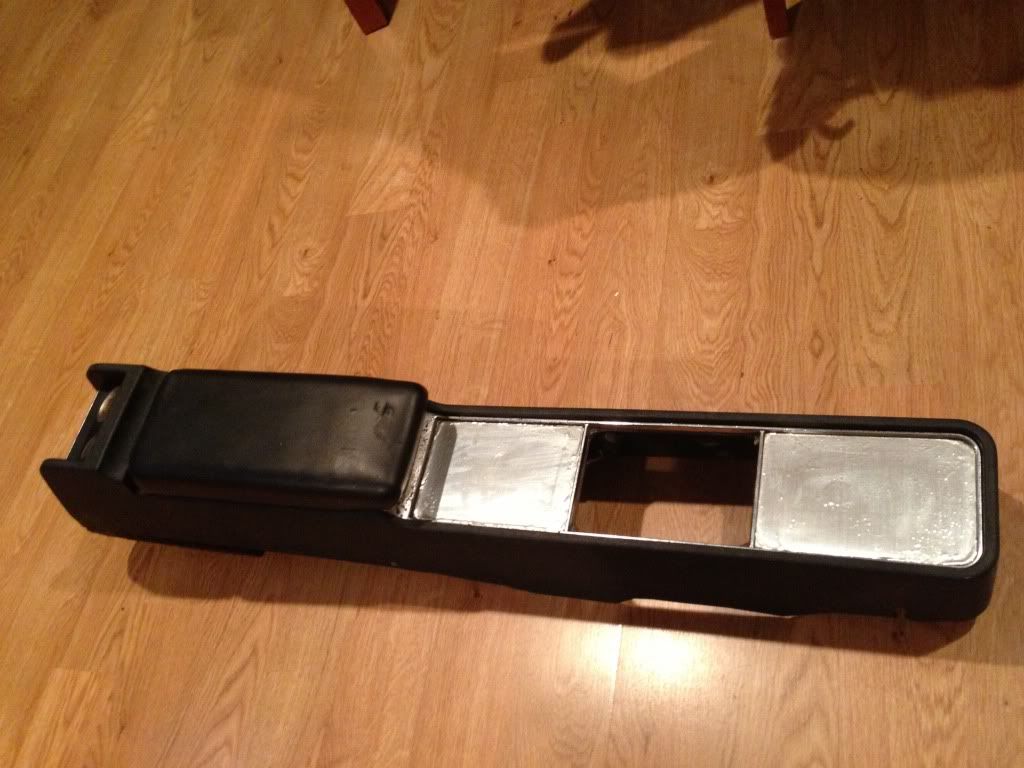
I have a nice center console out of 1969 Toyota Crowne that should look great in Datsun 510.
Good shape and has a nice padded arm rest with a cubby hole underneath.
Granted it's not a Datsun party but it's definitely the correct vintage look and feel over one of those Dodge Neon ones! :)
I'm posting it here on Ratsun before I post it on CL.
CONDITION: See the pics for the condition/shape.
Dimensions are: 38" Long, 9" Tall, 6" Wide
PRICE: $60 it's probably pricey to ship based on the size alone...so pick up only.
LOCATION: Sunnyvale.
Here's what it looks like installed:

-
****I'm still selling these carpet kits.****
****If you're interesed in them just contact me!****
pm'd good sir.
Interested in carpet Kit for my 1970 Datsun 510 Wagon. Please PM with total cost with shipping to Culver City, CA 90230 and where I can send payment to.
Thank you!
PM's replied to! :)
-
1
-
-
still available?
There's a phone number at the bottom of his post...why not try calling?
-
Like this! :P
">" type="application/x-shockwave-flash" width="425" height="350">-
1
-
-
Looks like it's the same one that was posted about 4 months ago from that area. I wonder if it's the latest owners selling it?
-
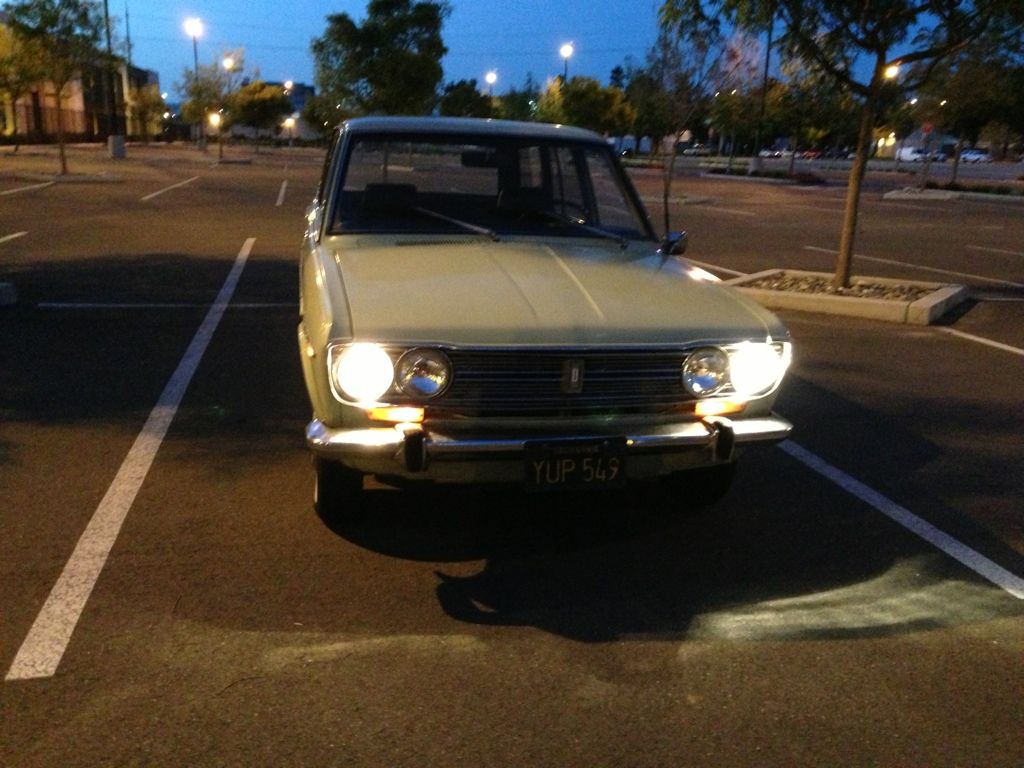
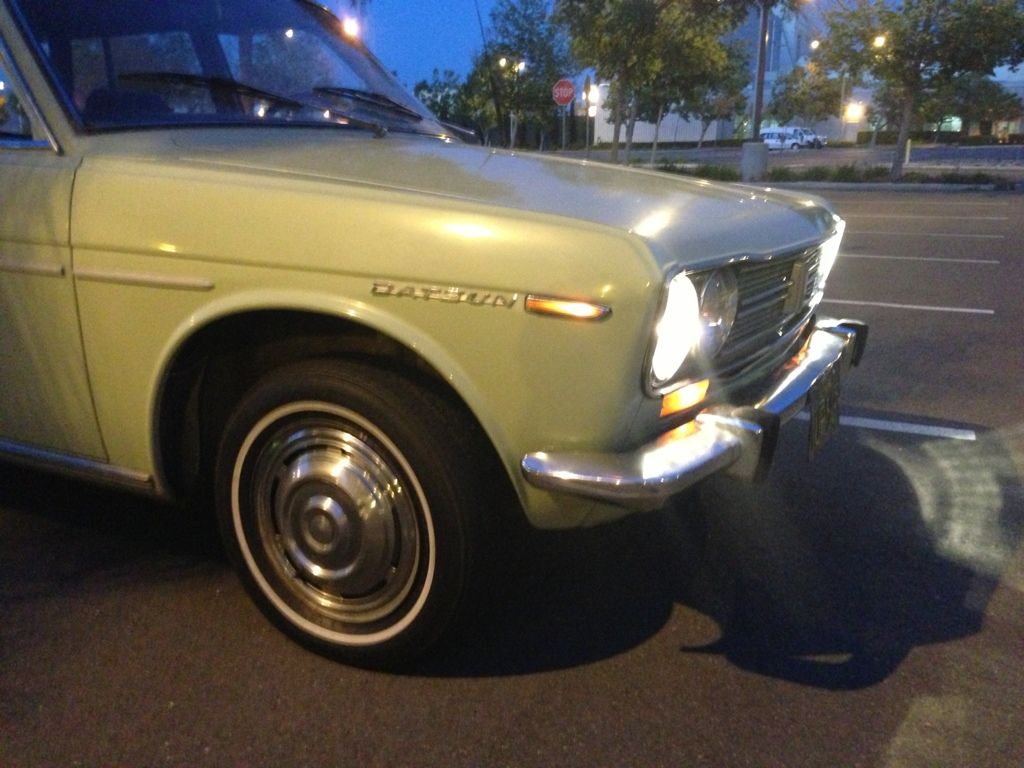
I think it's just the fact that it's daylight and the angle of the camera. They light up fine, I took these at night a few weeks later after taking the video. But I hear you, I soaked a spare fuse box in white vinegar for a full day and wow, what a difference in cleaning up those contacts...now if I could only find where I left that fuse box!
-
The "Granny Goon" would of been mine if something didn't happen and if I would of just make up my f**king mind.... :mad:
Anyhow, congrats Josh :thumbup:
You should have taken the pre-ad posting deal I offered you Derek since I actually turned down cash offers for that price I gave you after I placed the ad!
Oh well...congrats on what did happen none the less! :)
-
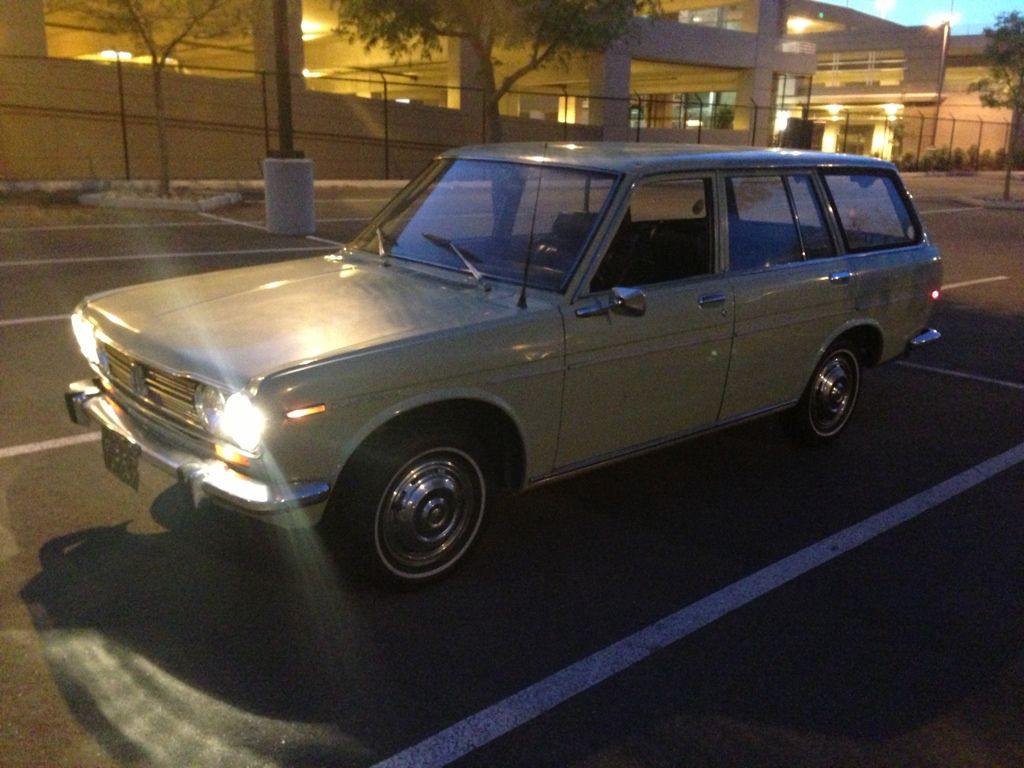
Man some of these are making my clean 69 510 wagon I just sold feel like a bargain!
-
Hey Randy, you know my things are always nice, hell look at the wheels you bought from me! So of course my (ok Josh's) wagon is clean! Haha :)Damn grandma took care of this car
nice find looks great
-
I just sold my 69 but I'll let you know about my 68 soon Marcos. :)
-
http://portland.craigslist.org/mlt/ctd/3752407350.html its been up for months, so i'd be willing to bet they'd negotiate. v8 swapped, looks to be clean from pics. just really, really not my style with the flares, wing, and square headlights. never know it may be your style tho.
Holy 80's styling Batman!
-
1
-
-
I'm sure you'll enjoy your new wagon Josh! :)
-
1
-
-
Wish I had that amount of cash...
Trades + cash are considered
Just was looking at that also shit is cleeean! Except for the speakers in the door panels
Yeah well the panel mounted speakers were already on there. :(
-
Can't wait! This is always a great turn out!
Restoring Wheels & Flipping Faces
in Wheels and Tires
Posted
Face logo painted:
Barrel shined up:
Test fitting:
After, well worth the elbow grease!
IMG]http://i491.photobucket.com/albums/rr274/sfbaycl/Watanabes%20Refurbish/8152c92b.jpg[/img]
Rear Side of Barrels: