


FricFrac
-
Posts
142 -
Joined
-
Last visited
Content Type
Profiles
Forums
Events
Store
Classifieds
Posts posted by FricFrac
-
-
MegaSquirt..... do it!
Start with an intercooler and exhaust. I haven't seen anyone run an S130 rear crossmember with an exhaust pass through like the 510.... just sayin...
-
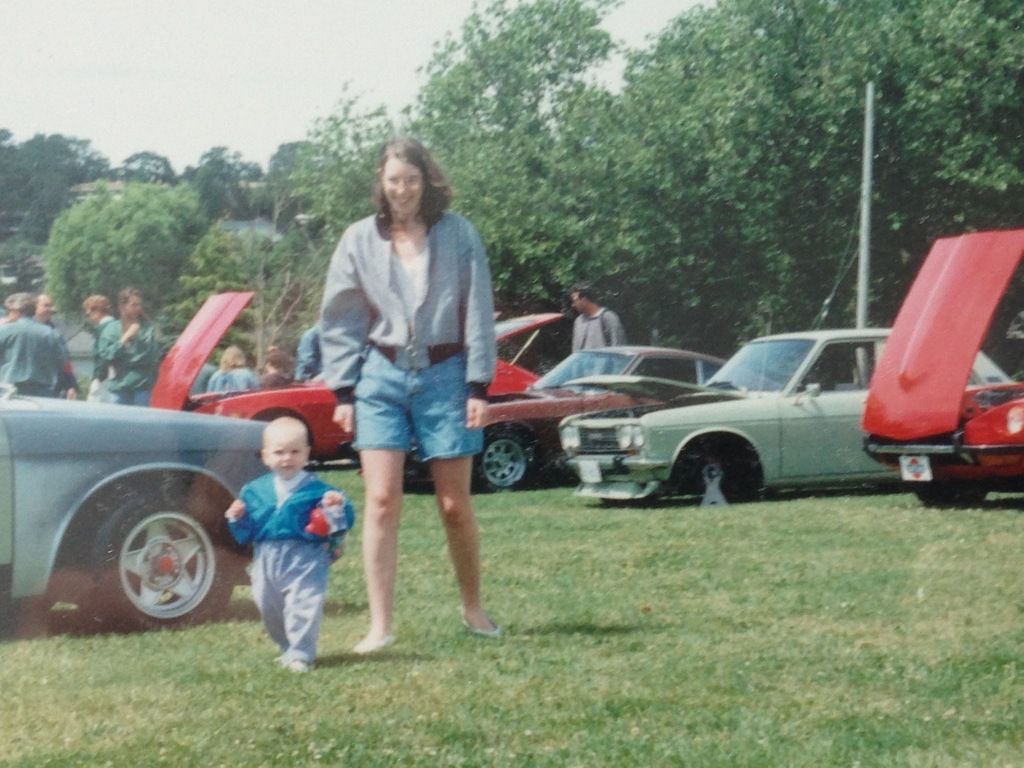
Time to get this thing running properly. I don't really know what I'm doing so I bring in my expert who has been into 510's since she was one fender high. Photo courtesy of the Byron 510 Photo Archives.
 She's not afraid to swap in a new KA24DE into her 1993 240SX.... or should I say newly siezed engine - oh well make that two engine swaps into the 240SX :) I knew I had the right crew assembled to take this tune up task on...
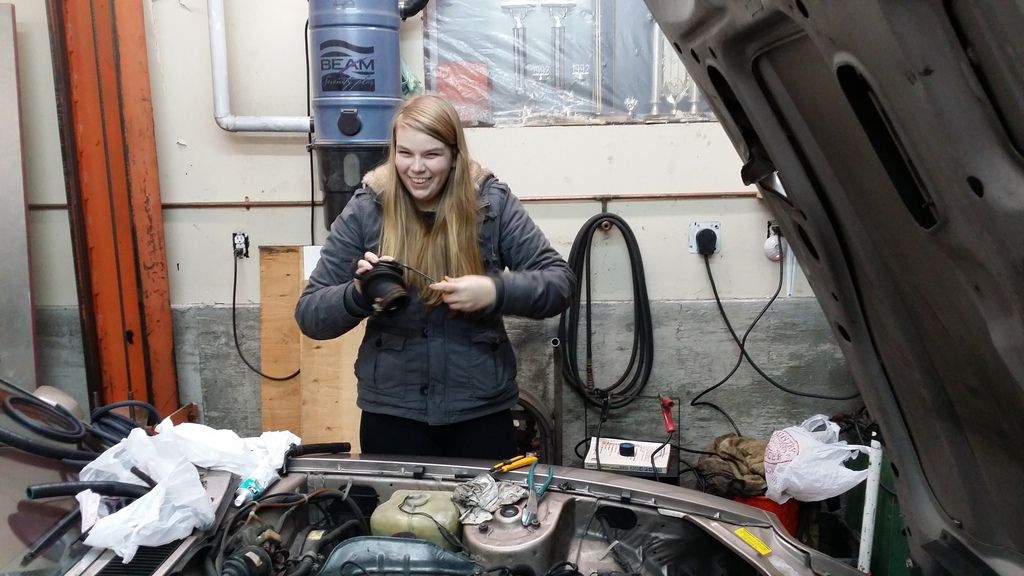
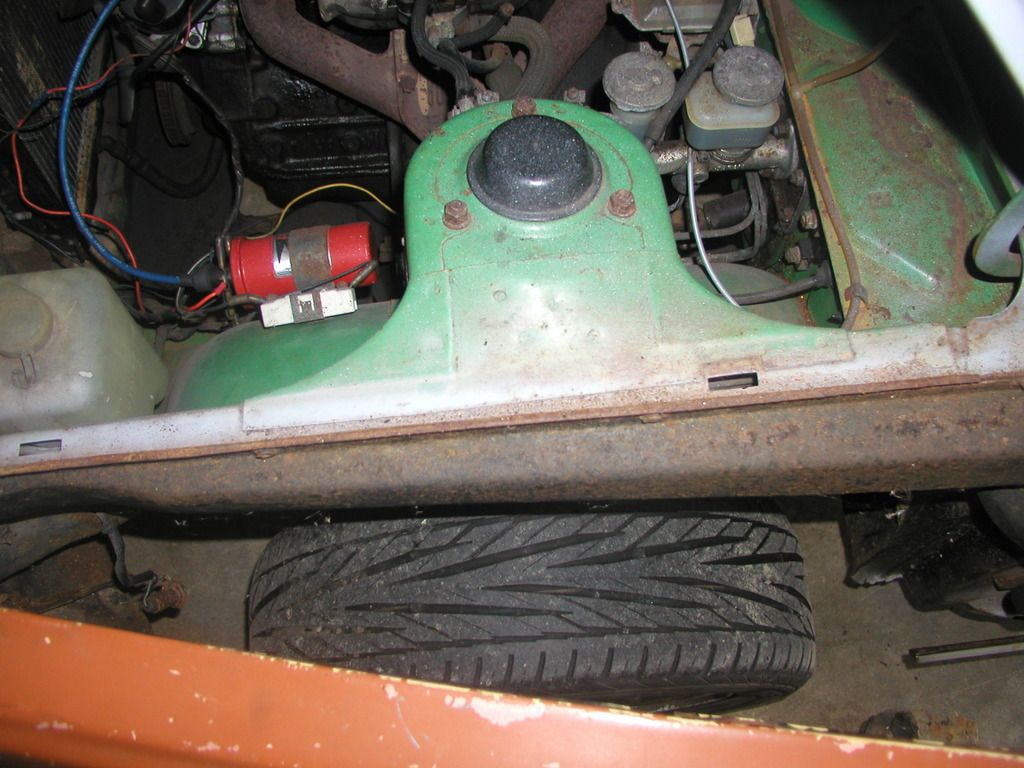
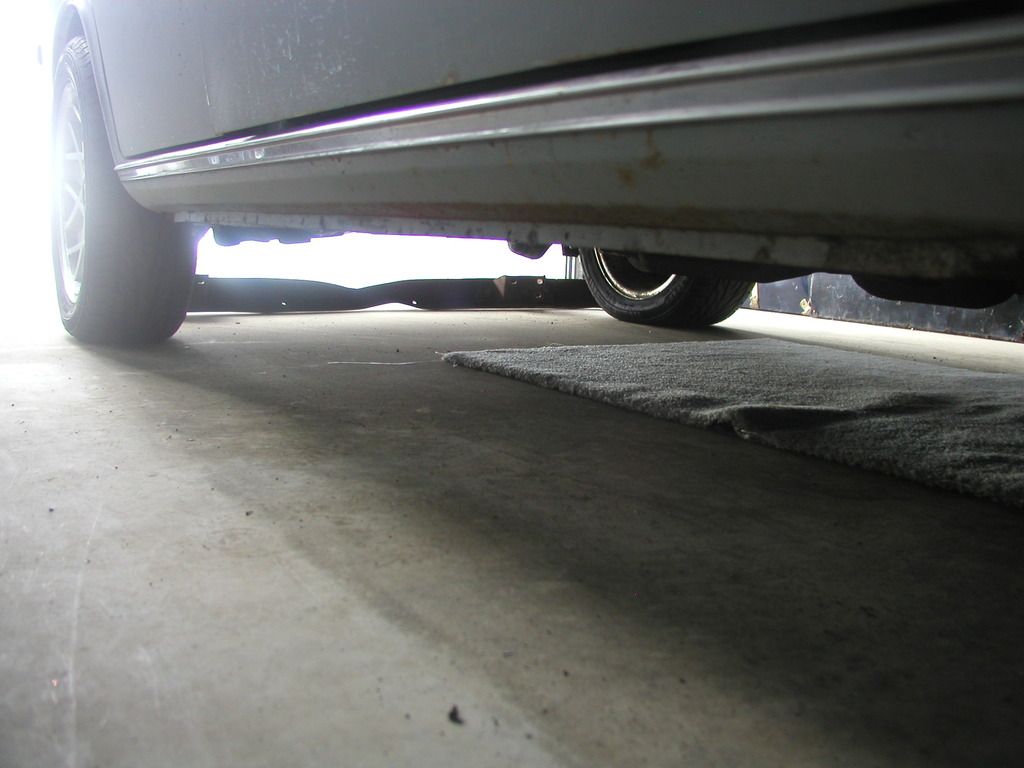
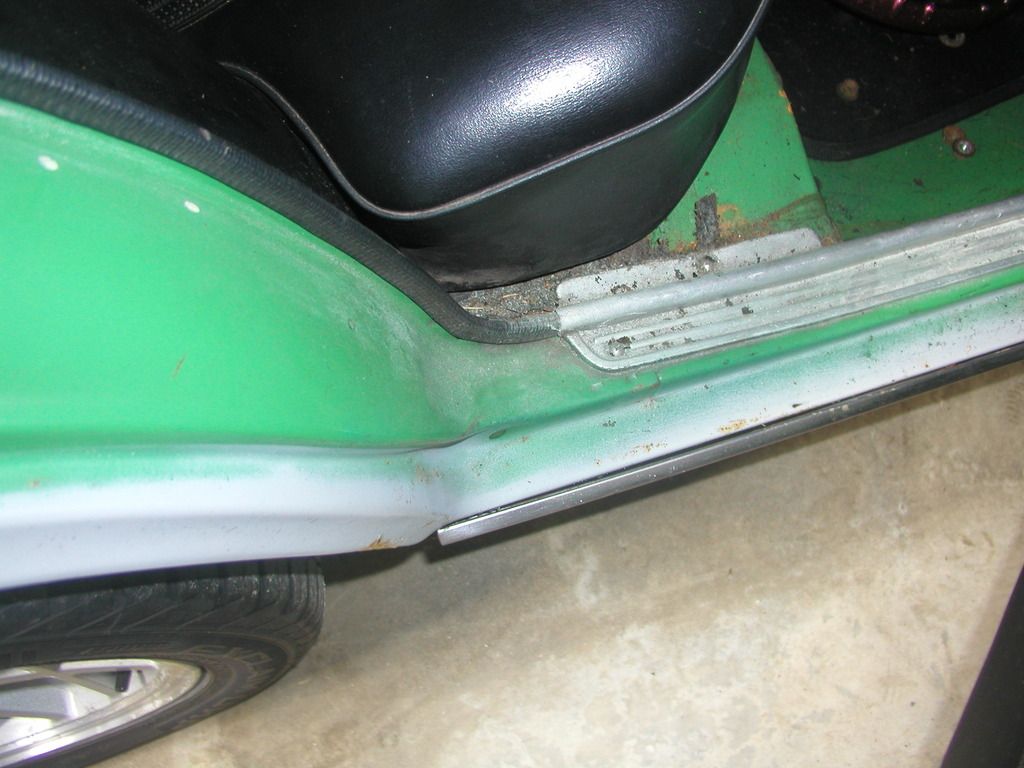
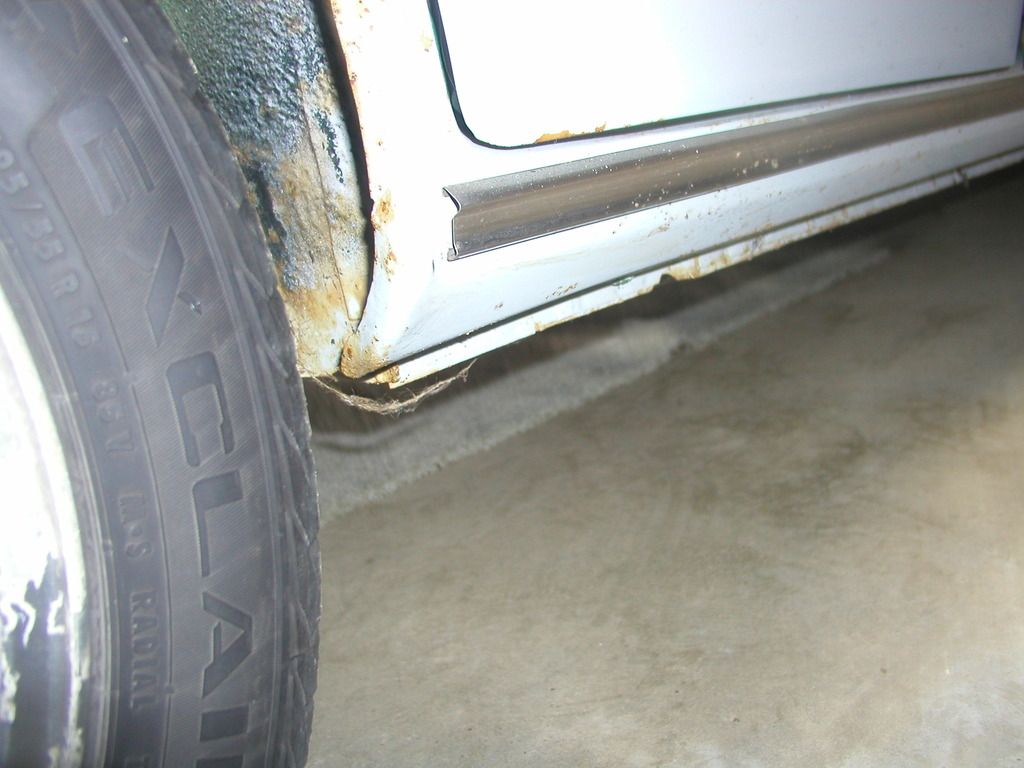
 I had a 1981 1/2 280ZXT that she wanted to make into a driver.
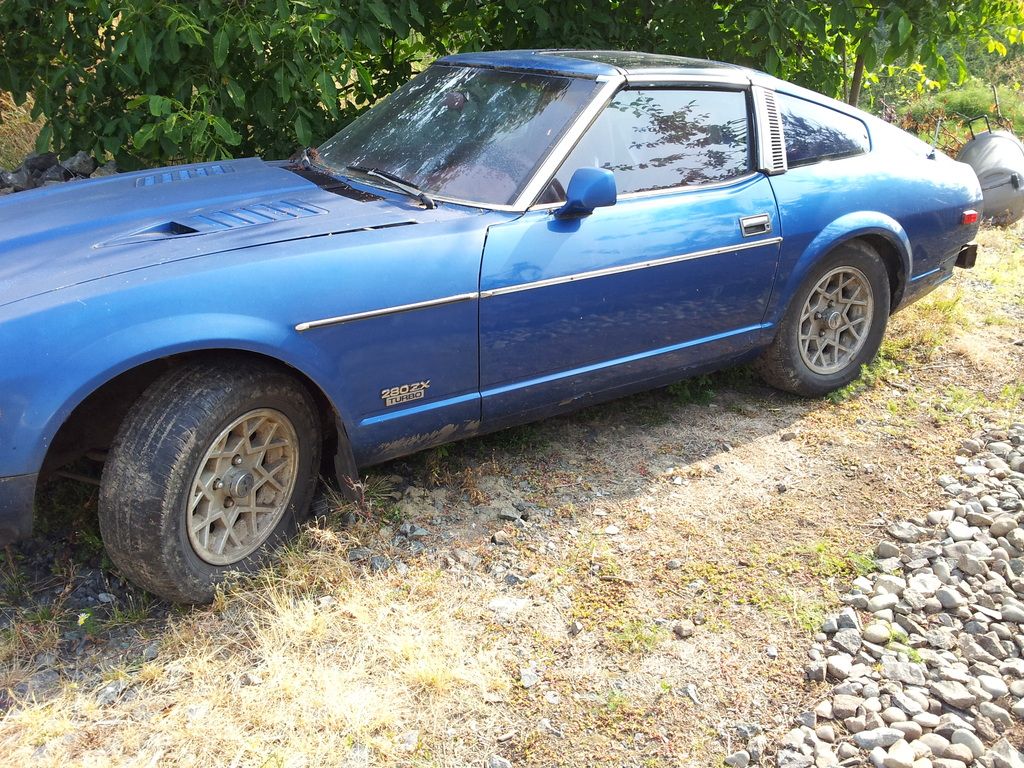 Typical Datsun - not to bad right? When we put it up on the hoist we could see the wiring harness in the rusted out gap between the floor boards and rockers so a part out it is. Nothing wasted here...
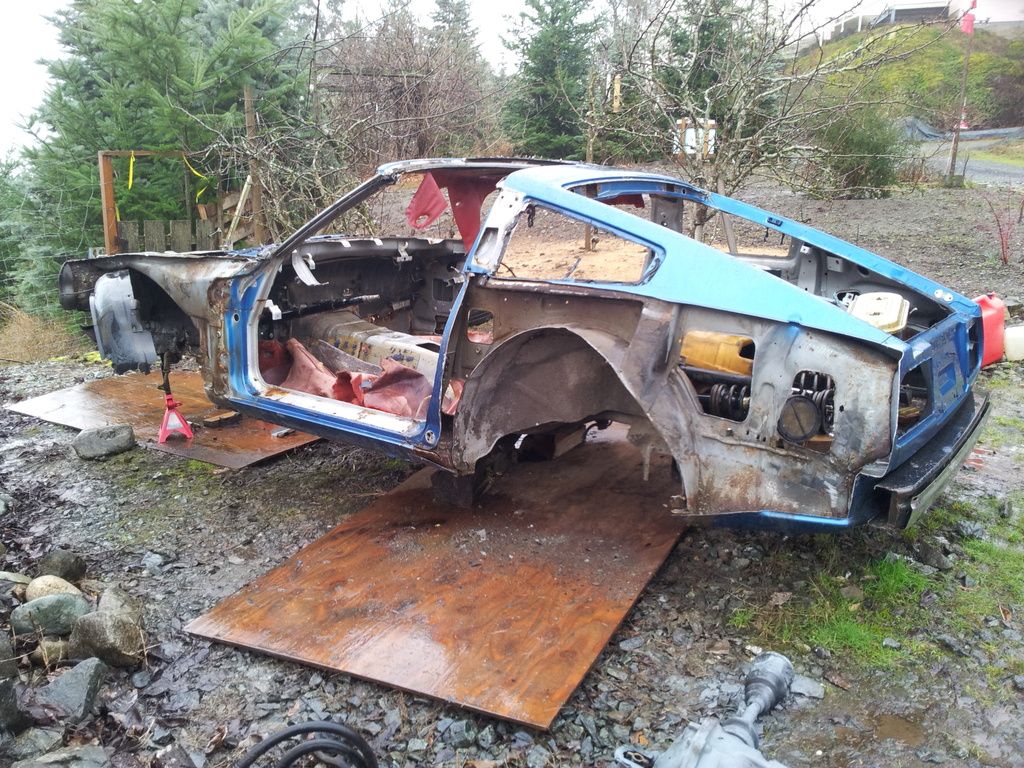 I parted the car out and refurbished the wheels for her :)
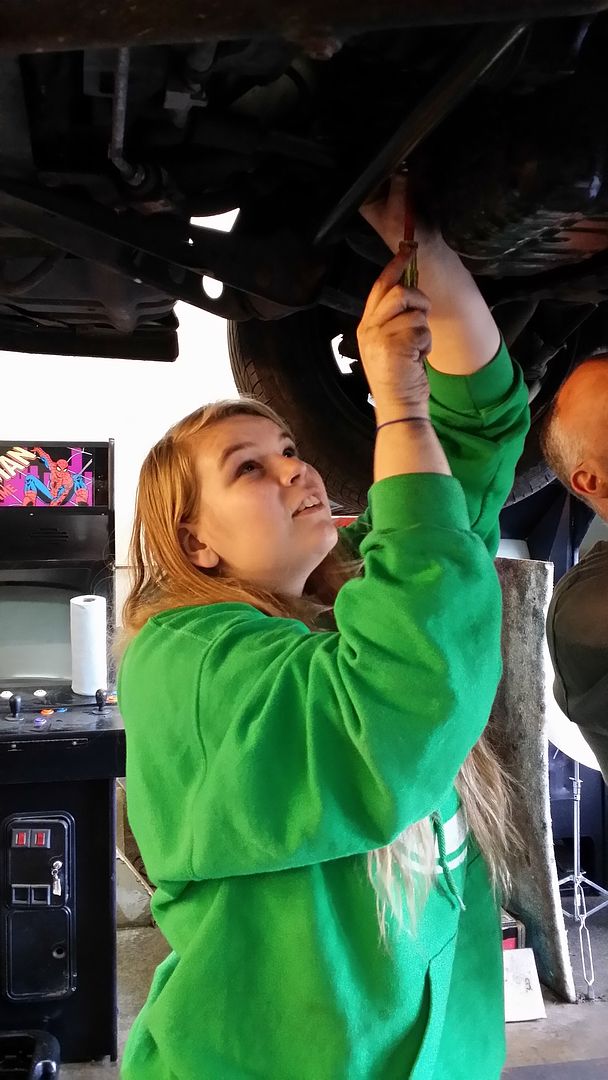
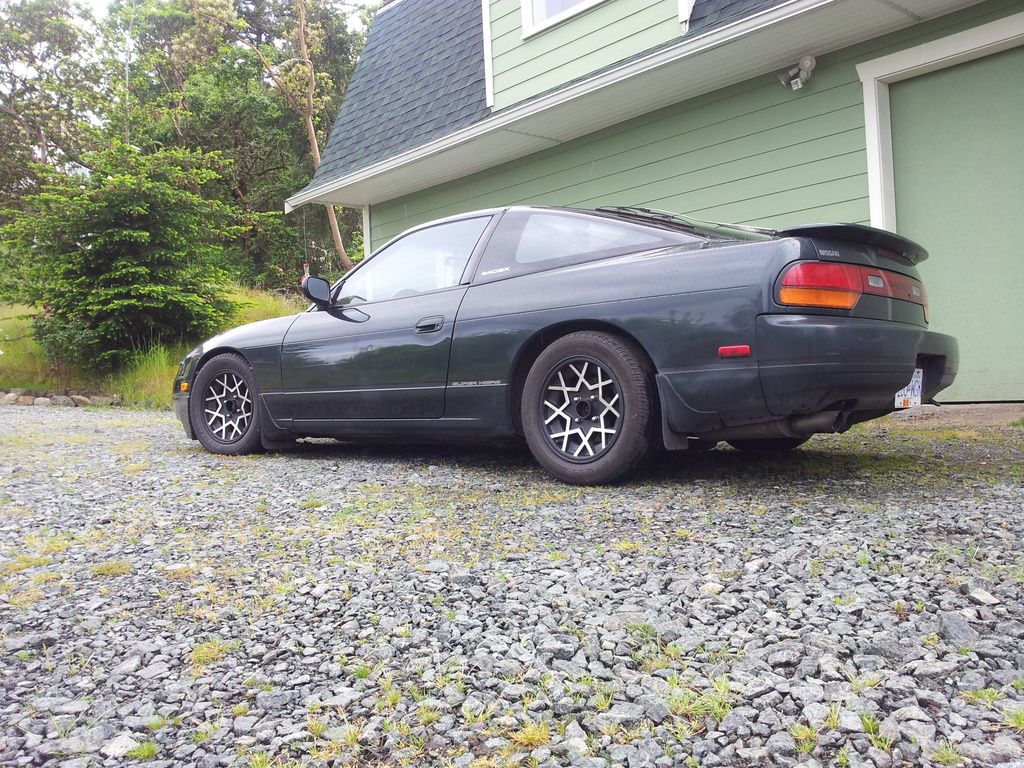 anyhow...back to the job at hand.... speaking of one fender high apparently we are suppose to screw the fenders to the car says the expert.
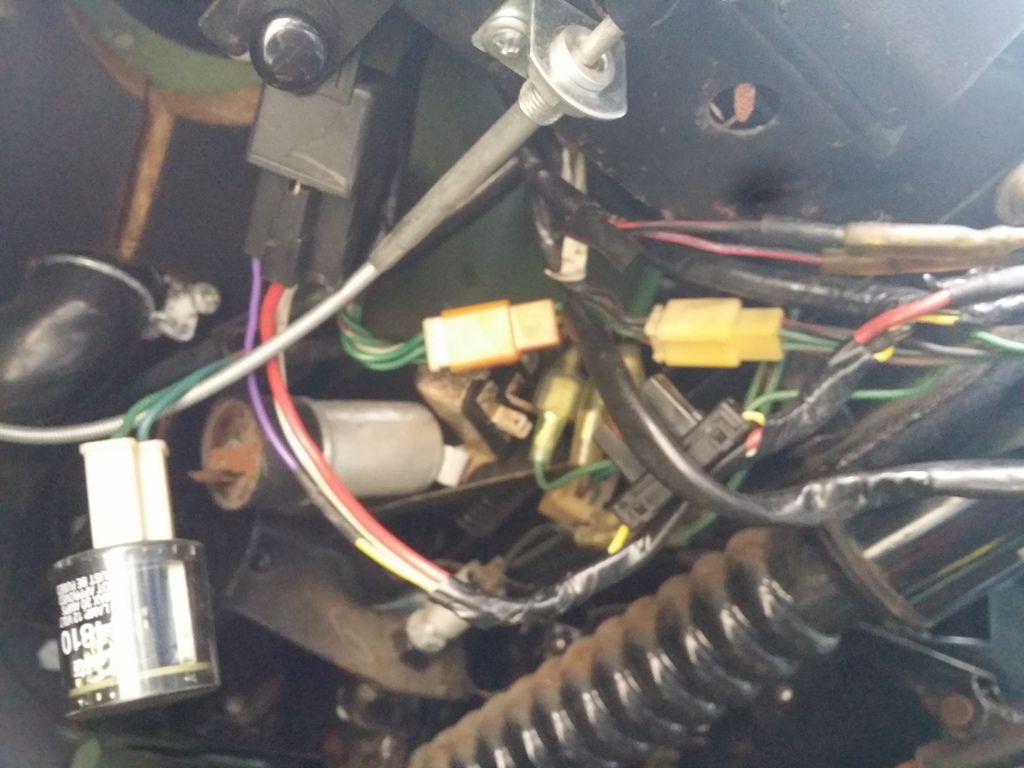
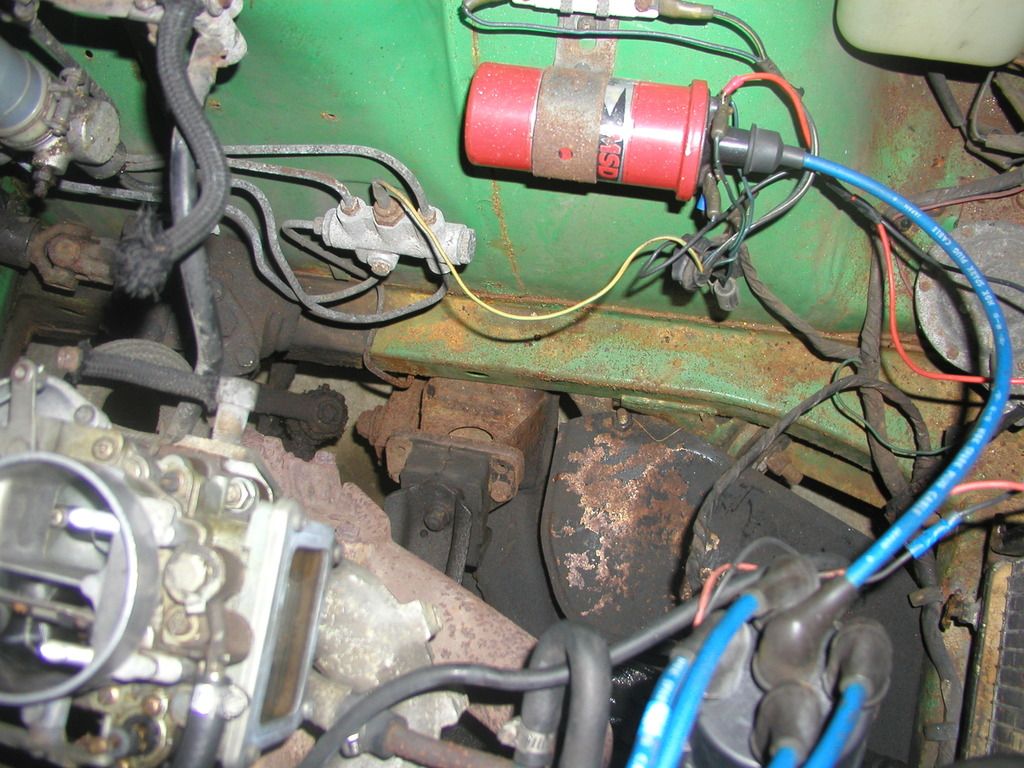
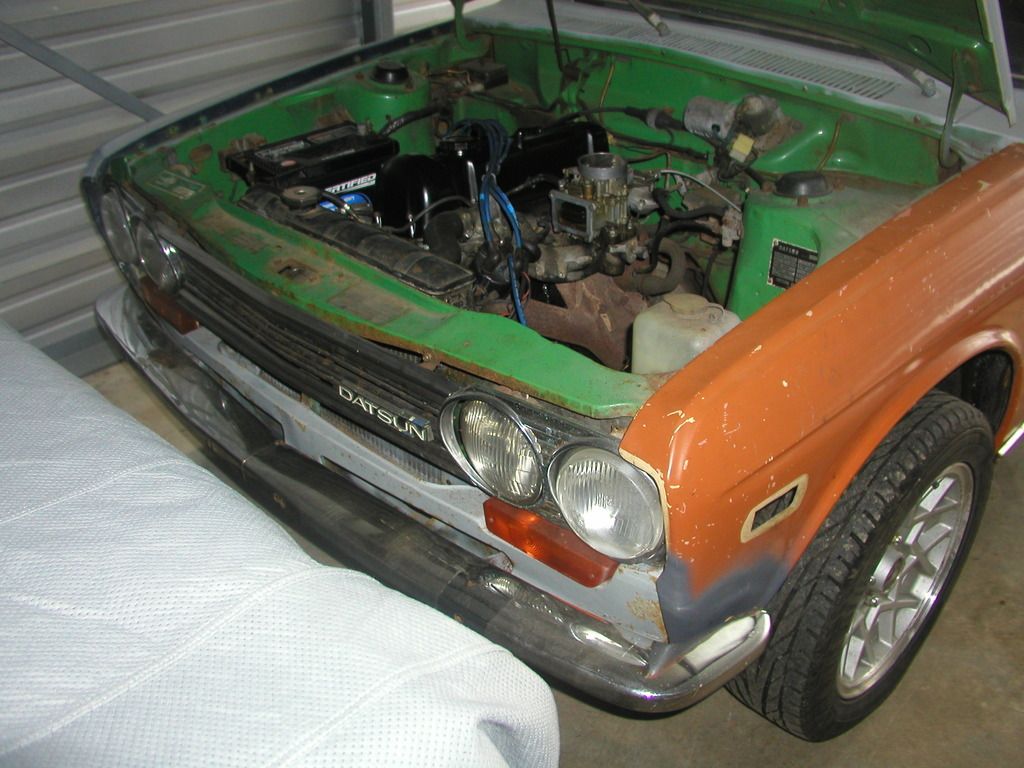
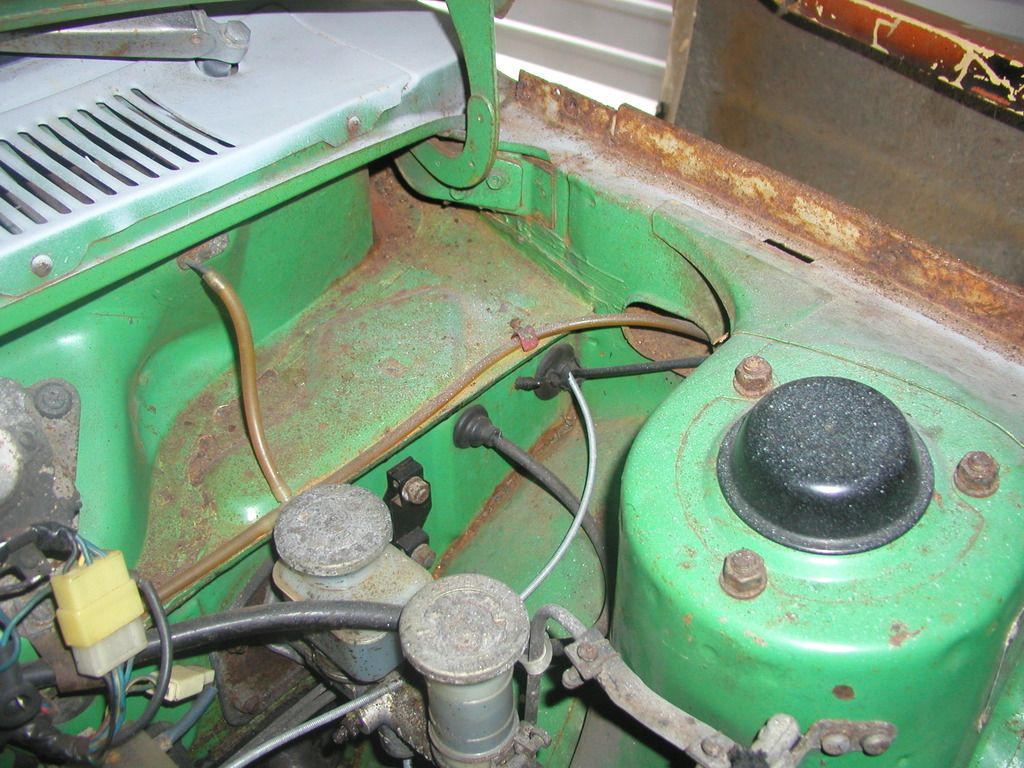
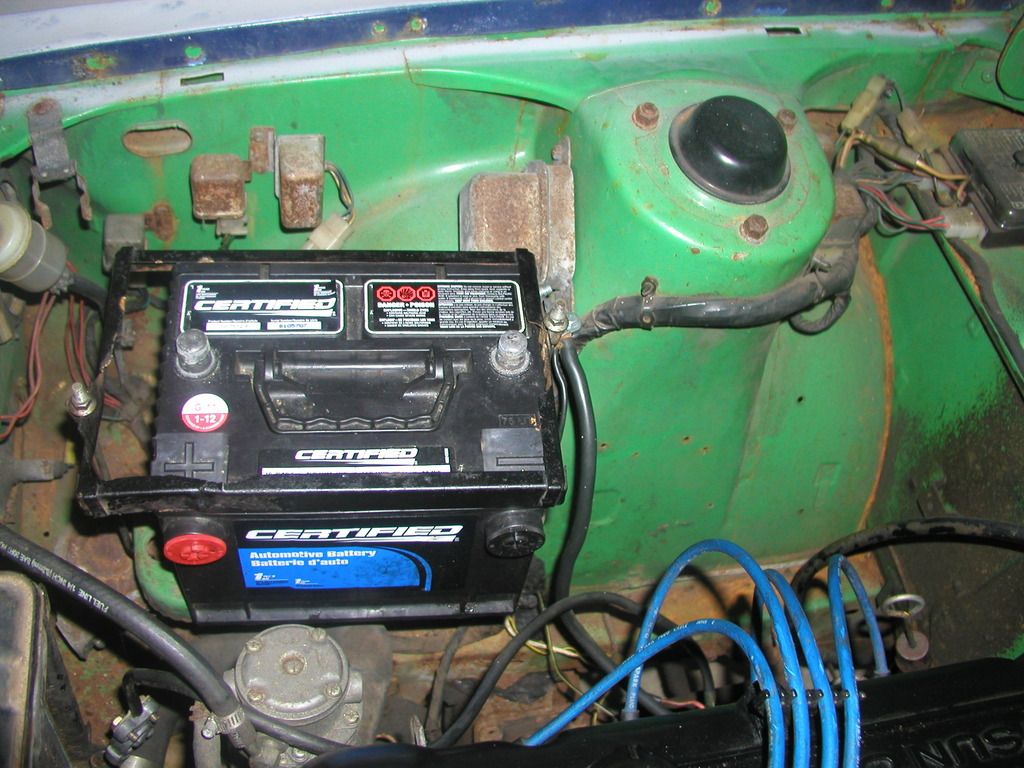
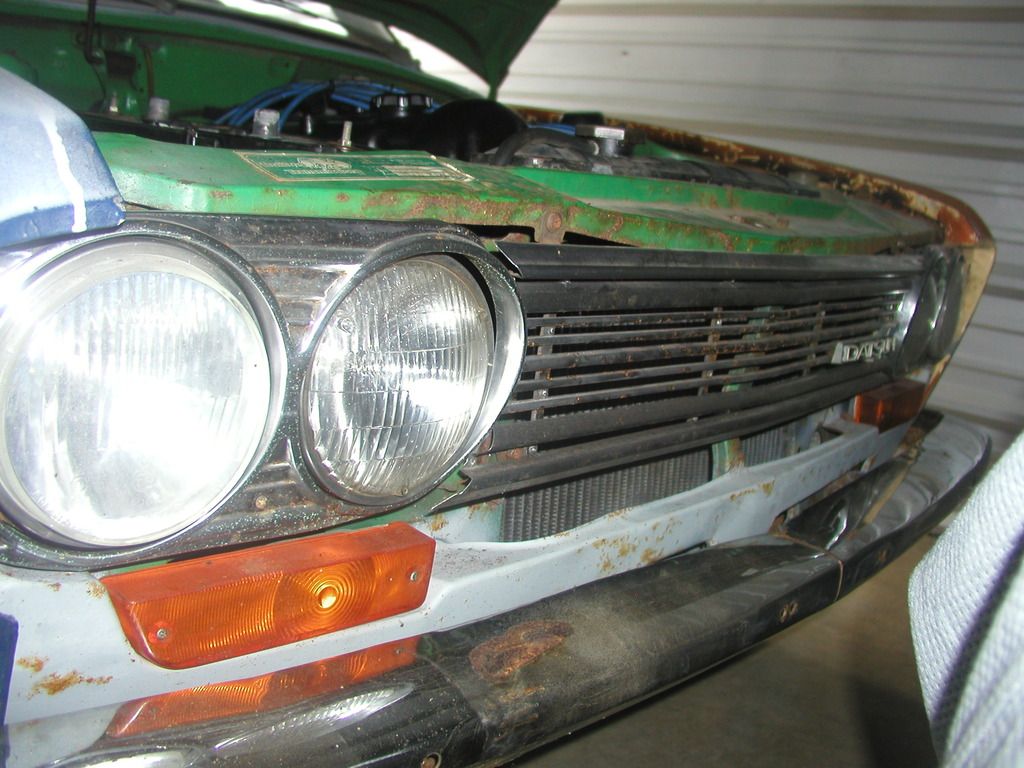
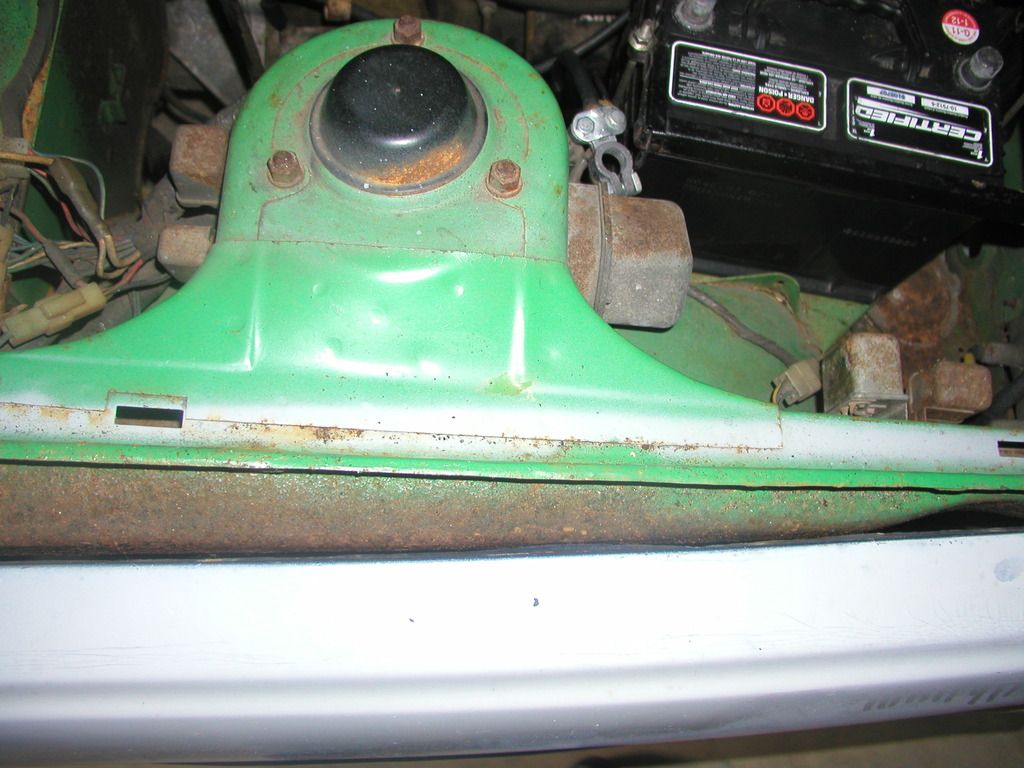
 So one of the main problems is that when the car is running and you turn the lights on it stalls. Not a good combo. It also likes to stall at the lights and stop signs unless you give it some choke and put it in neutral which makes driving the car not quite as enjoyable as I know it can be. It seems like its a spark issue and I suspect the voltage is dropping and the coil isn't reaching a high enough voltage for a strong spark. That is the perfect excuse to start going through the electrical. Something most people don't like doing but since I'm and Electronics guy its right up my ally. New battery terminals and cables and fix the ground points on the car. Car hesitates and stumbles through with the lights turned on - getting better. The headlights look a lot better too - getting somewhere. Pull the fuse block which gets cleaned and refurbished with new connectors, etc. Fuseable links get replaced with ANL fuses and replace connectors. Car runs and stalls less... something else is a problem here. Car has a matchbox dizzy - that gets rewired with weather proof heat shrink and solder instead of the butt splice connectors - ew. Also has an MSD coil... and a ballast resistor... still connected.... so yea my 12V coil is running at 6V. When the lights were turned on it was probably dropping to 5V and all the improvements was bringing up the voltage fractionally. Jumpered the resistor out and we have a fully functioning ignition system. Now I can drive at night with the car in gear at the lights - yay :)Looks like the plug wire, cap and rotor have been changed recently. The Bosch plugs get pulled and look decent so they go into the garbage can and a set of NGKs goes back in. Pull the valve cover for a valve lash adjustment.Before valve adjustment:
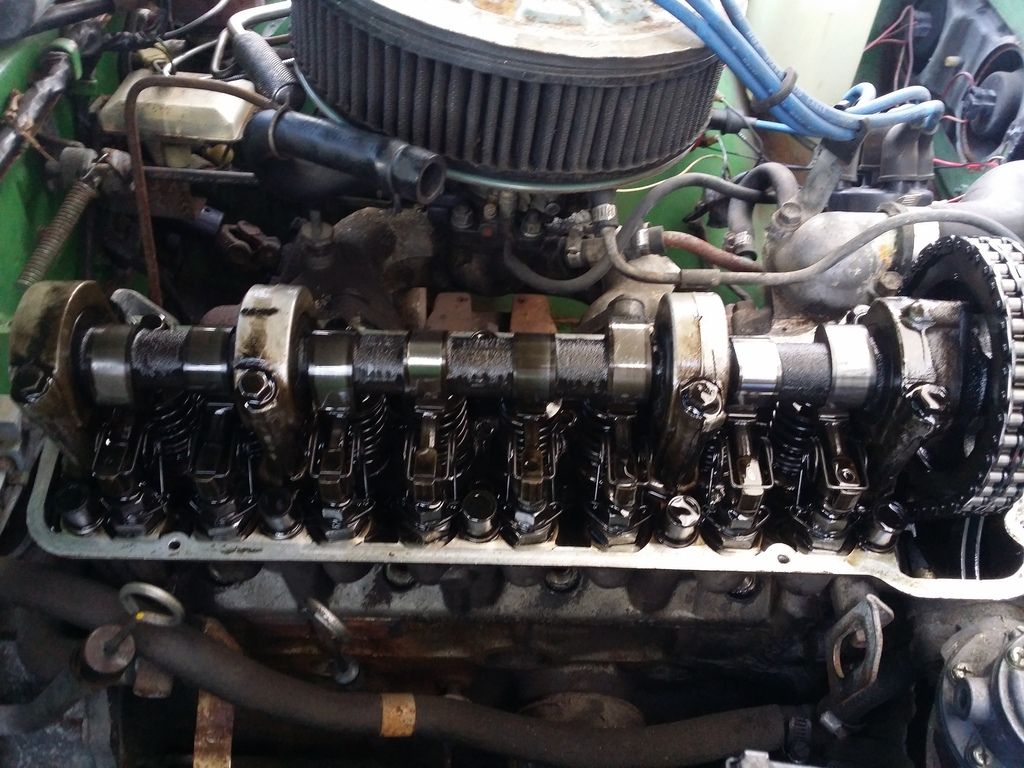 After valve adjustment:(note: this smart alec forgot to take the after picture so yes its the same picture....)Oil flush and change and we're up and running :)
-
 2
2
-
-
So once we have a car that can start next on the list is to make sure it can stop. Stop moving that is. The drums are locked on so its time to take them apart and see what's going on and do a little maintainance.
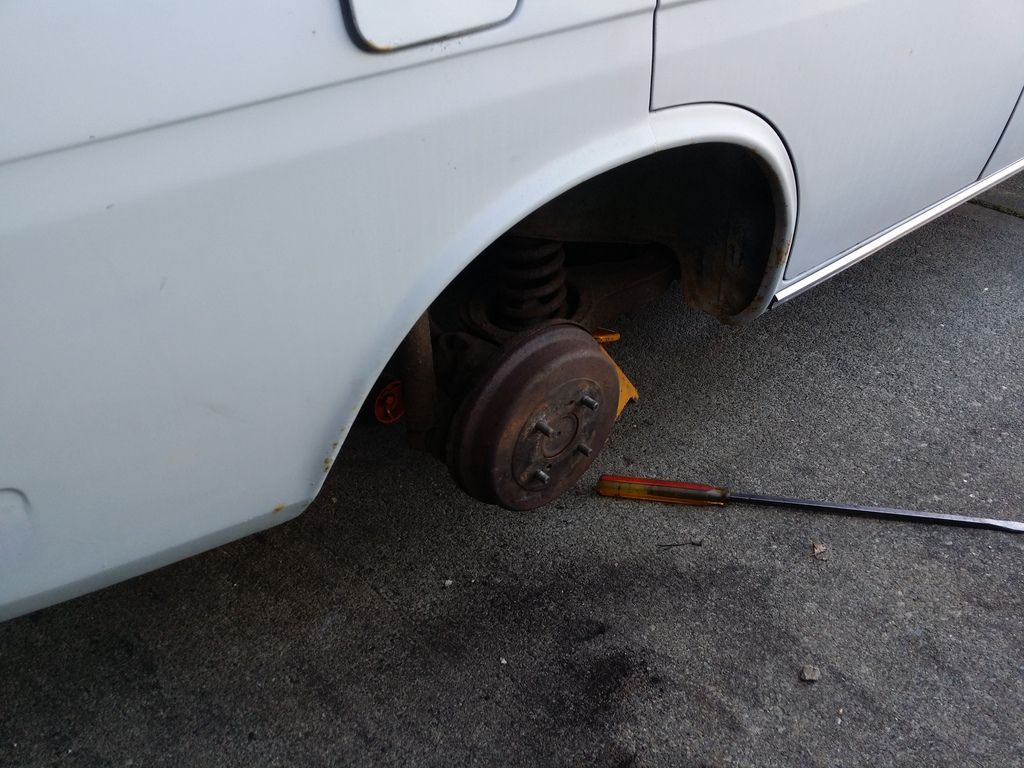 The pads need to be adjusted so we take the adjusters out and clean them up and adjust the brakes - much better! Take it out for a test drive and it runs like a bag of hammers but we can get up to speed to jab the brakes a few times. Turn around at the cul de sac, stall and restart. Manual choke is almost unusable so add that to the list. Brakes work but the wheel cylinders are sticky so time to call around and see if I can get some wheel cylinders locally. I'm devastated by the ridiculously high price of parts for this car and I'm just getting started.... bye bye engine swap budget its all going on brake repairs. I pick up the $16 a pair wheel cylinders and wonder if I should have ordered in the almost free ones from Rock Auto for $7.80 a pair plus $11 shipping. I'm so pleased with my almost free brake parts that I leave the parts store without grabbing a bottle of brake fluid and head over to Gord's shop to do the brakes. Oh well it gets done the next day and instead I install a new choke cable to make use of my time. Rear brakes done... for now...
-
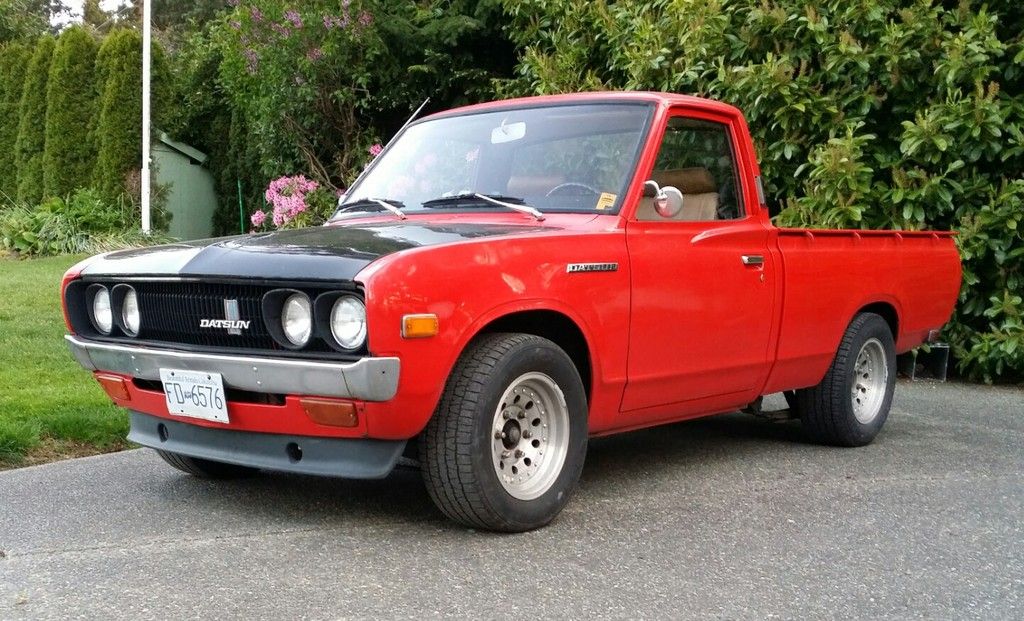
That 620 is beautiful :thumbup:
Thanks - I have a powerful love of Datsuns :)
-
1
-
-
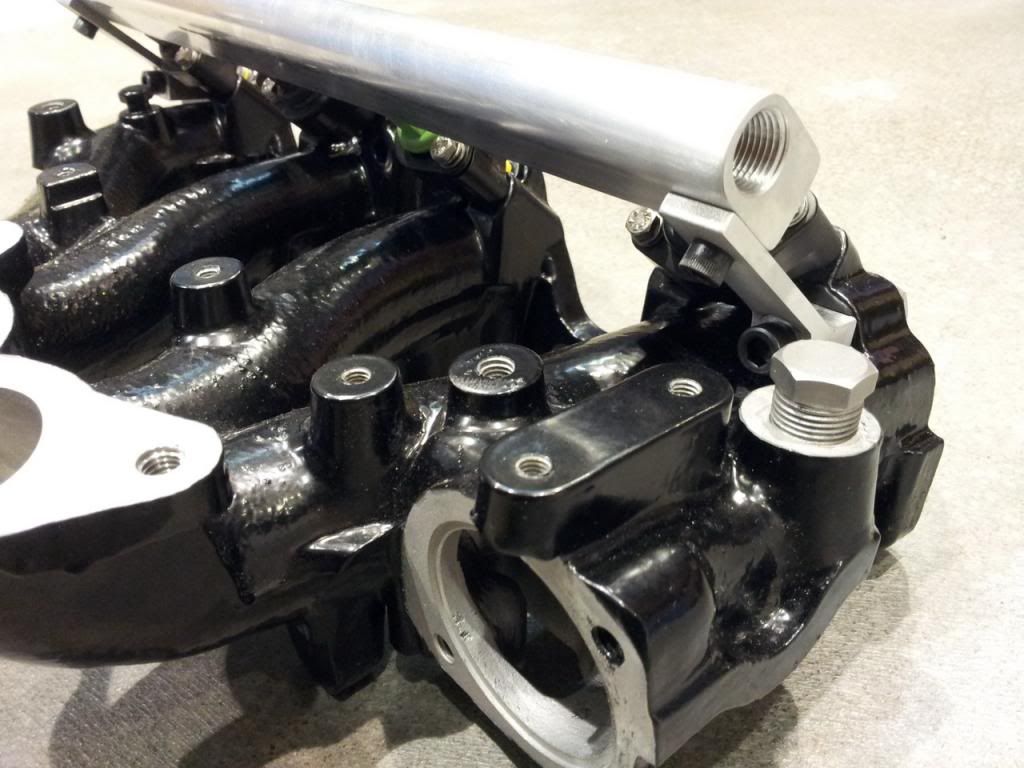
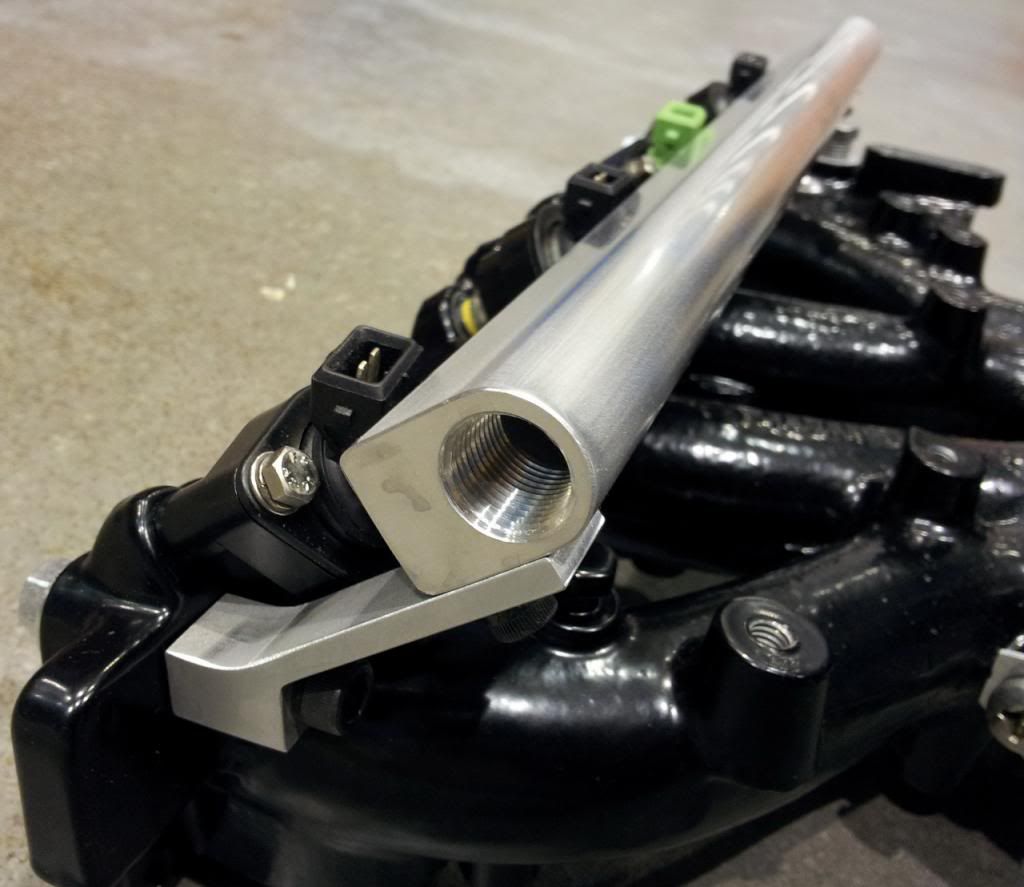
So for the KA24DE with the Suzuki 750 ITBS here is some of the progress. I'm tempted to put this into the 510 instead....
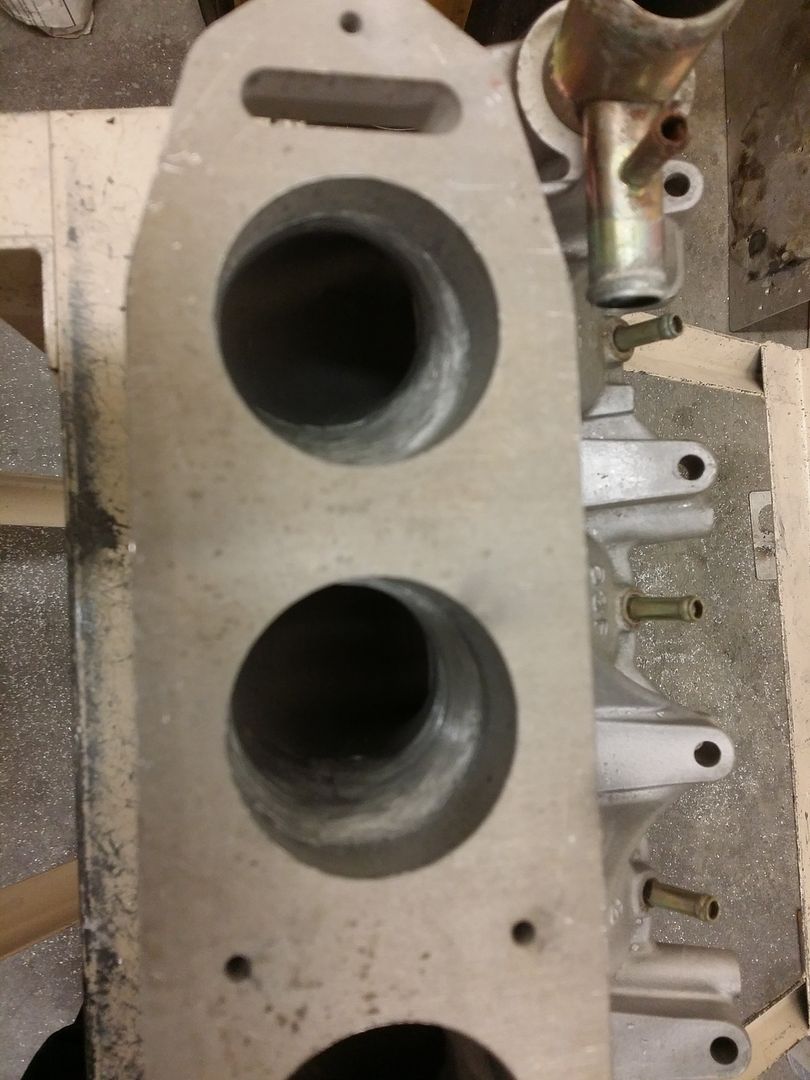
The original Patient:
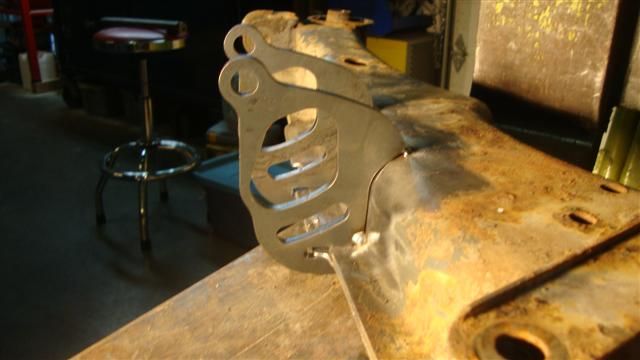
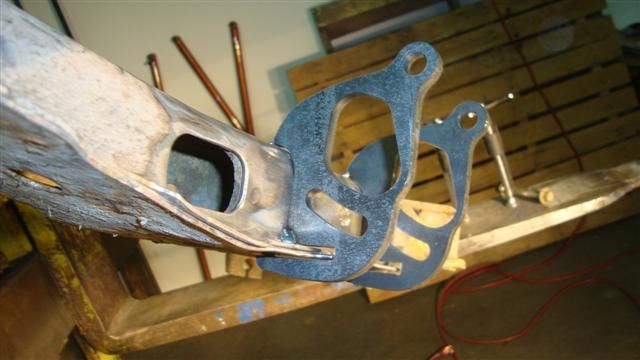
The modded intake and mounts:
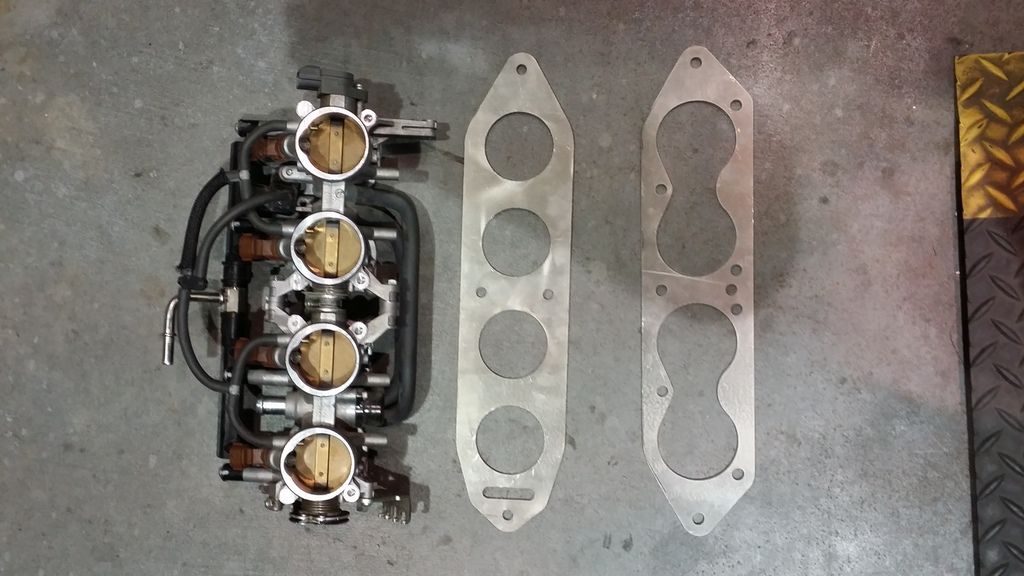
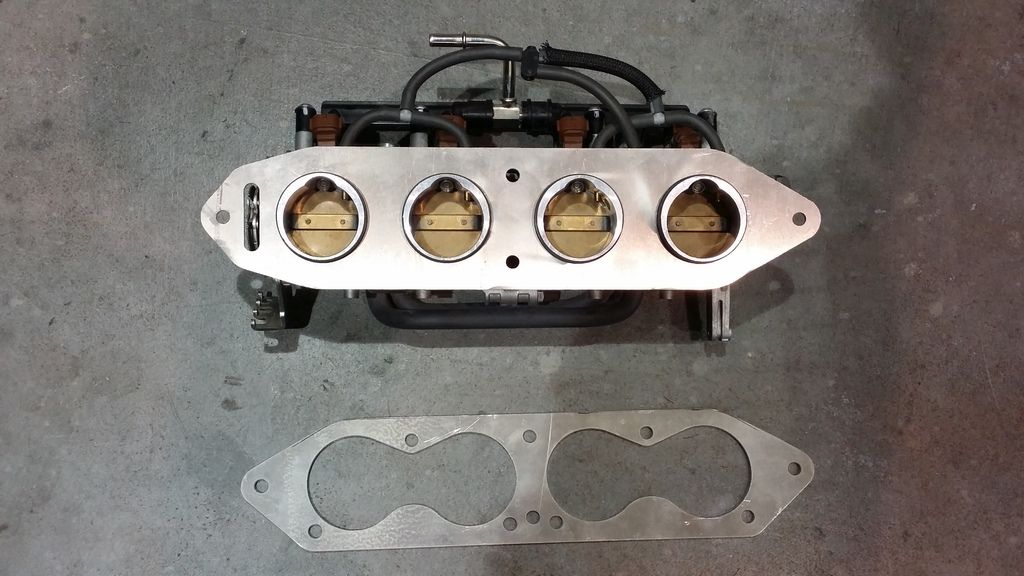
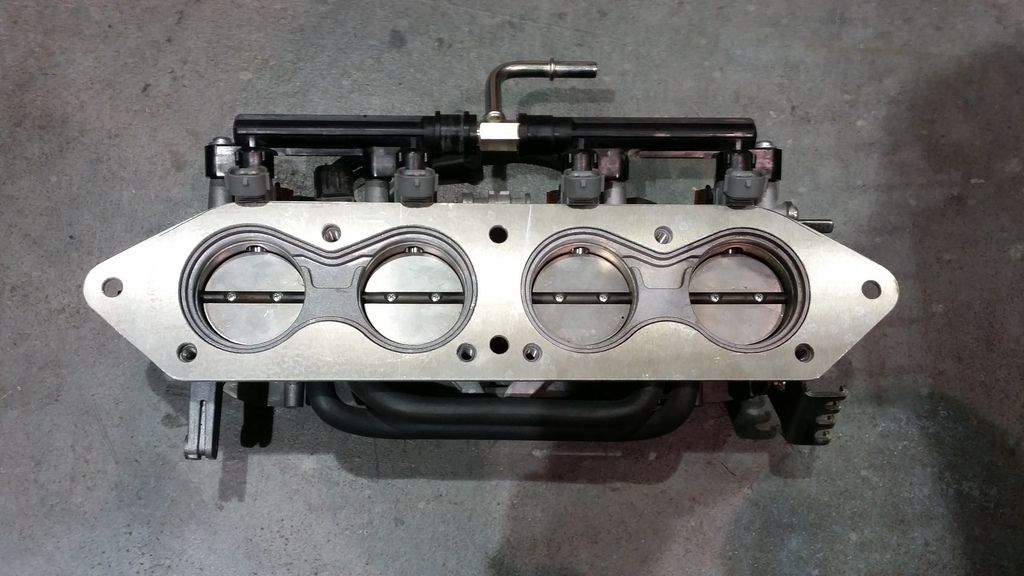
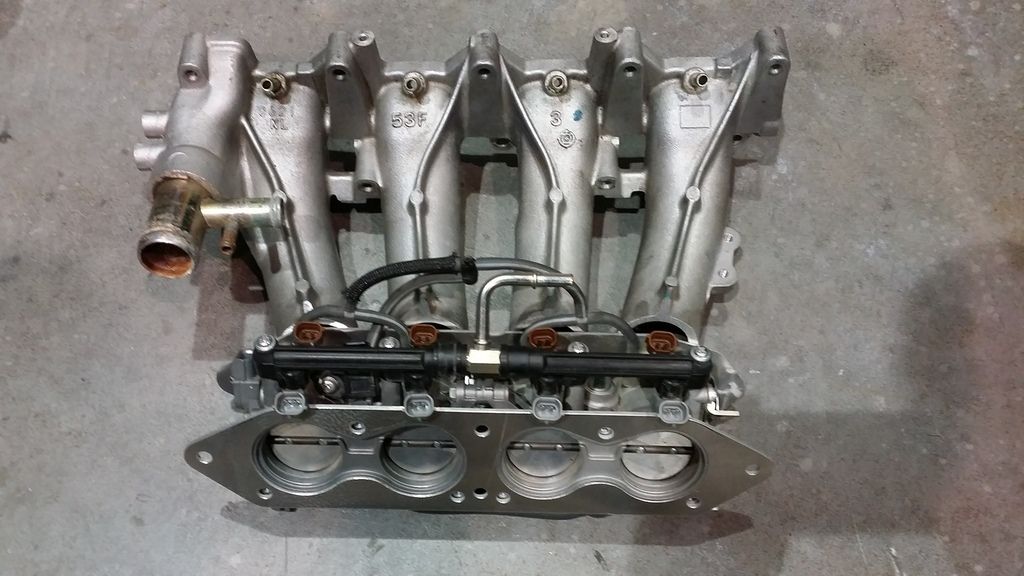
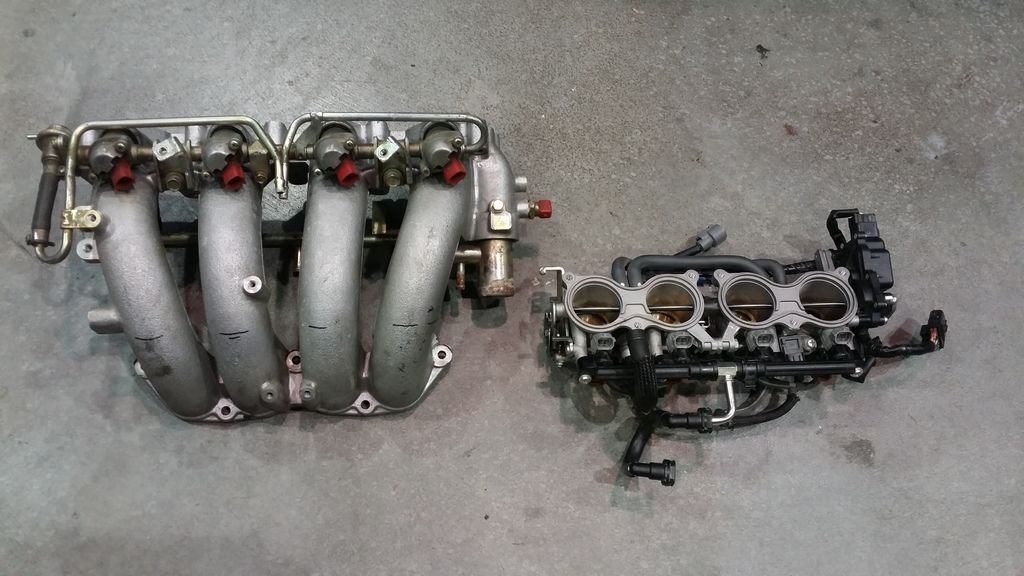
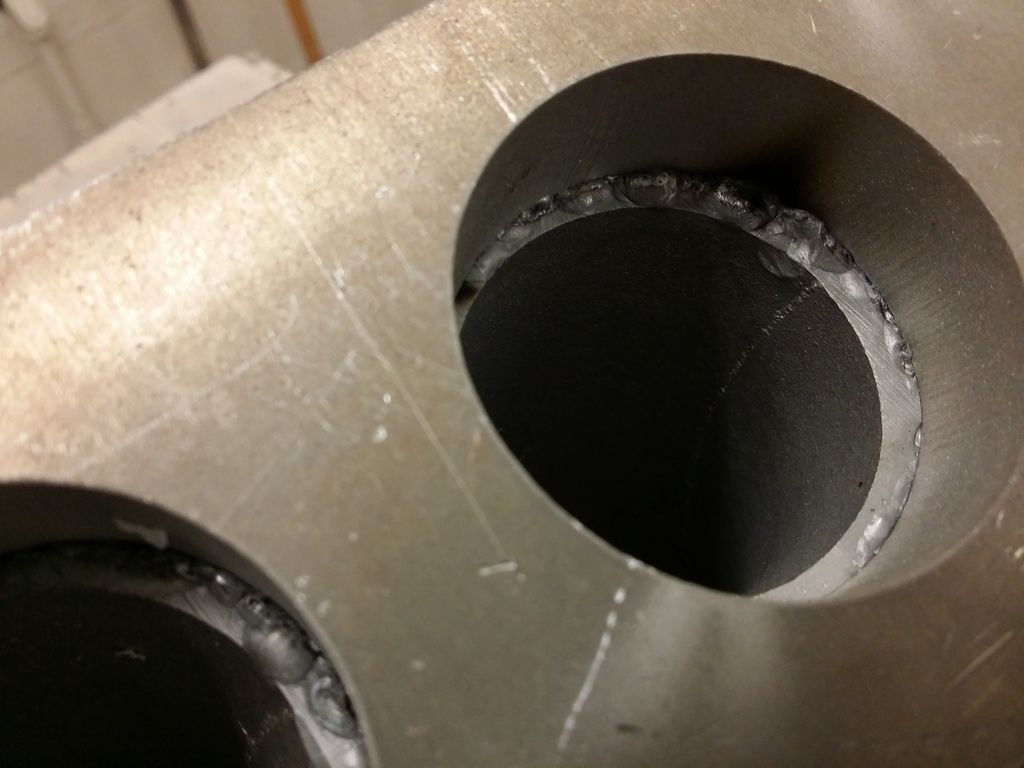
With the runners cut and the new thicker flange welded on there is material to match the GSXR ITBs and the KA24DE runners.... close but not quite so we make it work....
-
1
-
-
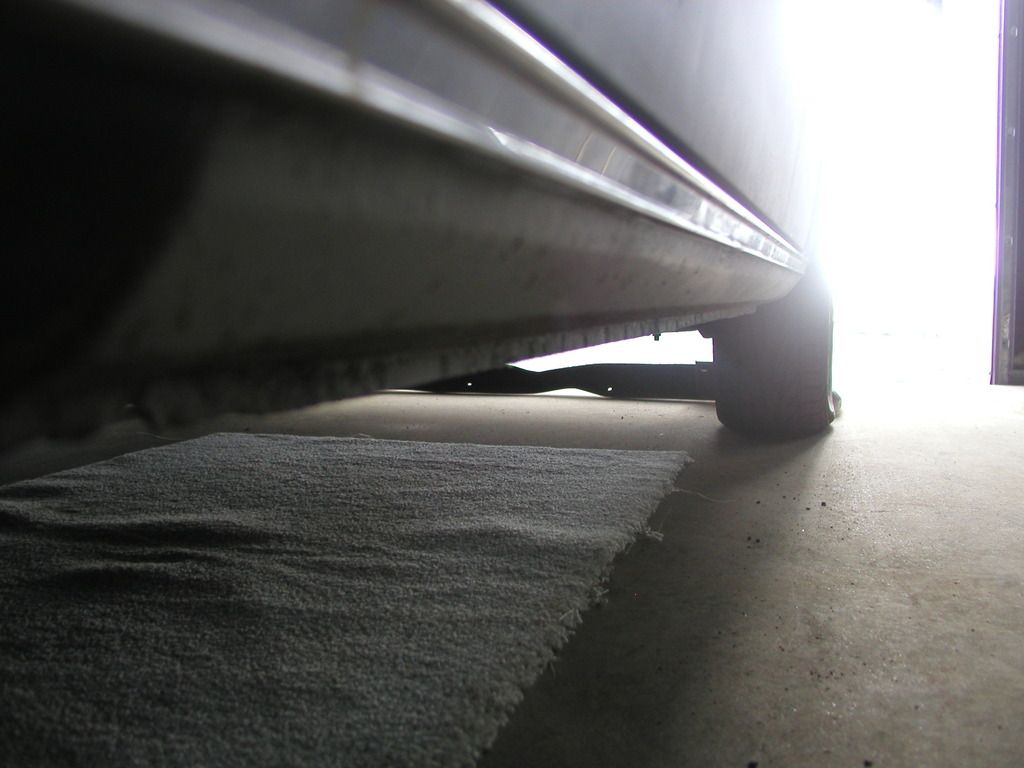
Previous previous owner had it in primer. That's coming off to see what's underneath and get sealed properly.
-
1
-
-
Already have one in my 2 dr parts car with a 5sp :)
-
1
-
-
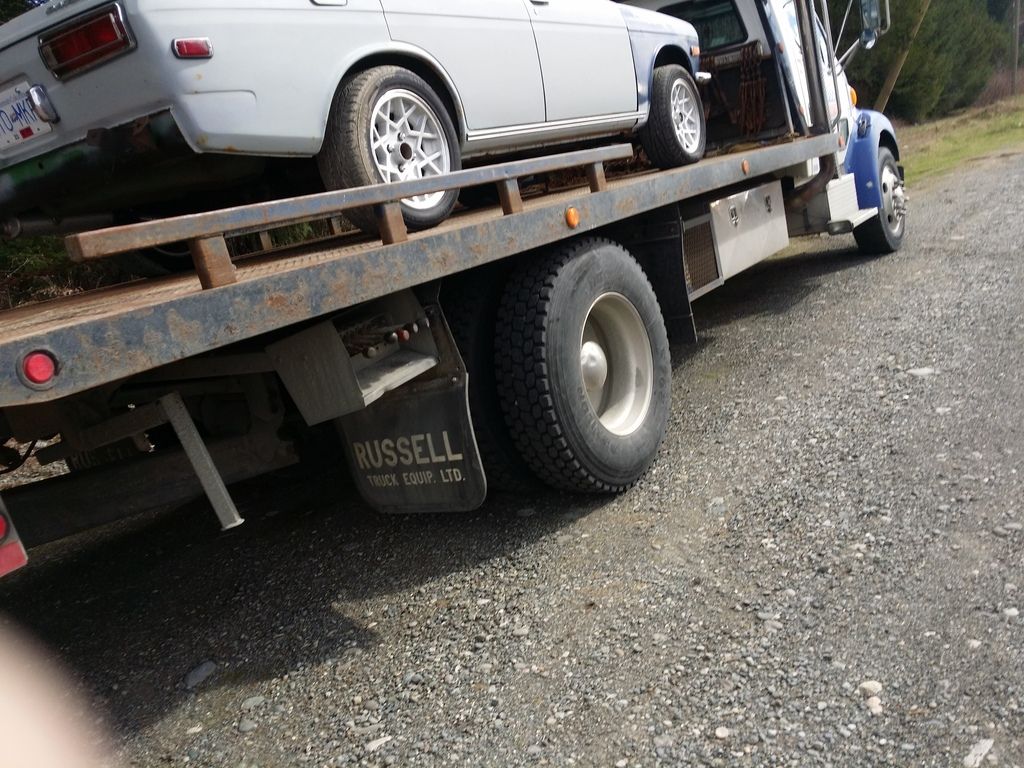
So when I picked the 510 up we were able to get it started by jumping out the starter. Threw it on the tow truck and took it back to my friends shop to figure out whats going with the starter.... for starts... literally...
 Typical mystery wiring going on. Not getting +12V from the ignition switch to the starter. Knowing the issues with the stock ignition switch after 40+ years on the old Datsuns instead of troubleshooting I grabbed an ignition switch from a 280ZX parts car and threw it in. One of my 280ZX mystery intermittent problems ended up being a duff switch after a year and a half of being out of service.... so frustrating but for the 510 it was a quick fix.
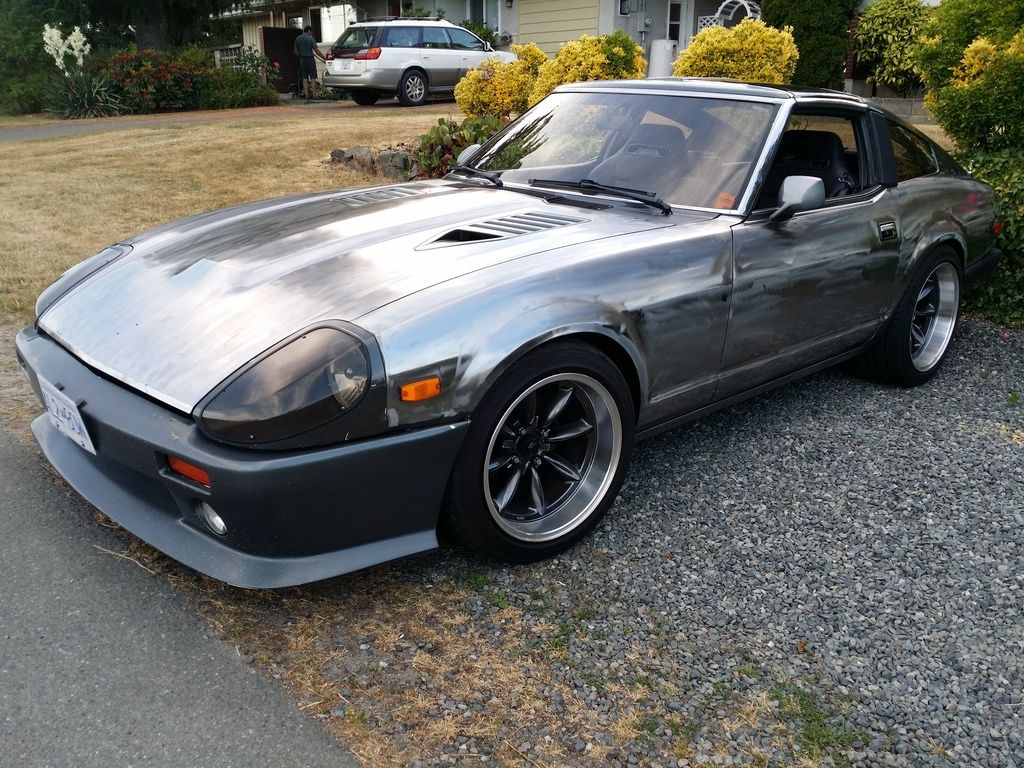
-
3
-
-
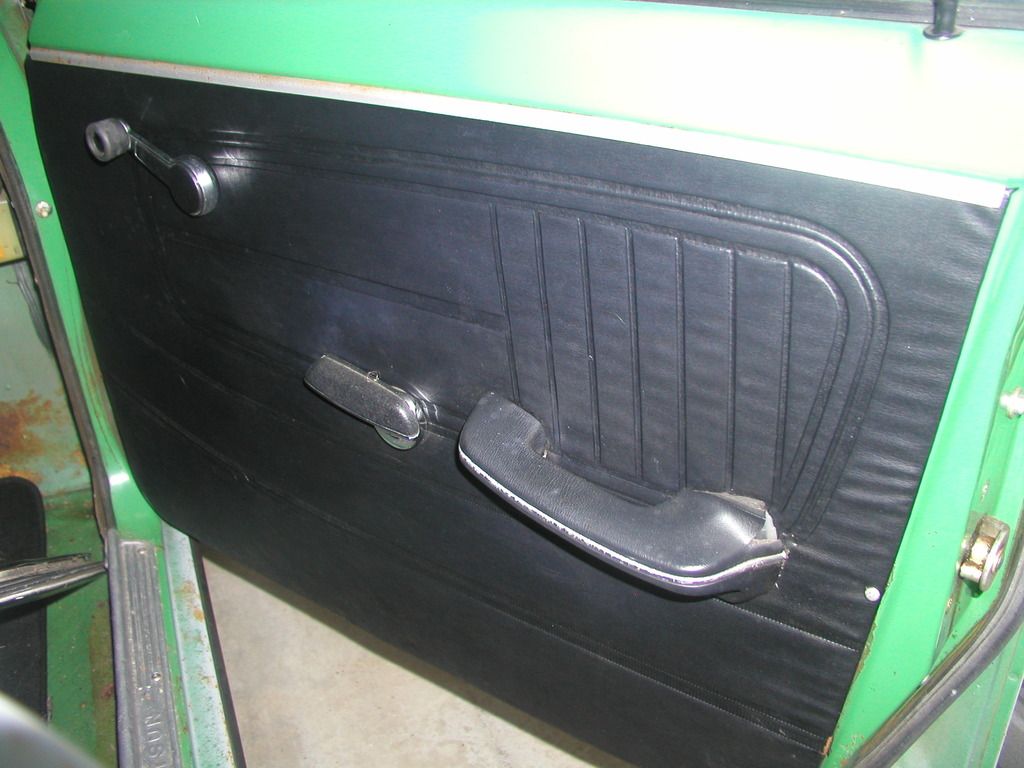
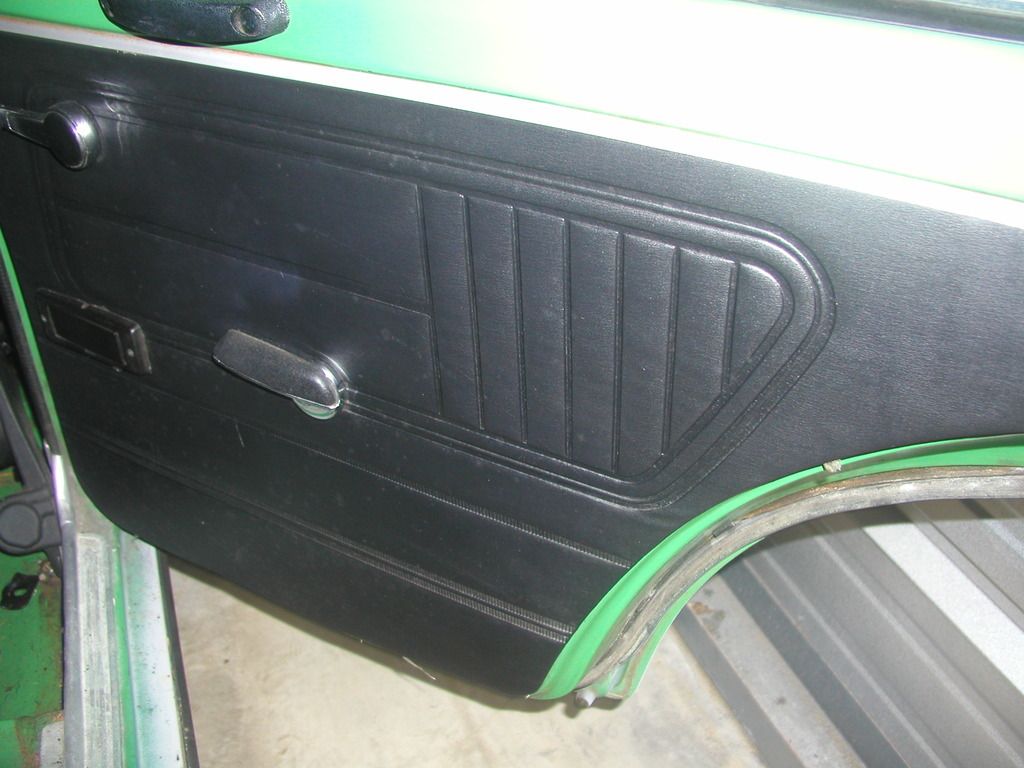
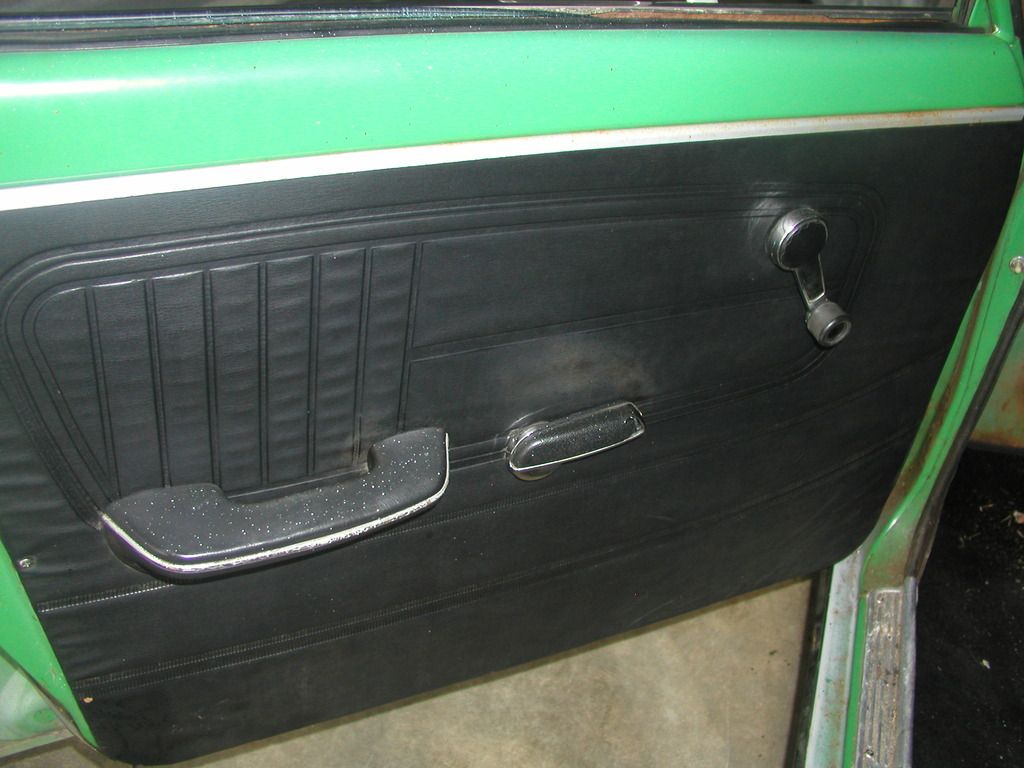
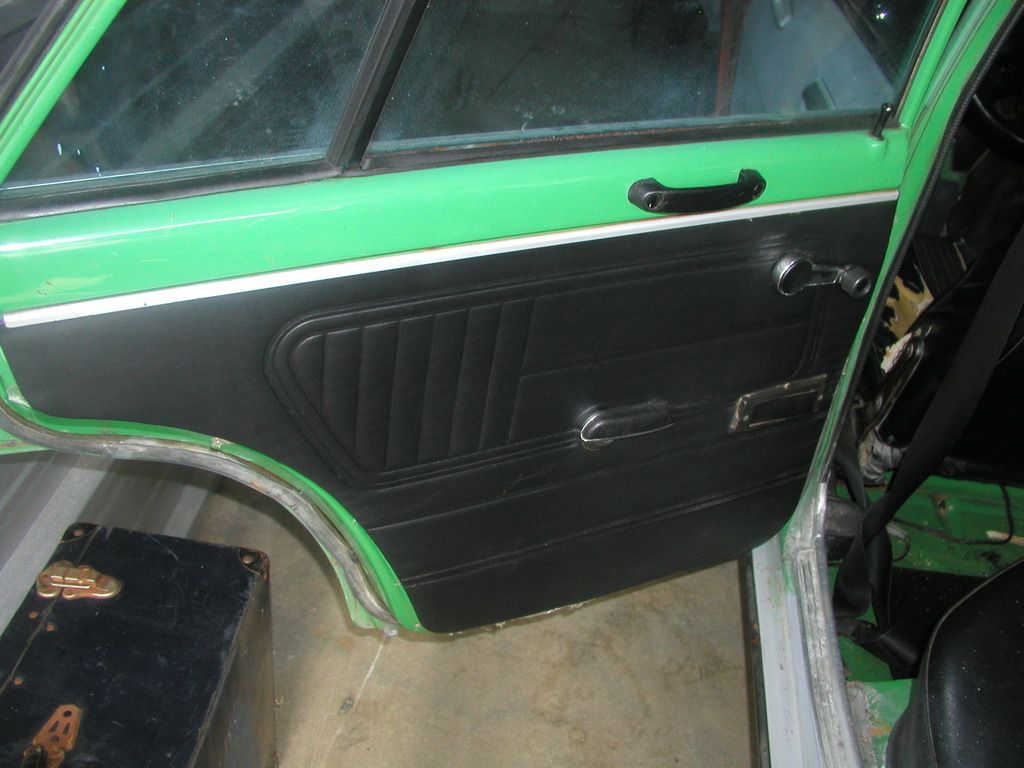
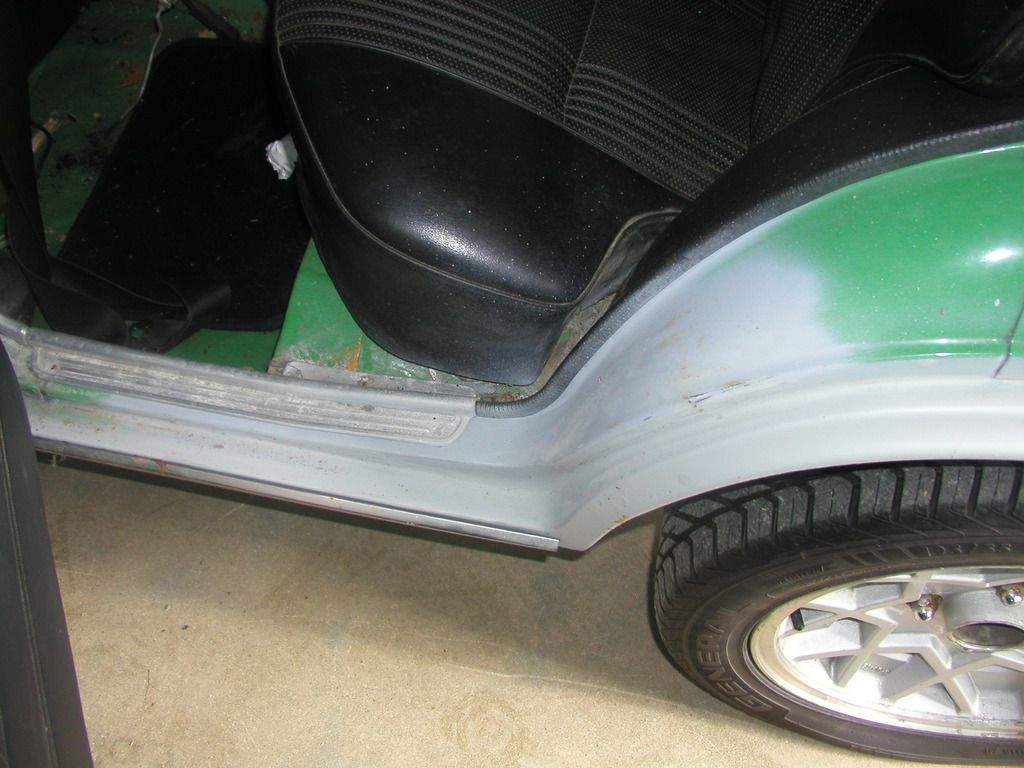
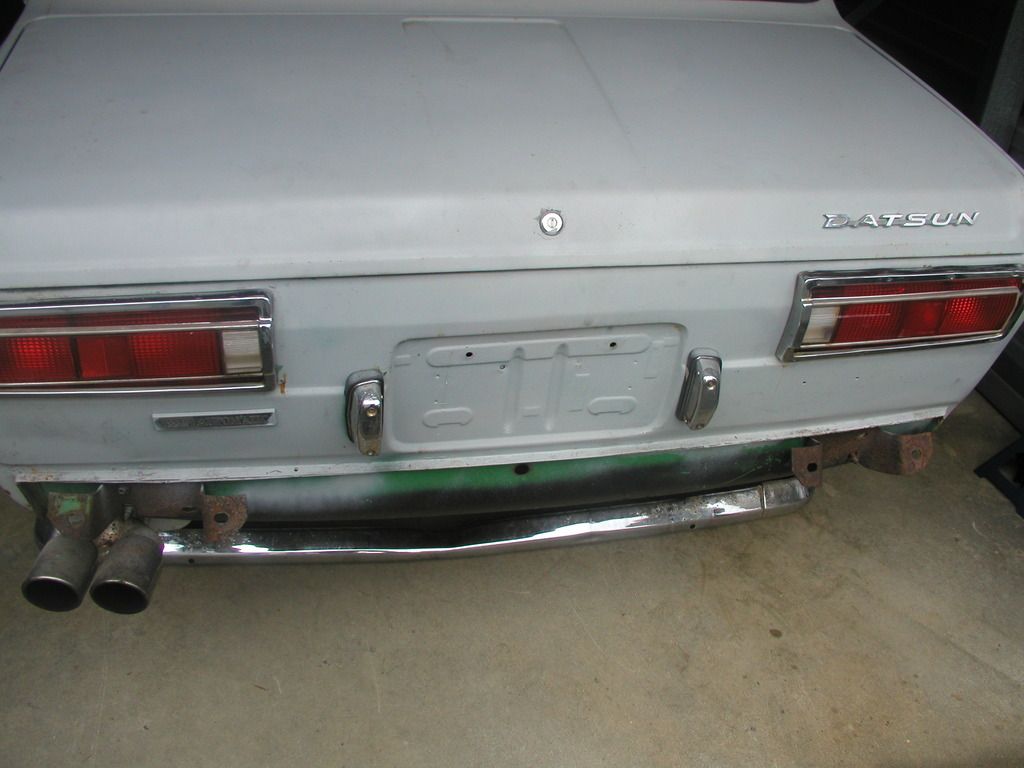
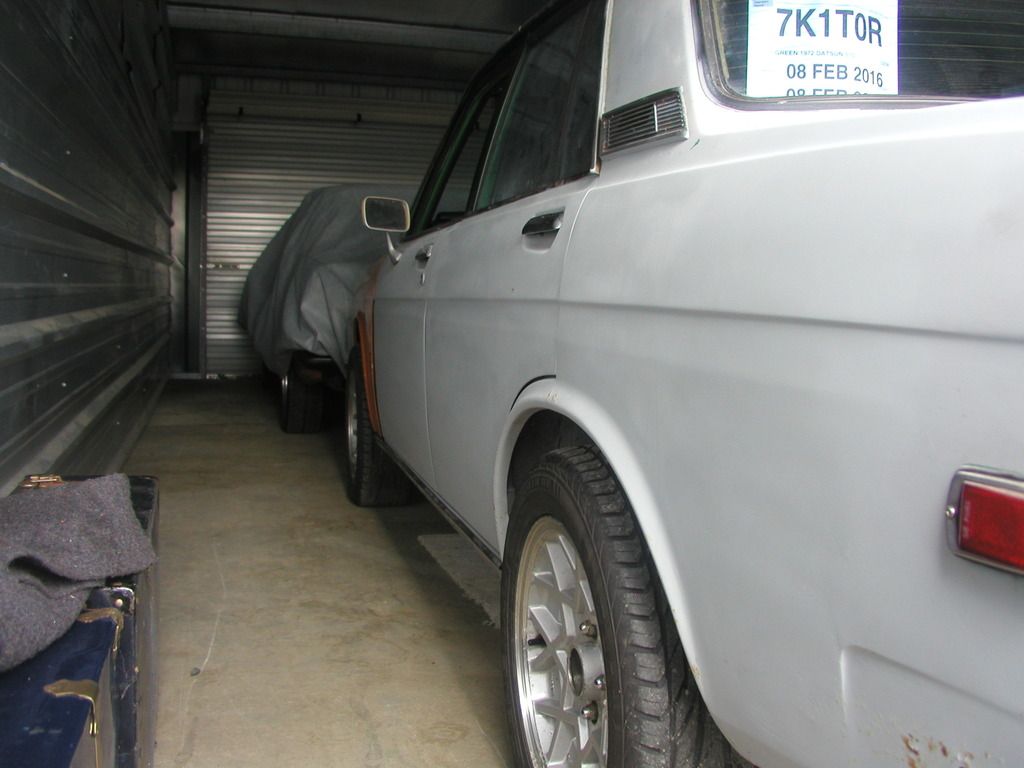
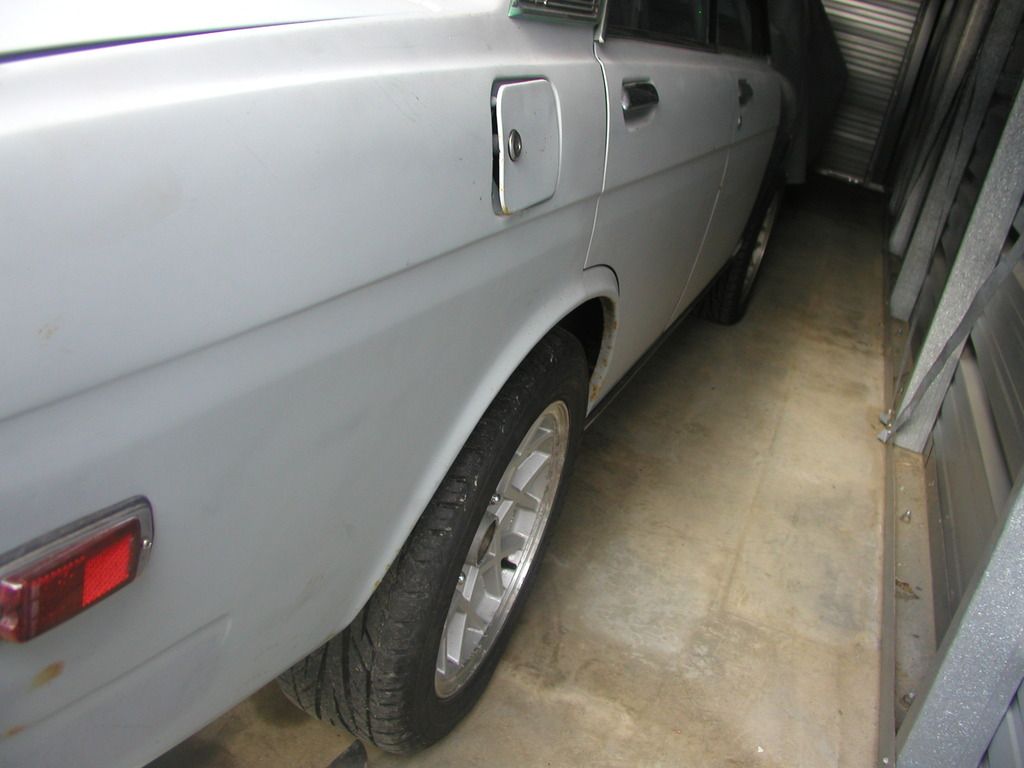
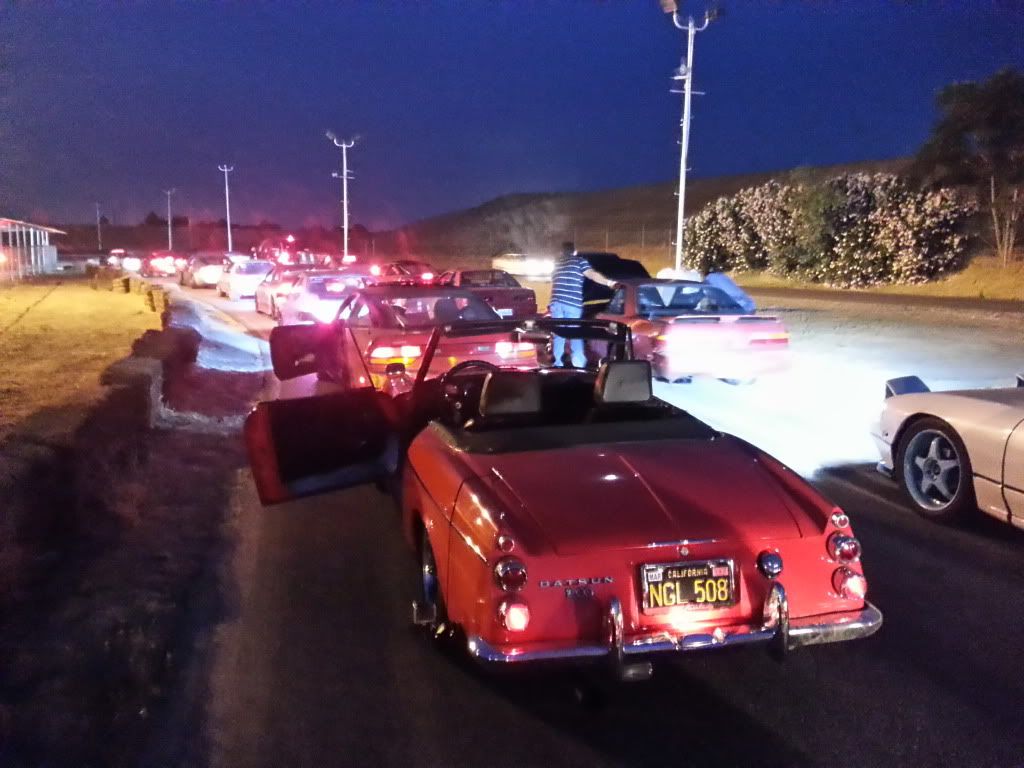
Some pics of the car before I picked it up....

-
1
-
-
Or so says my mechanic friend as we wrench on my 4dr project passed on by 510Freak :)So begins the journey of yet another Datsun 510 4dr from 1972.....
-
True but you also didn't use to do Internet forums and now here you are. Just another resource.... and place to waste a lot of time :)
-
^^^ Which is why I rarely bother with wreaking yards here on the Island. That being said RCU in Sooke is very good to deal with. Post on the VI 240SX Facebook page and I'm sure one of the drifters will be able to help you out.
-
1
-
-
So when are the Bluebird tail light panels going into production ;)
-
He's actually referring to the Japanese Show n Shine in Victoria which I haven't seen you at yet Mike. A warm up for Canby? ;)
http://www.vanisledatsun.com/forums/index.php/topic,114.msg507.html#new -
So cool...
It would be awesome to see another Datsun at drift night..
Do you drift your Roadster - please tell me you have some videos...
-
-
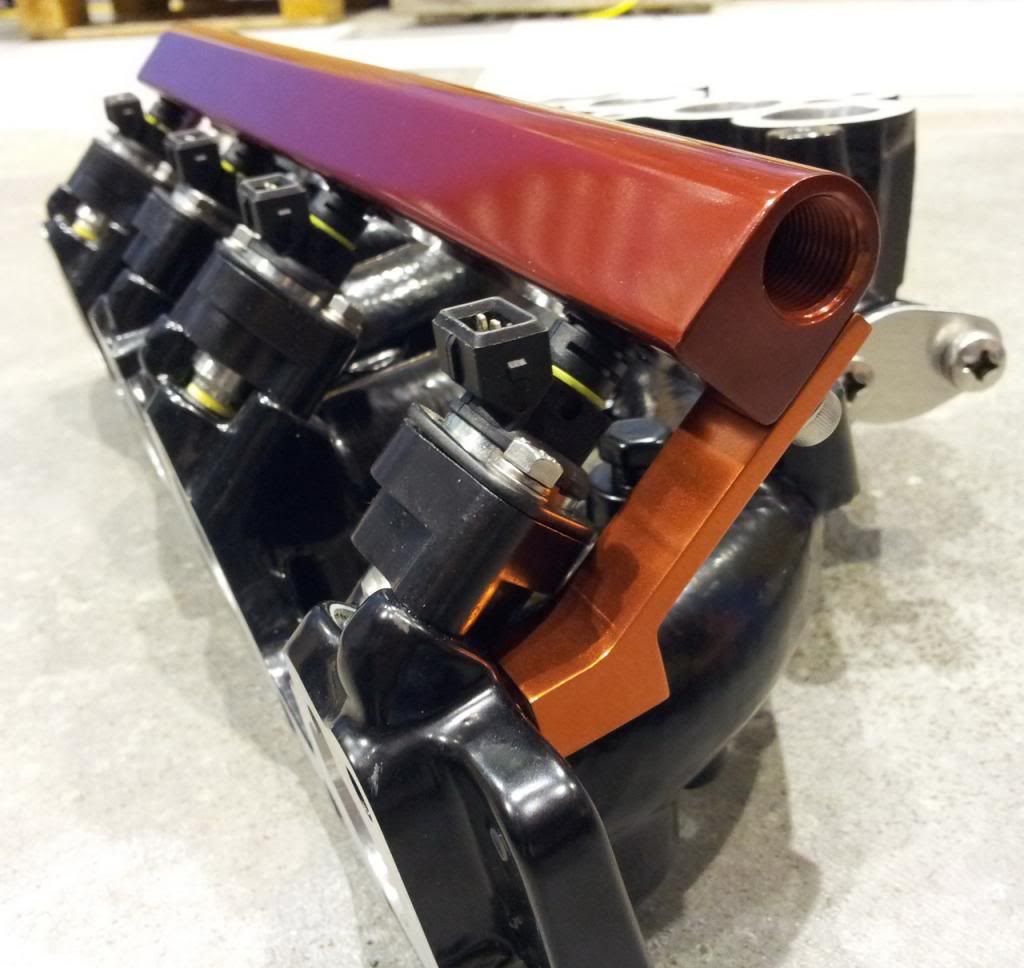
Looks better polished and anodized red :) Under the sodium vapour lamps makes the colours look funny but you get the idea.
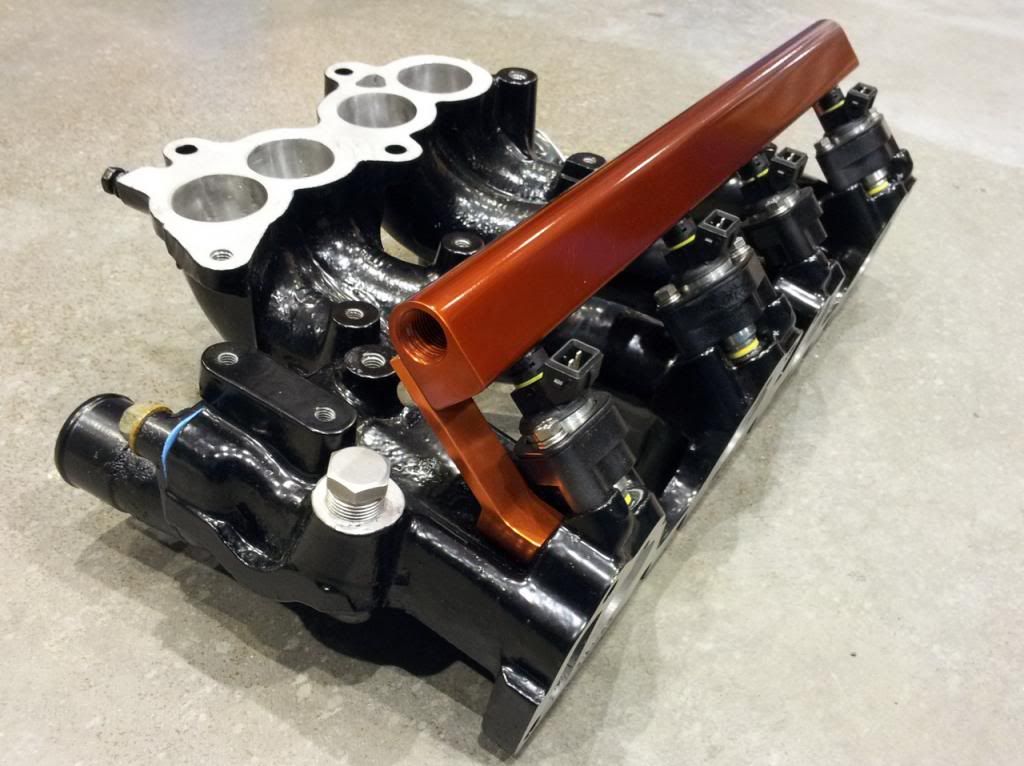
My blue toolbox is in the background - you can see how the light from the blue reflects off the polished anozided part making it look purple (red + blue)
-
Fuel rail almost done :)
-
Byron is working on version 3 - the pivot point was causing some limit to the travel/adjustability so the new version will further increase the adjustability of the suspension. The issue with slotting the stock crossmembers is the lack of adjustability and binding issues.
Byron is moving and out of town so it will be a few weeks before V3 will be ready for test fitting.
-
OK I've finally sourced the head bolts. My local parts place wanted 4x as much for the nuts, etc with a four to six week lead time. Ordered them from Regal at Northern Auto Parts for a fraction of what the local shop wanted and 7-10 days to get them in.
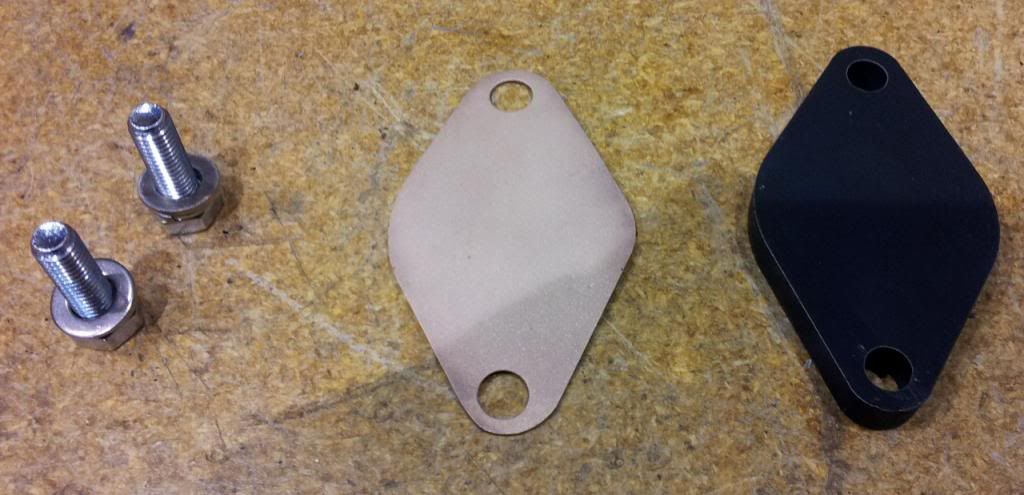
Working on the turbo manifold a bit. Got a heavy blanking plate cut and had made a copper gasket and had it annealed to make it soft. I'll use these to block off the wategate flange on the turbo as I'll be using a stock T3 from a 280ZX with an internal wastegate.
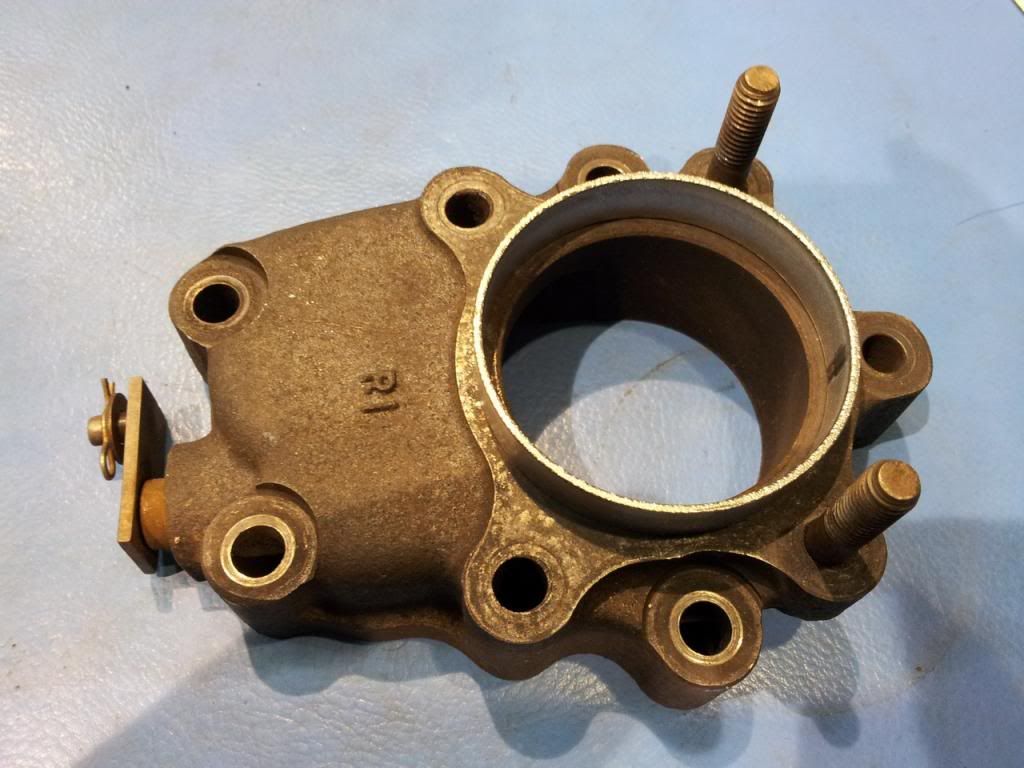
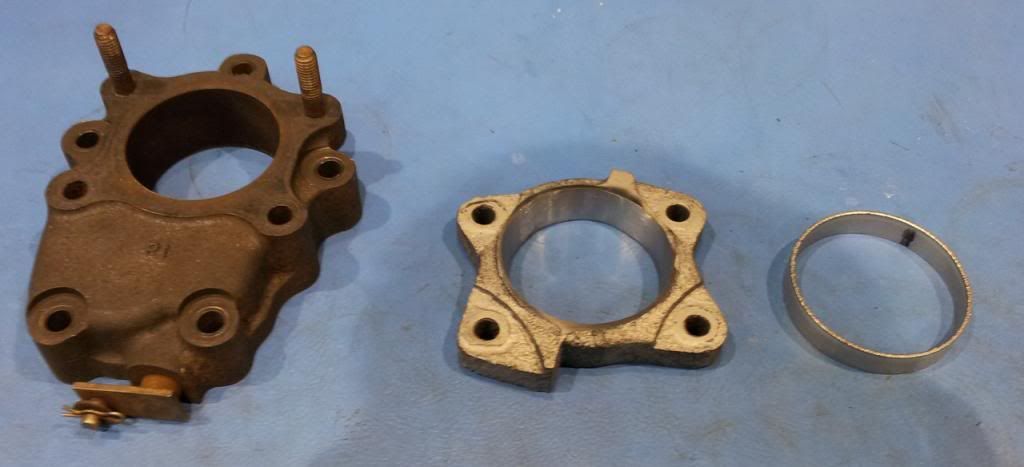
Got an old 280ZX turbo cast downpipe and hacked off the flange. Port matched it to the T3 outlet then tapered out for a mandrel bent 2 1/2" down pipe which I'll likely flare to 3". The turbo flange is a little rounded so it looks like there is a lip but it matches up perfectly.
-
I fixed two but the third isn't showing up - weird. I'll check into that...
-
Version one had some clearance issues so we'll be test fitting version two tomorow. Here's a teaser for version two:

-
Did you ever get the HPK255 for $380? Looks like they are closer to $500 most places....
-
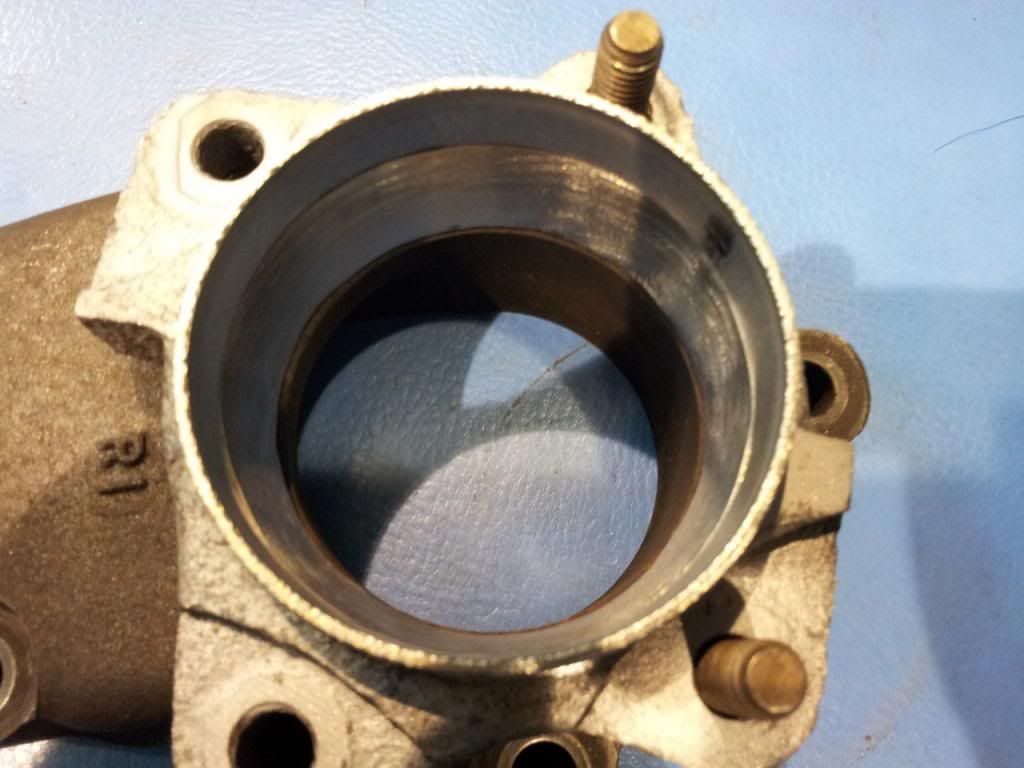
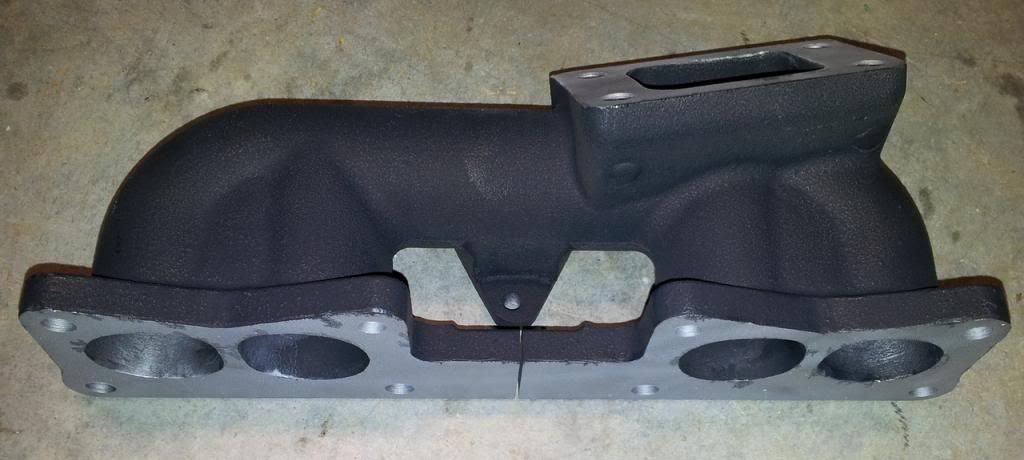
Picking away at the endless "little things" while I try to get the head studs squared away. Did some more porting and polishing on the exhaust manifold. I already matched the ports but I wanted to transistion and take some of the roughness of the casting out and round off any sharp edges going into the turbo flange. Cleaned it up and painted it satin black with some header paint to match the head.


50 Shades of Grey
in Project Datto
Posted